Mounting band saw to workbench, Assembly – Sears 113.244501 User Manual
Page 7
Attention! The text in this document has been recognized automatically. To view the original document, you can use the "Original mode".
ITEM
TABLE OF LOOSE PARTS
QTY.
A
Basic saw assembly.... .............. . -. ........
1
D
Owners Manual............. ........ ........ ........
1
c
Saw Table....... ................................ .
1
D
Loose Parts Bag
Containing the following parts;
Key Switch................... .................. .......
1
Wing Nut 1/4-20x5/8.,,............. ...............
1
Screw, Truss Hd. 1/4-20.. ...... ...............
1
Wrench. Hex T’1/8................................. .
1
Bevel Indicator.,,,,......................... .........
1
Screw, Pan Gross 10-32 x 3/8................
1
Washer 17/64x1 xl/16.............................
1
Bolt, Carriage 1/4-20 x 1.... .................. ..
1
Knob........ ............................................
1
Clip Hose.. ..................... ........ ...........
1
assembly
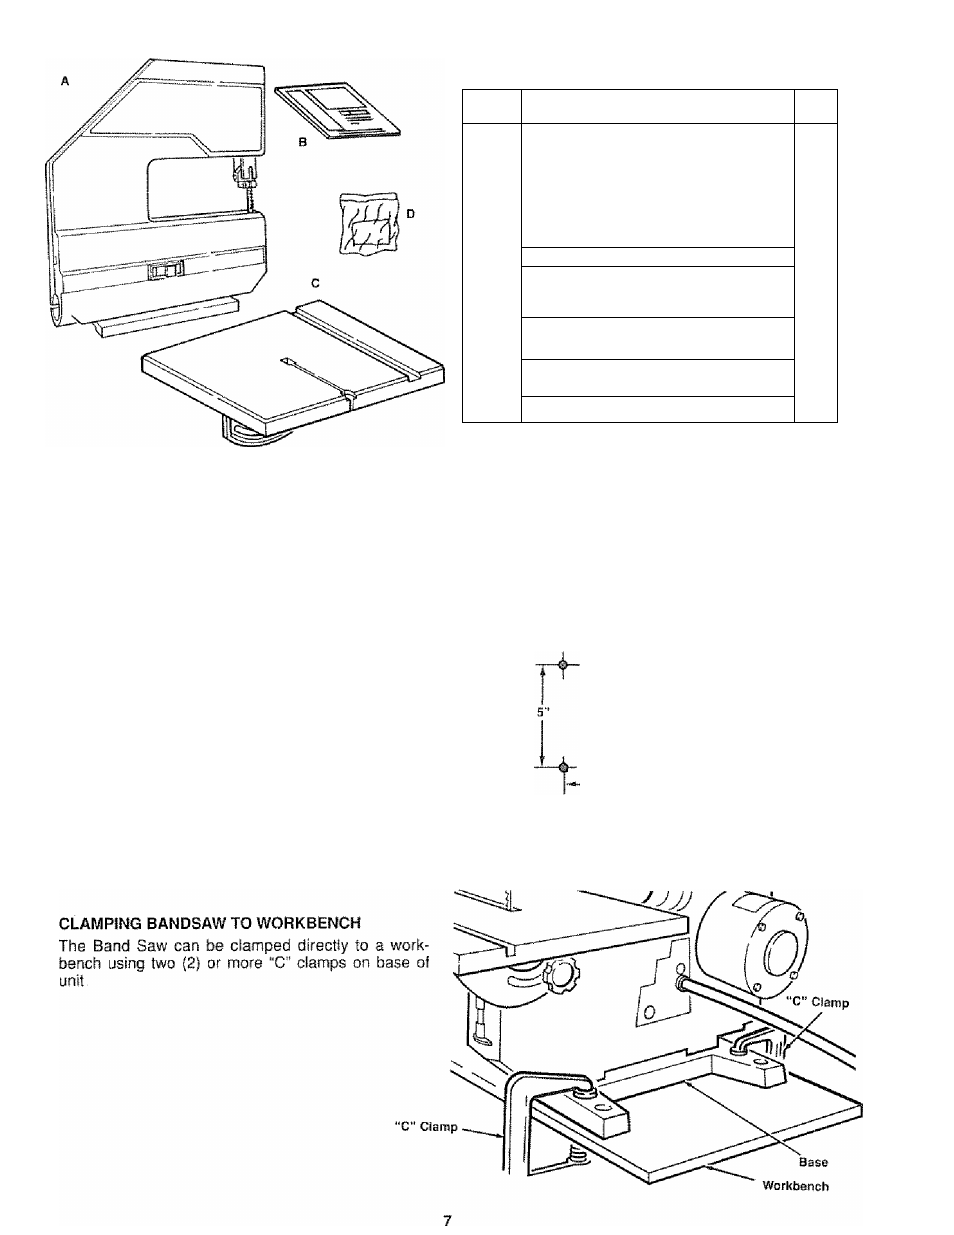
MOUNTING BAND SAW TO WORKBENCH
!f band saw is to be used in a permanent location, it
should be fastened securely to a firm supporting sur
face such as a workbench
If mounting to a workbench, holes should be drilled
through supporting surface of the workbench using
dimensions iltustrated.,
1- Each leg should be bolted securely using 5/16"
diameter machine screws, lockwashers, and 5/16"
hex nuts {not included) Screw length should be
1 -3/4" plus the thickness of the bench top,
2 Locate and mark the holes where band saw is to
be mounted
3. Drill (4) 3/8" diameter holes through workbench.
4. Place band saw on workbench aligning holes in
feet with holes drilled in workbench,
5 Insert all four 5/16" screws and tighten.
NOTE: All bolts should be inserted from the top
Install the washers and nuts from the underside of the
bench
.-f
3/6 ' DIAMETER
(4) HOLES
1T'