Sears 113.244501 User Manual
Page 6
Attention! The text in this document has been recognized automatically. To view the original document, you can use the "Original mode".
contents
POWER TOOL WARRANTY............................................2
SAFETY INSTRUCTIONS FOR BAND SAW.............. .....2
GLOSSARY OF TERMS FOR WOODWORKING . 4
MOTOR SPECIFICATIONS AND ELECTRICAL
REQUIREMENTS........................................................ 5
UNPACKING AND CHECKING CONTENTS.....................6
ASSEMBLY
Mounting Band Saw to Workbench.............................. 7
Installing the Table...................................................... 8
Installing the Blade. .
,.................................... 9
Tensioning the Blade. .............................................. 10
Tracking the Blade................................................... 11
Adjusting the Blade Guides and
Back-Up Bearing................ ............................... 11
Final Table Assembly................................................. 12
Aligning the Table Square to the Blade...................... 12
Getting to Know your Band Saw................................ 13
BASIC BAND SAW OPERATION................................... 15
MAINTENANCE......... ................................................... 18
RECOMMENDED ACCESSORIES ............................. 18
TROUBLESHOOTING .................................................. 19
REPAIR PARTS.......................................................... 20
unpacking and checking contents
roots
NEEDED
pm*»"
........................ ... 1
r f f
j 1 i ■ « • * »
COMBINATION SQUARE
#2 PHILUPS SCREWDRIVER
MEDIUM SCREWDRIVER
112 INCH WRENCH
WARNING: To avoid injury from unexpected
starting or electrical shock, do not plug the
saw in until all assembly and alignment steps
are complete. The power cord must remain
unplugged whenever you are working
on the saw.
Model 113 244501 Band Saw is shipped complete in
one carton
Separate all parts from packing materials and check
eacti item with illustration and “Table of Loose Parts"
Make certain ail items are accounted for, before dis
carding any packing material
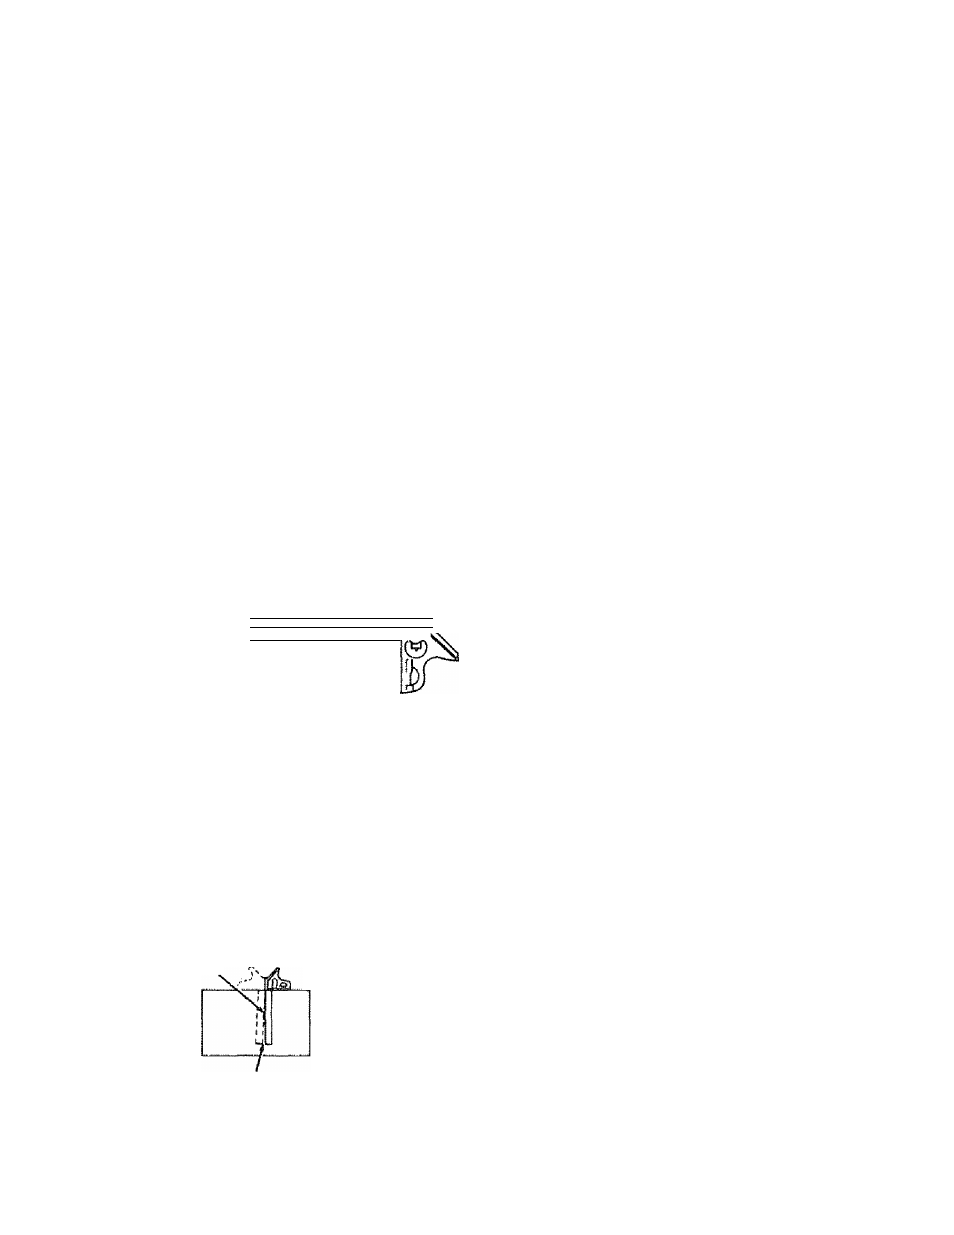
COMBINATION SQUARE MUST BE TRUE
DRAW-LIGHT
LINE ON BOARD
ALONG THIS EDGE
STRAIGHT EDGE OF
BOARD 3/4" THICK
/ THIS EDGE MUST BE
/ PERFECTLY STRAIGHT
SHOULD BE NO GAP OR OVERLAP HERE WHEN
SQUARE IS FLIPPED OVER IN DOnED POSITION
WARNING: If any parts are missing, do not try
to assemble the band saw, plug in the power
cord, or turn the switch on until the missing
parts are obtained and installed correctly.