И * й i [è, Table 3 — electrical data (60-hz) – Carrier 48EL User Manual
Page 5
Attention! The text in this document has been recognized automatically. To view the original document, you can use the "Original mode".
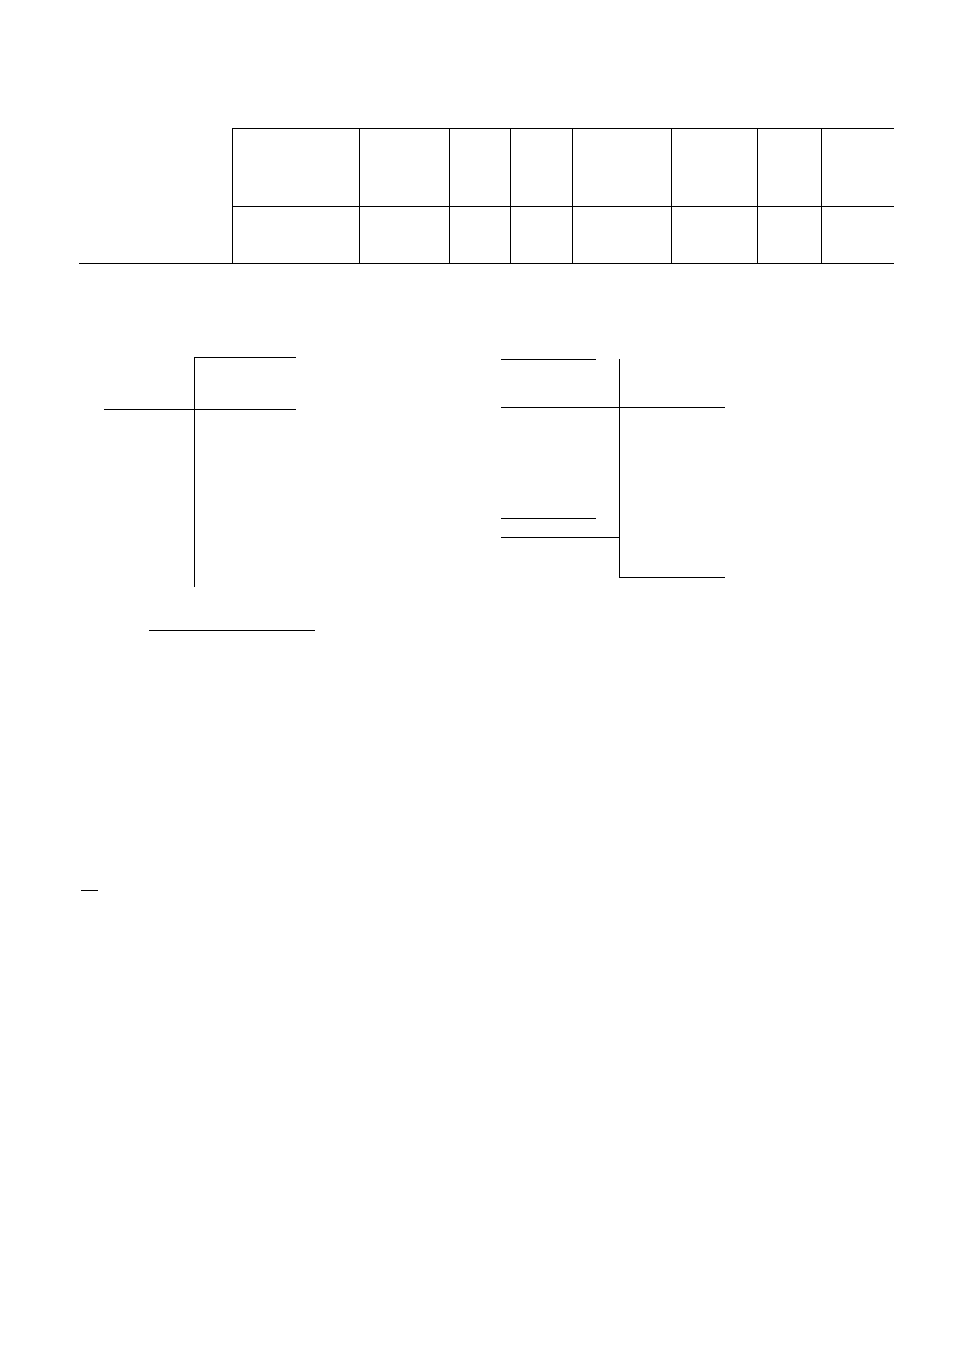
Table 3 — Electrical Data (60-Hz)
UNIT MODEL
VOLTA
Norn V/Ph/Hz
GE
Min-Max
CO
RLA
Ml PR
LRA
OUTDOOR
FAN
MOTOR
FLA
INDOOR
FAN
MOTOR
FLA
POWIEI
Min
Ckt
Amp
3 SUPPLY
Max
Fuse
Amps
48EL,EM006300,310
230/1/60
207-264
35 3
175
2.8
6 9
55
70
48EL,EM006500,510
208-230/3/60
187-253
22 7
132
28
6 9
40
50
49EL,EM006600,610
460/3/60
414-528
10.4
66
28
6 9
20
25
FLA — Full Load Amps
LRA — Locked Rotor Amps
RLA — Rated Load Amps
Table 4 — Gas Data — 48EL,EM006
TYPE
BTU
OF
PER
GAS
CU FT
1000
Natural
1050
1100
Butane
3200
Propane
2500
Propane
2500
SPECIFIC
GRAVITY
60
65
60
60
_65^
2
00
1 53
1 53
MANIFOLD
MAIN
PRESSURE
BURNER
(in. wg)
ORIFICE
3.3
3.5
30
3.2
#41 Drill
27
2.9
12.2
#54 Drill
_
108
#53 Drill
PILOT
ORIFICE
.023 in
009 in
.009 in
THERM O STAT CO M BINATIO NS FO R ALL UNITS
1
HH07AT074 AND SUBBASE HH93AZ076
2
HH0IAD042 AND SUBBASE HH93AZ042
3
HH0IAD040 AND SUBBASE HH93AZ040
I I I I I
I
BRN
I
BLK
I
RED BLU O RN
BLU
—
— BLK -
-YEL^
I 1
I I I I I
И * й I [È '
^
^ FIELD PO W ER
FIELD
CO NTRO L
W IRES
W IRES
Field Power Wiring
Field Control Wiring
Factory Wiring
I I
Thermostat Connections------------------
_$^Splice Connection
----------
*Not connected when single-phase power input is used.
Fig. 5 — Remote Control Wiring
for Thermostat Combinations
When thermostat wiring is complete, mount
thermostat to subbase per instructions included
with the control. Do not turn on unit power at this
time; refer to Start-Up section of this publication.
Thermostat heat anticipator setting is 0.6 amps.
REMOVE SHIPPING TAPE on condenser fan, if
not previously removed.
CHECK COMPRESSOR HOLD-DOWN BOLTS -
Compressor is internally spring-mounted. Do not
loosen or remove hold-down bolts.
SET HEAT ANTICIPATOR on thermostat at 0.6
amps.
OPEN GAS SUPPLY LINE VALVE and purge line
by loosening ground joint union (Fig. 4). Tighten
union when gas odor is detected.
ADJUST BLOWER SPEED, if required, to main
tain heat temperature rise limits given in Table 1.
CHECK MAIN BURNERS
1. Measure and adjust main burner gas input as
described in Service section.
2. Turn main gas valve to ON position and operate
unit for at least 15 minutes with all access
panels in place.
3.
With unit operating, remove heating section
access panel. Check burner flames. Flames
should be clear, almost transparent blue. If
flames appear yellow, a change to factory set
primary air adjustment has occurred. Refer to
Fig. 7 and readjust primary air as follows:
Loosen primary air spoiler locking screw.
Rotate
adjustment
tab
counterclockwise
(slightly) until flame becomes blue. If flames
lift off burner ports, turn adjustment tab
clockwise. Retighten locking screw.
FINAL HEATING SYSTEM CHECKOUT - Move
thermostat dial above and below room temperature
setting several times, pausing at least 5 minutes
between cycles. Check pilot flame, main burner
ignition, flame characteristics and indoor (evap
orator) fan motor time delay relay operation.
Replace heating section access panel.
COOLING SYSTEM CHECKOUT
1. Turn power on.