Battery and charge indicator location – Vexilar Fish Scout 2013 User Manual
Page 8
8
The camera incorporates a custom designed zinc cast waterproof housing. The amount of
weight in this camera housing is balanced and designed to give you good camera control
while still-fishing or trolling. The housing WILL fill with water, to make for better balance
in the water. It is normal for water to drain out of the housing for a few seconds when it
is removed from the water. The optional tail fin (included) screws into position in the back
of the housing.
With the trolling fin on the camera housing, you are also able to attach it to a long pole
to hold the camera at various angles. This feature is popular with marinas and boat
owners who want to see the bottom of a boat or look for something nearly impossible
to see underwater without a camera. The actual pole is not available from Vexilar but is
commonly found at hardware stores in the paint or the window cleaning departments.
The housing is also designed to make it easy to attach to your cable and use in the
popular Down-Viewing perspective.
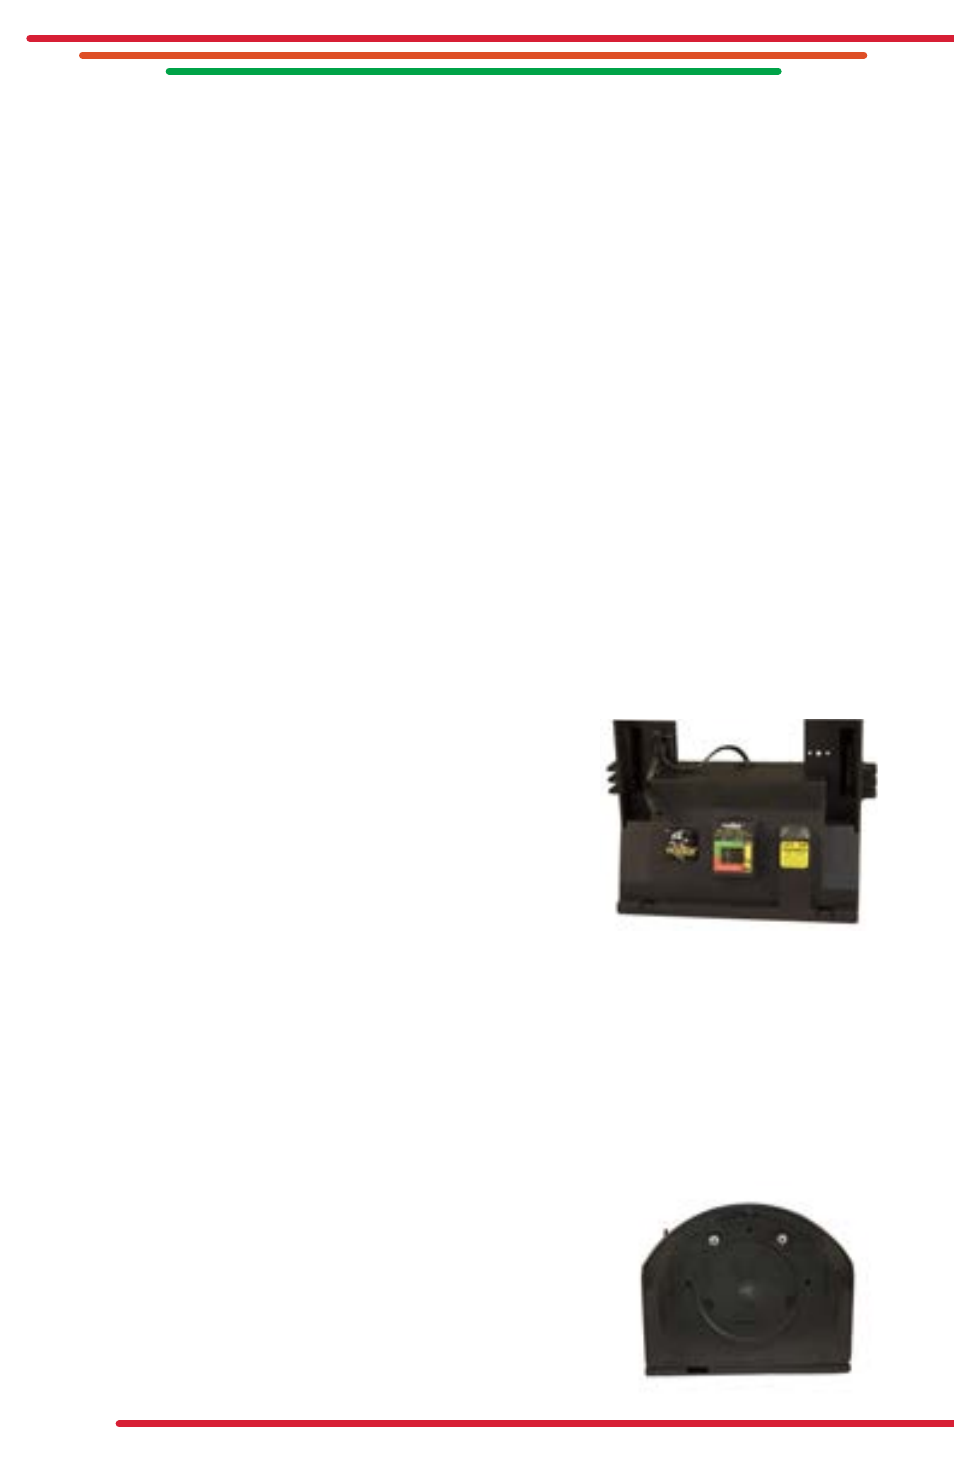
Battery and Charge Indicator Location
Following Vexilar’s superior standards, the Fish Scout monitor face is protected with a
padded soft pack case. Inside the soft pack is a molded ABS hard frame with an enclosed
battery compartment and D-130 battery status indicator
(FS2000DT DV systems only) to help keep track of power
consumption. You also have a Master Power Switch which
is critical to eliminate battery drain when not in use. Any
time your Master Power Switch is in the “ON” position,
your battery will be draining, so the Master Switch should
be turned “OFF“ whenever you are not using your system.
The sealed 9 amp rechargeable lead-acid battery can provide over 10 hours of
continuous use with ideal conditions on the Fish Scout, and over 8 hours on the Double
Vision systems. Battery run time will vary depending on the condition of the battery, use
of underwater LED lighting, level of display brightness and the ambient temperature (LCD
heater system). The 1 amp, fully automatic charger will quickly charge the battery back to
full capacity. See page 9 for complete battery charging and care instructions.
To remove the battery from the case for replacement,
simply remove the ABS hard frame from the soft pack case.
Then remove the two screws securing the bottom battery
door and swing it open. When replacing the battery and
reinstalling the door, be sure to be careful with the wire
positions so nothing gets pinched as the door is screwed
back into place.
Remove Screws to Access
Battery Compartment