Calibrating your dtd display, Mounting tri-beam or dual beam control box – Vexilar Fish Scout 2013 User Manual
Page 17
17
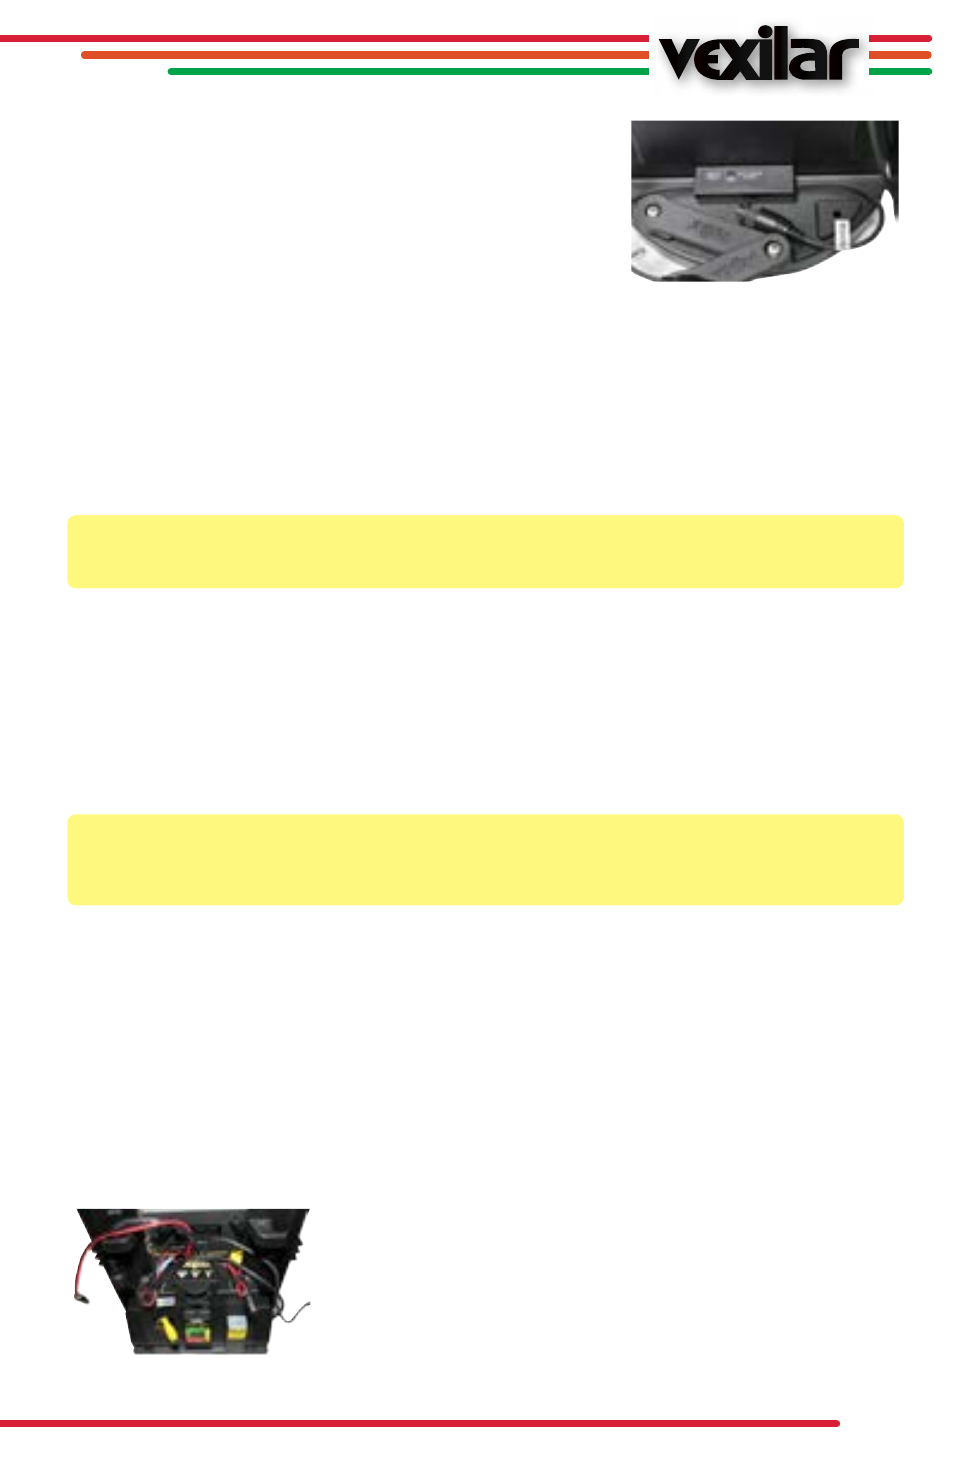
Calibrating Your DTD Display
Located under and behind your monitor/TV is a small
box called the Calibration Switch Box with two short
cables, one coming out of each end. The box is firmly
mounted to your system base. If you bypass this Cali-
bration Switch, your monitor will work perfectly, but the
DTD display information will not be shown on the lower
right portion of the monitor.
First, you will need to connect your DTD camera cable to the short cable coming out for
the Calibration box marked “camera”. On the other side of the switch is a short lead
marked “monitor” that connects to your monitor/TV.
Note:
Be sure to hand tighten all connections as a loose connection will often cause a bad
image or no image at all on the monitor.
With your Monitor turned on, the DTD information will be displayed in the lower right-
hand corner of your monitor. Direction is factory set, so no problem there, but you will note
that in air the depth reading will be off. The depth senor ONLY works in water. If you want
an accurate depth reading, each time you power-up your system you should calibrate
your depth sensor by pressing the raised button on the calibration switch once. You will
see the display be set back to zero. DO NOT re-set while in water.
Note:
The temperature reading in air will slowly rise as the sensor inside the camera
housing reacts to the heat generated by the camera. In water, the temperature readings
will be accurate.
Additional DTD Control Options
• Press and hold for 3 seconds to take off DTD display
• Press and hold for 5 seconds to select Metric or Standard
• Press and hold for 8 seconds for DTD Calibration Mode
Mounting Tri-Beam or Dual Beam Control Box
If you wish to mount your switch box to your Double Vision system without sonar you will
find that there are holes pre-drilled to fit either your Tri-Beam control switch or your Dual
Beam control switch. Use a flat screwdriver or even a butter
knife to slowly pry off your switch box you’re your current Pro
Pack or Ultra Pack case and save the little plastic rivets that
hold your switch box into position. Use the same plastic rivets
to re-attach your switch box to your Double vision by pressing
them into the new hole positions.
Control Box
Double Vision