Replacing the valves – VACUUBRAND PC 620 NT plastic housing User Manual
Page 100
page 100 of 113
Loosen the clamping brackets (S) on the valve
heads (O).
➨
Unscrew at each clamping bracket the two
countersunk screws with a Torx driver T20.
Remove the clamping brackets.
Loosen connection fastener slightly.
➨
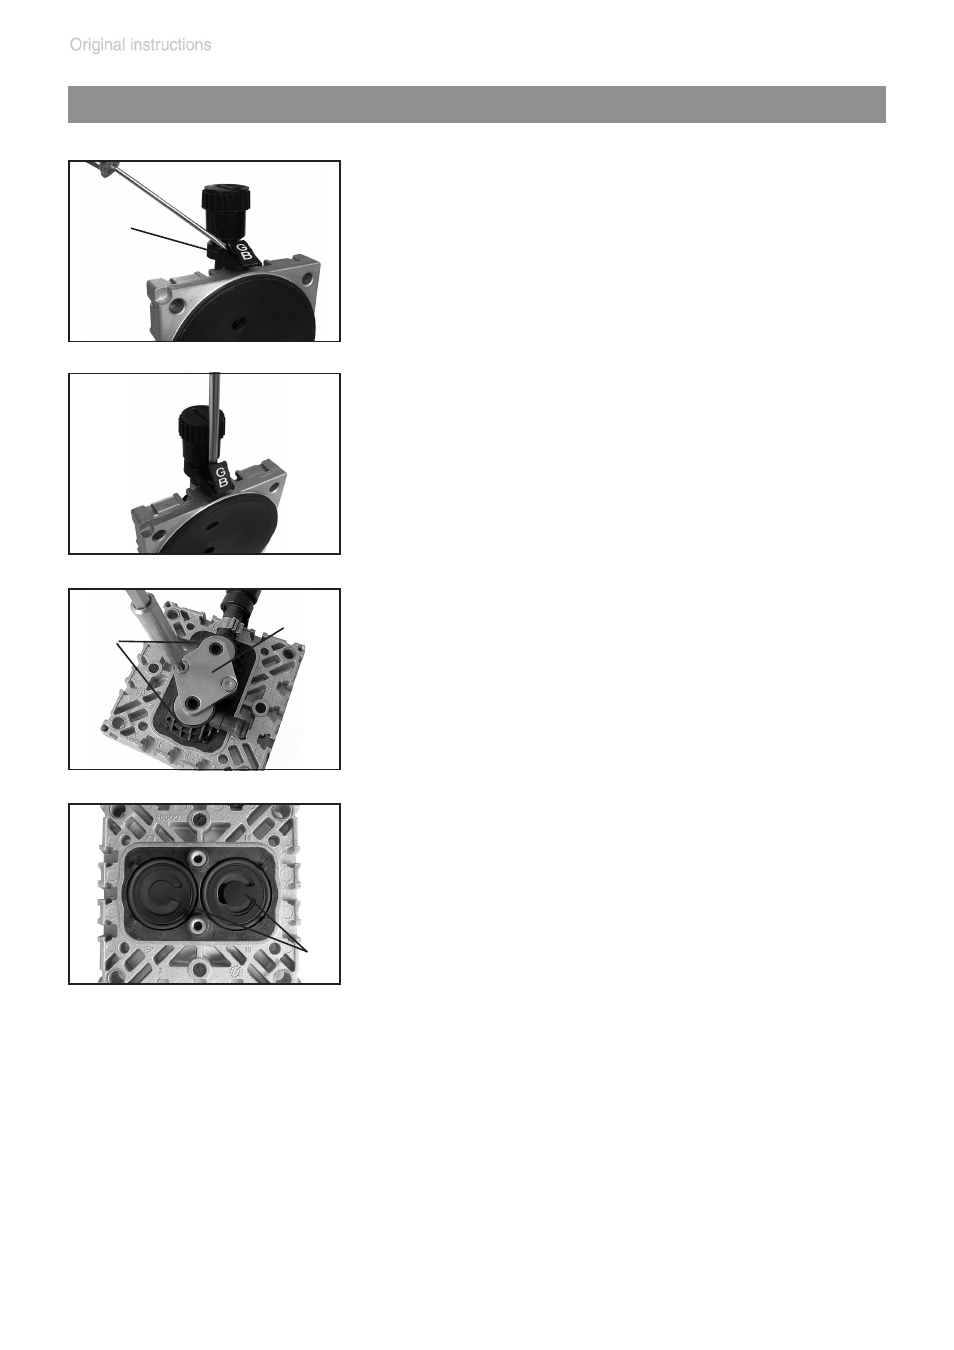
Turn the fillister head screw (L) with a Torx
driver T20 at most one turn.
+
Do not detach the fillister head screw from
the square nut (K).
➨
Open the hinged cover of the connection
fastener (Q) with a slotted screwdriver.
Replacing the valves
Q
O
S
➨
Remove valve heads (O) along with the disc
springs (R), connection tube if applicable,
and connection fasteners (Q) or move the
valve heads carefully aside. Note position
and orientation of the valve heads.
+
Note position and alignment of valves (N).
➨
Check valves (N) and O-rings (M) for damage and soiling.
➨
Replace valves or O-rings if necessary.
➨
Use petroleum ether or other industrial solvent to remove deposits. Do
not inhale vapors.
N