Help, Buttons, Scanning units – Toa NX-100S Installation User Manual
Page 36: P. 3-10
3-10
Chapter 3: SYSTEM SETTINGS (NX-100 SETUP PROGRAM)
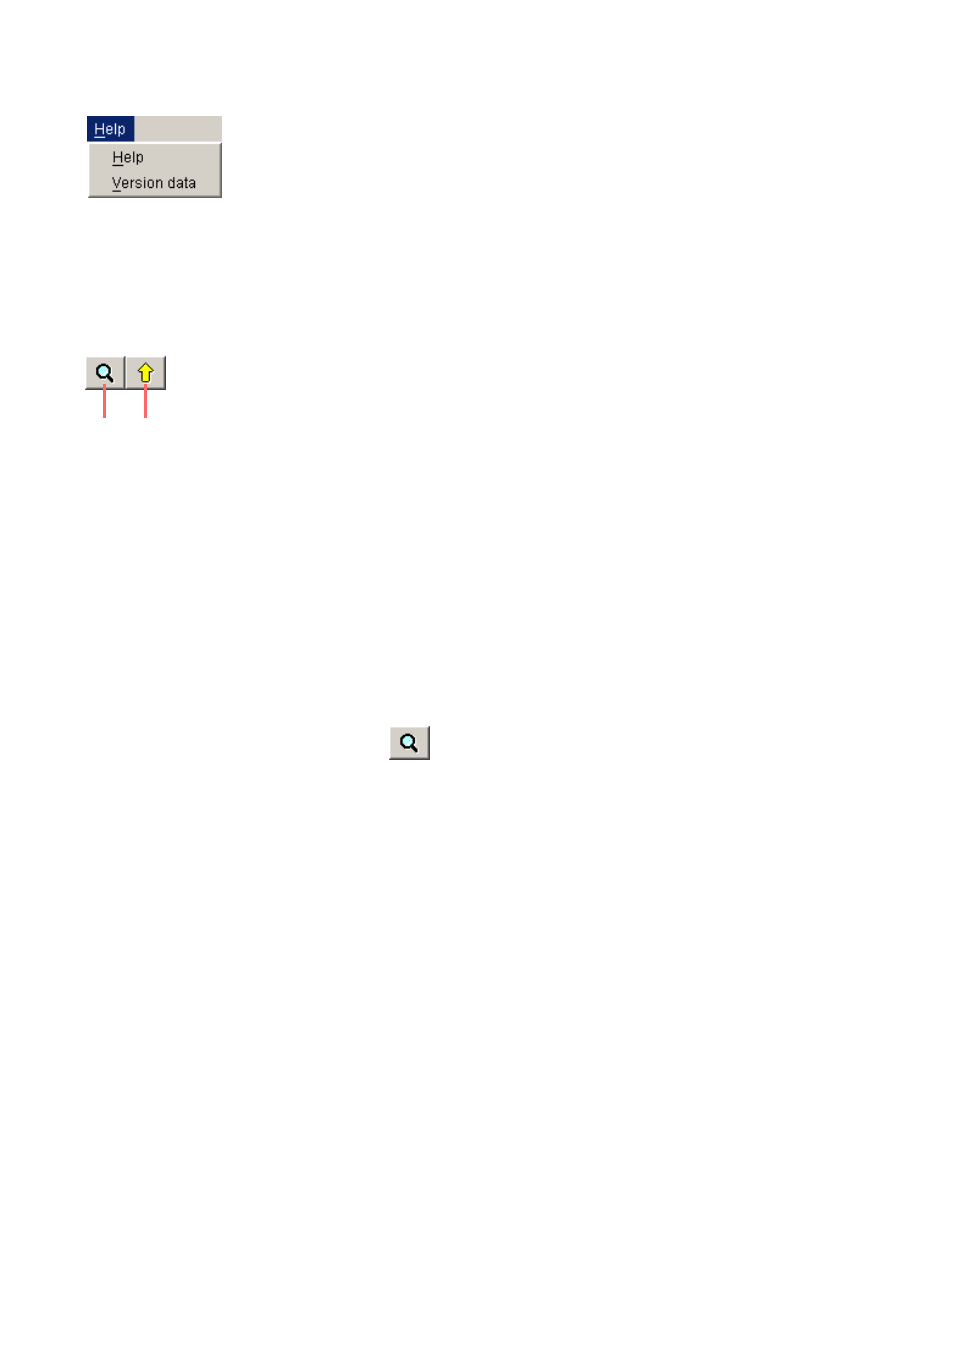
5.2.3. Help
Help:
Displays help contents.
Version data: Indicates the version of the program in use.
5.3. Buttons
(1) (2)
(1) Unit scan button:
Scans all the units on the LAN.
(2) Setting upload button: Writes the IP address, subnet mask, default gateway, and name into the selected
units.
5.4. Scanning Units
Scans each unit connected to the LAN.
Step 1. Connect NX-100 and NX-100S units to the network and turn on each power.
The LNK/ACT Indicator will light.
Step 2. Either press the Unit Scan Button
or select [Scan] → [Unit scan].
The MAC address, IP address, subnet mask, default gateway, and unit name of the NX-100 and
NX-100S connected to the LAN will be displayed.
Default values are factory-preset as follows:
IP address:
192.168.1.1
Subnet mask:
255.255.255.0
Default gateway: 0.0.0.0
Name:
NX-100S or NX-100
Caution
Units can only be scanned within the effective broadcast range. (See
For the units that cannot be scanned, manually add only the units connected to the LAN with the System
Setting Tool.