Installing java runtime environment – Toa NX-100S Installation User Manual
Page 20
2-9
Chapter 2: UNIT AND SOFTWARE INSTALLATIONS
5.3. Installing Java Runtime Environment
The following procedures do not need to be carried out if J2SE Runtime Environment 5.0 Update 3 or later
has already been installed in the PC.
Note
To download Java Runtime Installer, be sure to connect the PC to the Internet.
Step 1. Quit other activated applications before installation.
Step 2. Click "Java Runtime Environment" of the Setup Launcher.
Then, you can access the Java download site.
Step 3. Download Java Runtime Installer on the displayed download page, then run it on the PC.
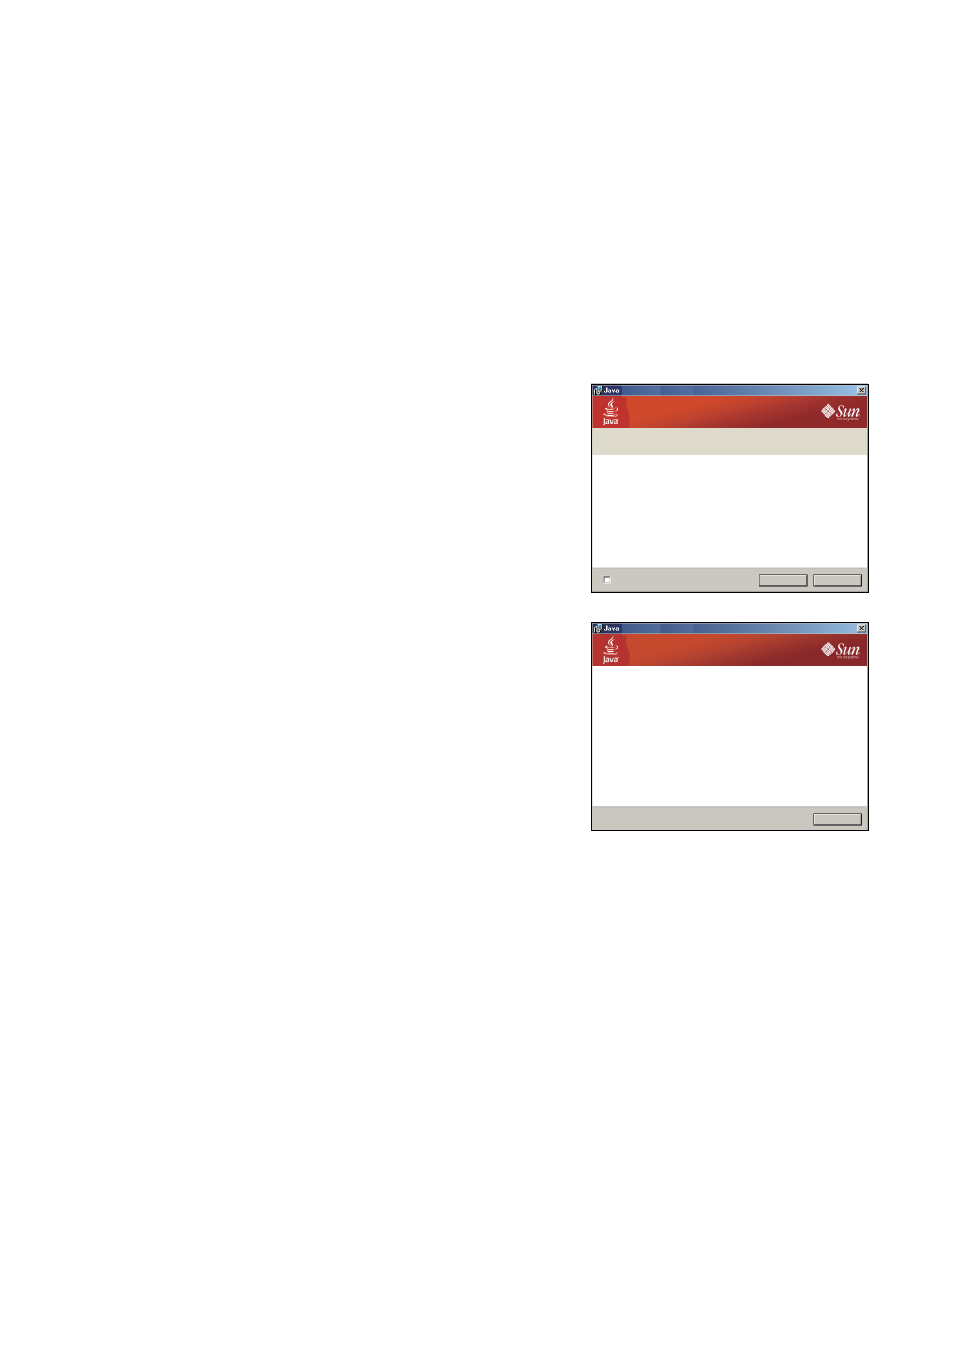
Setup - Complete
You have successfully installed java.
Java updates will automatically be downroaded to provide you with the latest
features and security improvements. To change this, see
http://java.com/autoupdate
Close
The "You have successfully installed Java."
indication will be displayed upon installation
completion.
Setup - Welcome
Welcome to Java
TM
Java provides safe and secure access to the world of amazing Java contact.
From business solutions to helpful utilities and entertainment, Java makes
your internet experience come to life.
Note: No personal information is gathered as part of our install process.
Click here for more information on what we do collect.
Click install to accept the license agreement and install Java now.
Install >
Cancel
Change destination folder
Step 4. Accept the license agreement, then click the
"Install" button.
Installation will begin and the progress status
appears.