Starting recording from main unit switch – ThermoWorks TR-72-UI 2 CHANNEL LOGGERS WITH USB User Manual
Page 18
24
25
[
Handling the temperature/humidity sensor]
-
The temperature/humidity sensor should be changed after a period of about
one year. After removing the sensor from its package, please change the
temperature/humidity sensor after one year’s usage.
During use, the temperature/humidity sensor will accumulate impurities
(
dirt) on the surface of the sensor causing the sensor's accuracy and
sensitivity to decrease. If the sensor is being used in a bad environment
(
smoky or dusty places) it may be necessary to change the sensor sooner.
-
When the temperature/humidity sensor is not being used, please place it in
the attached vinyl bag with the drying agent included and store it in a cool
dark place with a temperature of between 5 to 25℃ and a humidity of below
30% RH.
-
Attached to the temperature/humidity sensor are two stickers: a wetness
detection sticker and a temperature detection sticker. If either of the sticker
shows abnormality, you should change the old sensor with a new one
immediately.
Wetness Detection
Sticker
Temperature Detection
Sticker
-
Wetness Detection Sticker
Informs you that the sensor has been wet.
Normal:
Under normal conditions, black
dots will appear on a white
background.
Abnormal:
Under abnormal conditions, it
will turn to red.
-
Temperature Detection Sticker
Informs you that the sensor measured a temperature measurement over
60℃ .
60
Normal:
Under normal conditions, the
number 「60」 will lightly appear on a
pinkish white background.
60
Abnormal:
Under abnormal conditions, the
number 「60」 will clearly appear on a
red background.
Starting Recording from Main Unit Switch
By pressing the REC switch on the main unit you can start a recording
session immediately.
Caution: If you wish to make changes to the device name, channel name,
recording mode or to any other recording conditions, you must make those
settings by connecting the device to your computer.
[
Starting a Recording Session]
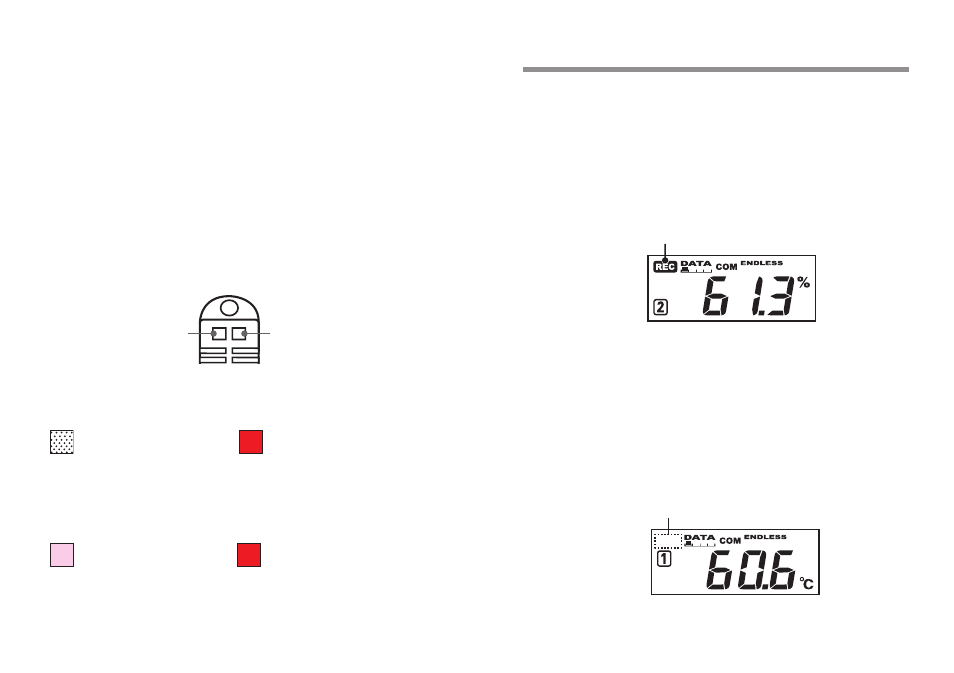
Press in the [REC/STOP] button on the front of the unit until the REC mark
appears in the display. When displayed, recording has begun.
REC mark lights up
Note:
-
By starting a new recording session, all data currently saved in the unit will
be erased.
-
Even if the unit is waiting for a programmed start, by pressing the [REC/
STOP] button until the REC mark appears, you can start a new recording
session immediately.
[
Stop Recording]
You can stop a recording session by pressing the [REC/STOP] button
until the REC mark disappears from the display. When it has disappeared,
recording has stopped.
REC mark disappears