File transfer – StarTech.com SV841DUSBI User Manual
Page 14
Instruction Manual
9
Snapshots: The Snapshots screen allows you to view and save a screenshot of the
controlled computer in its current state. This screenshot will update periodically
(automatically). Saved image files are stored in PNG format.
Logout: Clicking on Logout will terminate your Web Interface section. To re-initiate the
Web Interface, you will be required to re-enter your username and password.
VNC: To launch or disconnect a Virtual Network connection with the controlled
computer, click on Connect or Disconnect as appropriate.
File Transfer
The IP KVM is able to emulate a virtual USB
disk drive on any connected host. Depending
on configuration, it will appear to the host as
a floppy drive (1.44MB), an 8MB RAM Disk or a
CD-ROM. The host computer does not require
any special drivers or other configuration. You
can transfer files to the virtual disk at any time.
The IP KVM will wait until the host is not using
the disk, and add or remove the files.
When the host computer next looks at the
drive, it will notice the changes. You can read
files from the virtual disk at any time, as long
as the host is not actively writing to the disk.
All of this happens in the background, and
you may treat the virtual disk as a shared drive
without any restrictions.
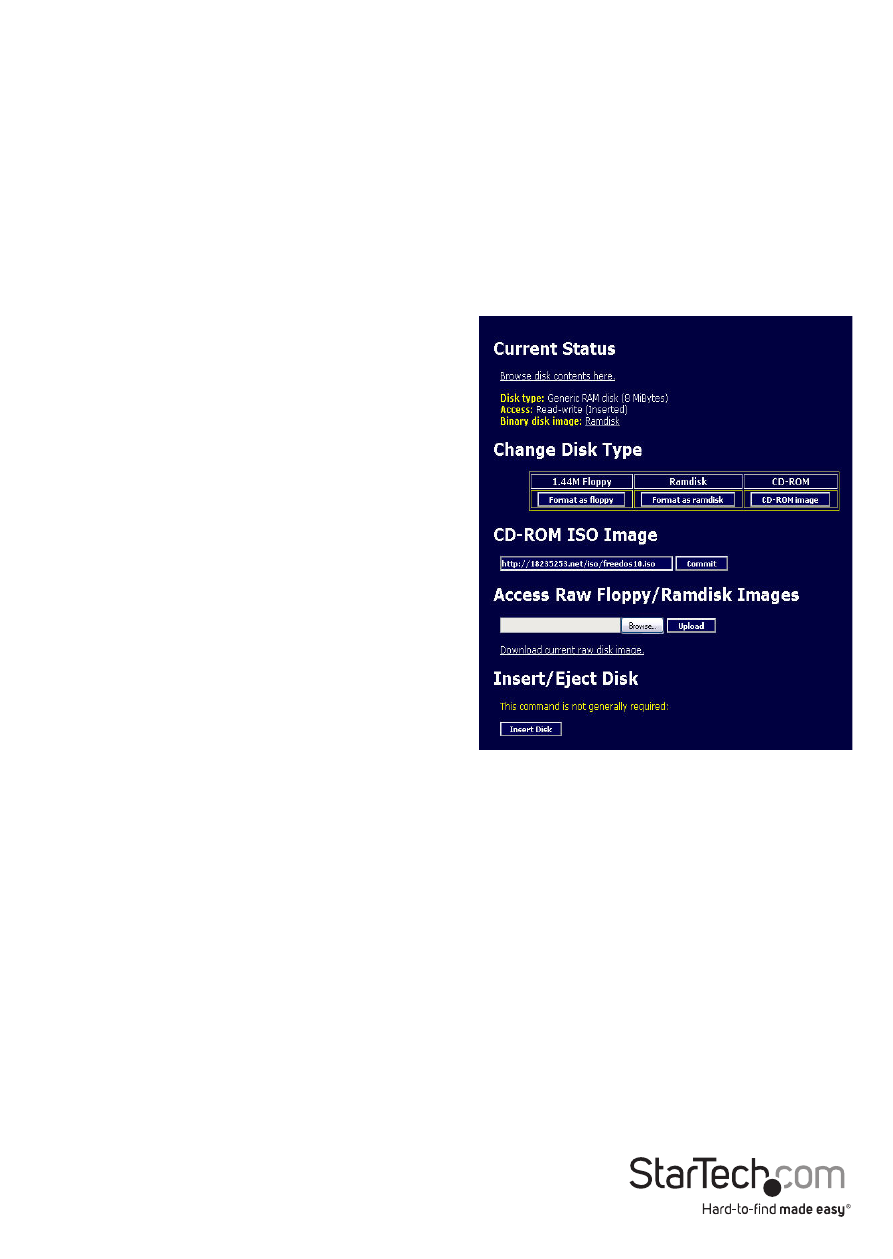
• Access to the files is performed through the
web interface. Contents of the root directory are shown on the home page. You can
download files as you would any file on the web (right-click and Save target as).
• To upload a file, click Browse, select a file, and then click Upload.
• Files and directories may be deleted using the Delete button situated to their right.
When emulating a floppy disk or RAM Disk, the data is stored in RAM on the IP KVM
itself. In order to emulate a CD-ROM disk drive, a web server is required to provide
the CD-ROM image data. The Web server must be accessible to the unit, which
communicates with it constantly as data is needed.
Floppy mode: Choose the Format as floppy button to switch to floppy mode. Under
Windows, the drive will be identified as a “high density floppy” and will typically be
assigned a drive letter of B:
The capacity is limited to 1.44 megabytes in this mode. The purpose of supporting
floppy mode is to permit the use of floppy-disk images generated by other systems
(e.g. the flash BIOS upgrade process is performed with a special floppy and is bootable,