Hydracoach, Button/display description – Sportline Hydracoach User Manual
Page 12
PROCEDURE FOR REMOVING AND REINSTALLING
THE BATTERY IS AS FOLLOWS:
STEP 1:
Remove the screw from the battery door on the
back of the computer using an appropriate screwdriver. Note:
The screw will come free when unfastened, so be careful not
to lose it during this process.
STEP 2:
Using a fi ngernail within either of the two pry slots,
gently lift the battery door open and remove the battery from
the battery compartment.
STEP 3:
To reinstall the battery, simply place it down into
the battery compartment with the positive (+) side facing
out. Note: Be careful not to touch or bend any of the battery
contacts within the battery compartment during installation.
STEP 4:
Replace the battery door making sure that the o-ring
seal does not get pinched or distorted, and refasten the screw
to ensure that the computer is water-resistant. Note: The screw
should be snug. However, to avoid damage to the battery door
and fastener system, do not over-tighten the screw.
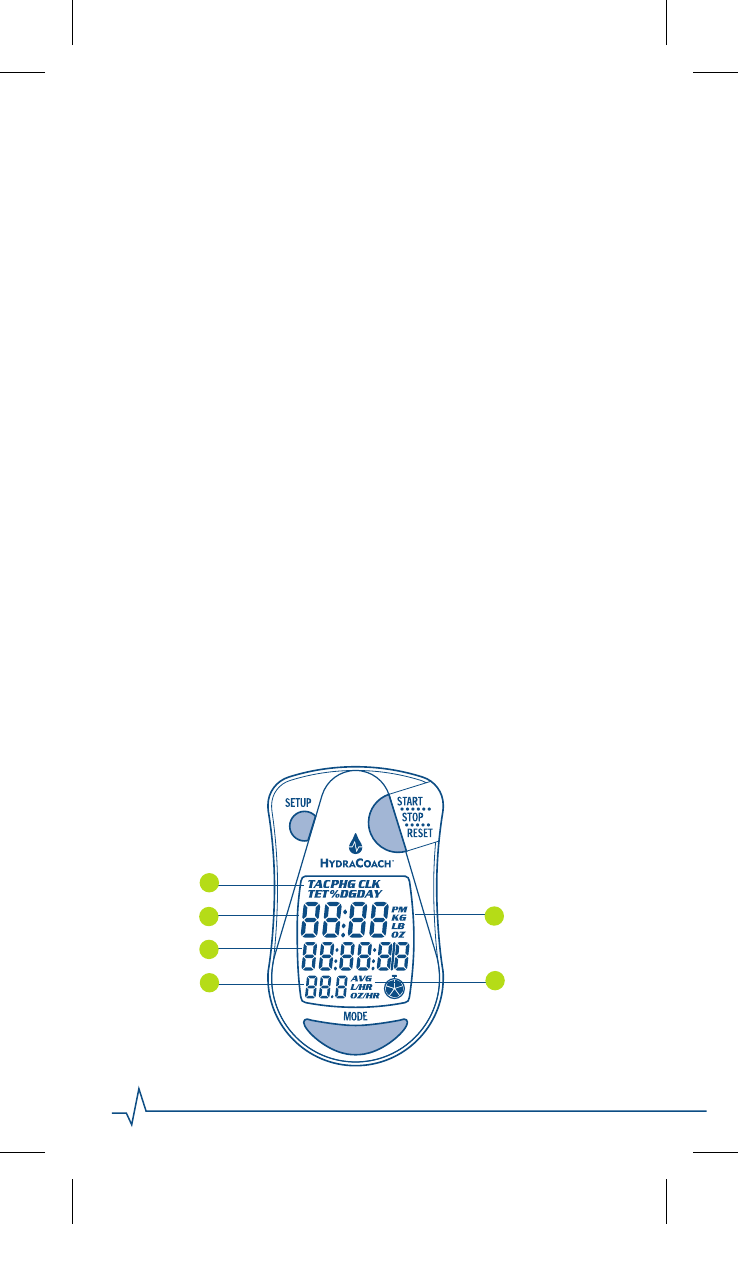
SETUP BUTTON
START/STOP/RESET
BUTTON
MODE BUTTON
HydraCoach
Button/Display Description
B
B
C
C
D
D
A
A
F
F
E
E
12
SP3906IS0ISPORE.indd 12
3906IS0ISPORE.indd 12
10/20/08 4:38:02 PM
10/20/08 4:38:02 P