Installation – SeaLand 960 Series SaniPottie Portable Toilet User Manual
Page 4
4
960 SERIES PORTABLE TOILETS
Dometic marine toilet systems must be
installed according to Dometic’s recommended
procedures . Equipment damage, injury to
personnel or death could result from improper
installation . DOMETIC CORPORATION
ACCEPTS NO RESPONSIBILITY OR LIABILITY
FOR DAMAGE TO EQUIPMENT, OR INJURY OR
DEATH TO PERSONNEL THAT MAY RESULT
FROM IMPROPER INSTALLATION, SERVICE OR
OPERATION OF THIS PRODUCT .
WARNING!
HAZARD OF FLOODING – If the toilet
system is connected to ANY through-the-hull
fittings, properly installed seacocks MUST be
installed in all piping connected to through-the-
hull fittings . Seacocks MUST be easily accessible
to all users of the toilet system or secondary
valves fitted in hoses where they are easily
accessible . ALWAYS close seacocks when toilet
system is not in use (even if boat is unattended
for a brief period . All valves MUST be full bore
valves and marine quality . Screw-to-close gate
valves are not recommended . Failure to comply
can result in flooding which can cause loss of
property and life .
WARNING!
HAZARD OF FLOODING – If toilet is
connected to ANY through-the-hull fittings, ALL
flexible hoses must be of marine sanitation quality
and must be secured to ANY fittings (such as
those at seacock, vented loop or toilet) with two
stainless steel, worm-drive hose band clamps at
each connection . Connections MUST be checked
frequently for integrity . Failure to comply can
result in flooding which can cause loss of
property and life .
WARNING!
HAZARD OF FLOODING – If toilet rim
is below the waterline at ANY time (during any
conditions of heel, load or trim) and is connected
to ANY through-the-hull fittings, properly
positioned ventilated (vented) loops MUST be
installed in discharge piping to prevent potential
back siphonage of seawater into the boat . Failure
to do so can result in flooding which can cause
loss of property and life .
INSTALLATION
Models 964, 965
Models 964MSD, 965MSD
WARNINGS
BE SURE TO READ INSTRUCTIONS COMPLETELY BEFORE INSTALLING PORTABLE TOILET .
1 . Position portable toilet in desired location .
Make sure of adequate clearance for lid
and seat in “up” position and clearance at
the sides to unlatch and remove top tank .
2 . Open side clasps by pulling outward at top
of side clasps .
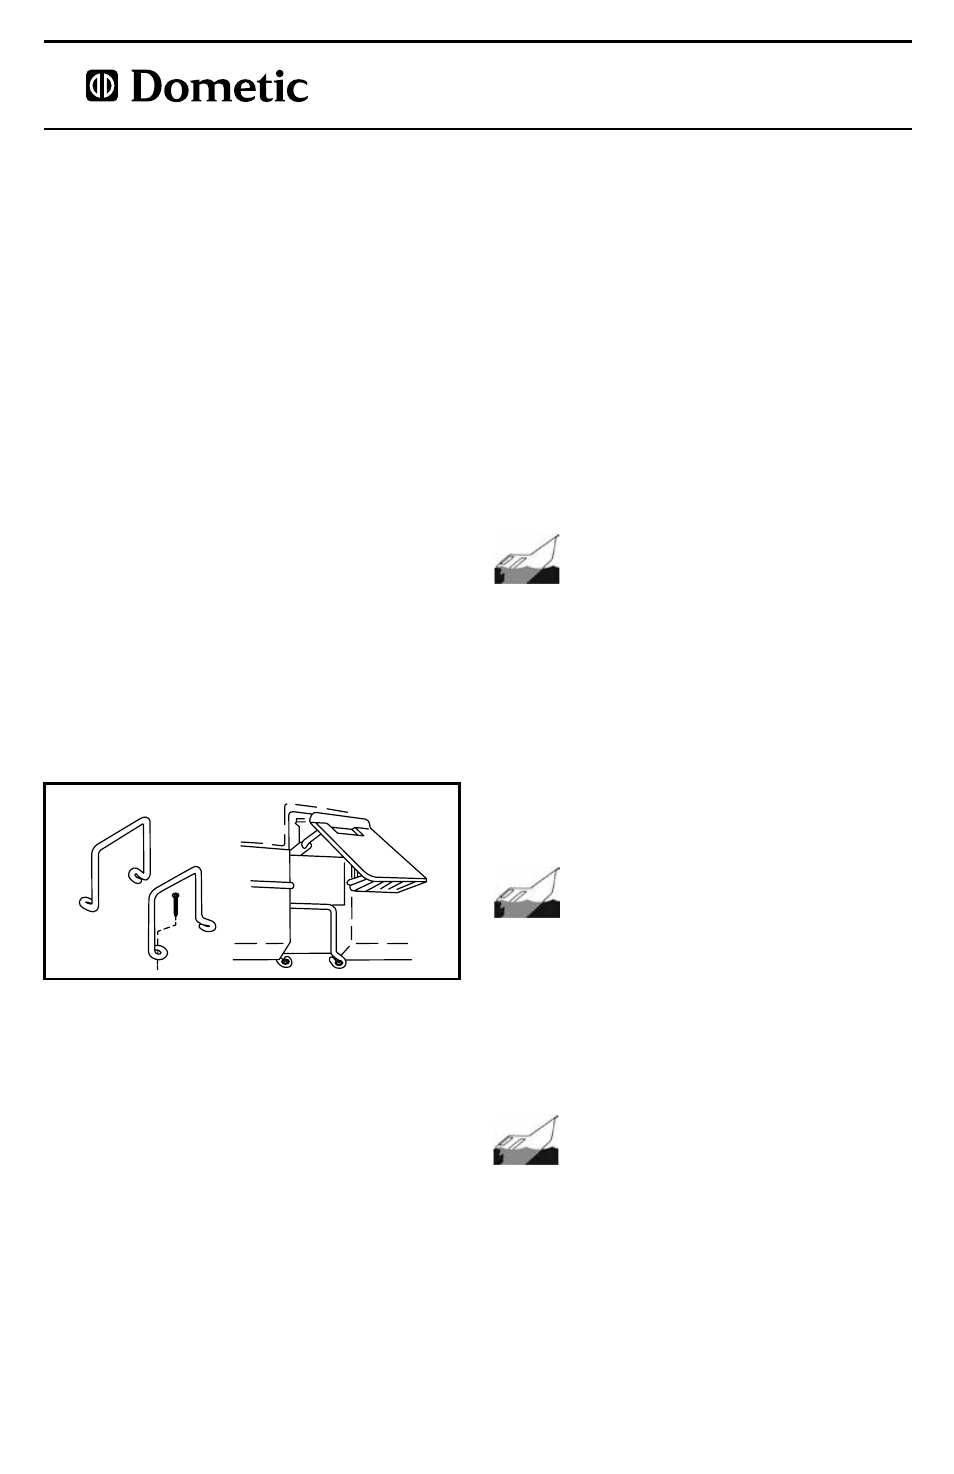
3 . Place hold-down brackets, with mounting
holes facing away from toilet, under the
tank and align with grooves . See Figure 1 .
4 . Use pencil or awl to mark location of hold-
down bracket mounting holes .
5 . Remove portable toilet .
6 . Attach hold-down brackets to the floor or
deck with screws provided .
7 . Set portable toilet between brackets and
latch in place with side clasps .
MOUNTING BRACKETS
Figure 1