Universal tank flange kit, Shut-down relay – SeaLand DTM04 Tank Monitor System Manual User Manual
Page 5
5
INSTAllATION (continued)
universal Tank flange Kit (optional)
1. Find and mark the top center of the tank.
2. Cut a 4 1/16-inch diameter hole in the top center of
the tank.
3. Slip the flange into the hole and mark the location
of the five mounting holes.
4. Drill the five mounting holes with a 1/4-inch drill
bit.
5. Remove the flange, clean all oils, grease and dirt
from the mounting surface and allow to dry.
6. Apply liberal amounts of silicone rubber adhesive
to the mounting surface and the underside of the
flange.
7. Insert the gasket into the flange and align with the
five mounting holes.
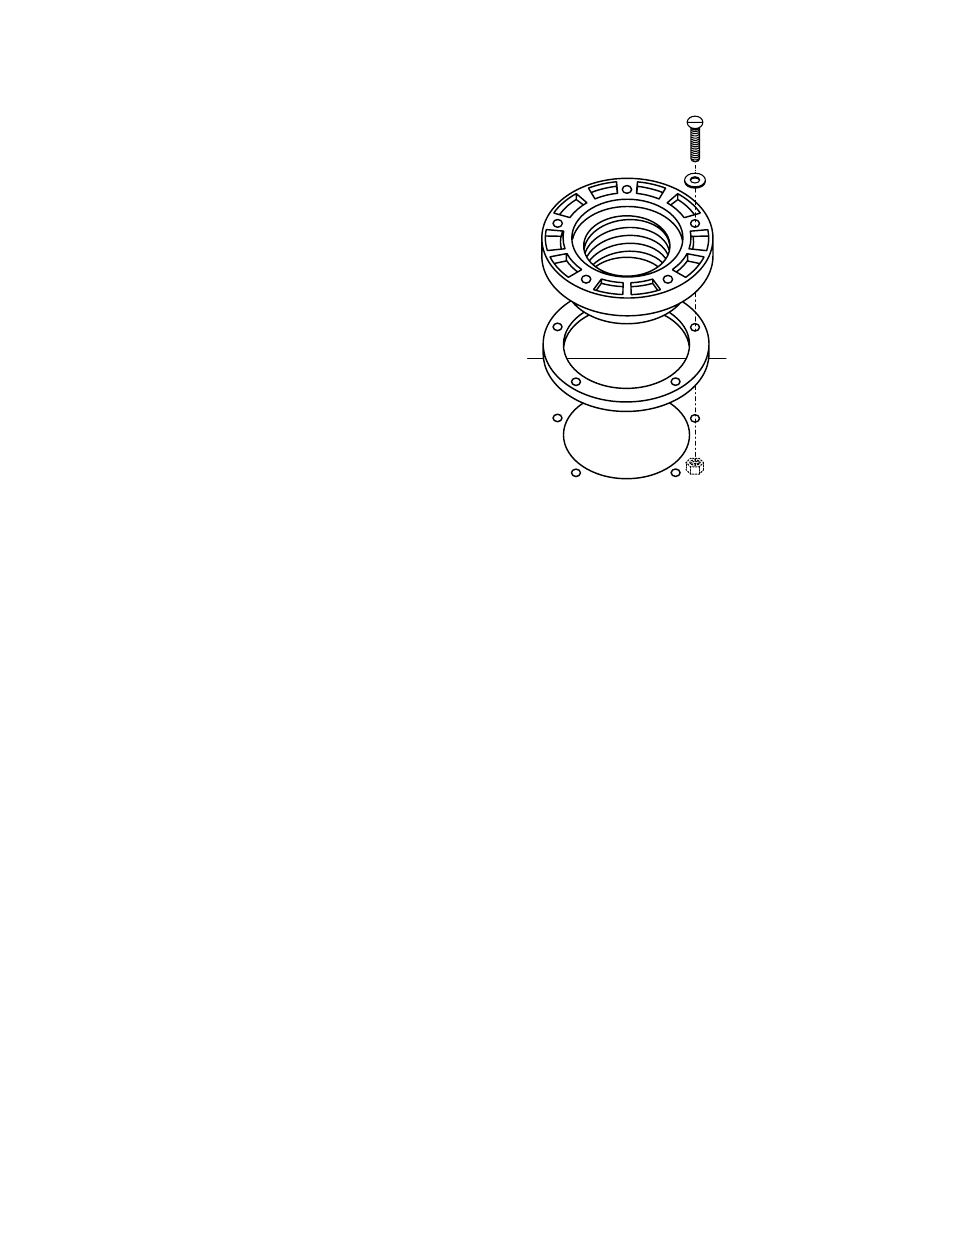
8. Secure the flange with the screws, nuts and washers
provided.
9. Install the probe cap and, if applicable, secure the
5/8-inch vent hose to the vent fitting with a stainless
steel hose clamp.
flange Kit Assembly
Shut-down Relay (optional – applies to DTM04 only)
CAUTION: VERIFY THAT RELAY IS CORRECT VOLTAGE FOR SYSTEM (12VDC requires P/N 600341292 and
24VDC requires P/N 600342490).
1. Insert a small screwdriver behind the top or bottom slot of the panel cover and pry it outward. Remove panel
cover from circuit panel.
2. Remove the four mounting fasteners and pull the circuit panel out of the wall or hull liner, exposing the
wiring connections.
3. Insert the shut-down relay into the socket on the back of the circuit panel.
4. Reinstall the circuit panel to the wall.
5. Route the additional wires (use 12 or 14 gauge stranded copper) to wires 10 and 11 on pigtail to interrupt
power for the toilet system. (See shut-down relay wiring diagram for application details.)
6. Turn on power and test circuit.
7. Complete installation to wall.
Tank
surface