Mono headsets in stereo installation, Intercom modes (8), Ono headsets in – PS Engineering PAR200 User Manual
Page 31: Tereo, Nstallation, Ntercom, Odes
PS Engineering Inc. ®
PAR200 Audio Selector Panel, COM radio Controller and Intercom System
Installation and Operator’s Manual
200-228-0000
Page 3-7
Rev. 4, Dec. 2013
For consistent performance, any headset microphone must be placed within ¼-inch of your lips, prefera-
bly against them. (ref: RTCA/DO-214, 1.3.1.1 (a)).
NOTE
It is also a good idea to keep the microphone out of a direct wind path. Moving your head through a vent
air stream may cause the IntelliVox® to open momentarily. This is normal.
The IntelliVox® is designed to work with normal aircraft cabin noise levels (70 dB and above). It loves
airplane noise! Therefore, it may not recognize speech and clip syllables in a quiet cabin, such as in the
hangar, or without the engine running. This is normal.
For optimum microphone performance, PS Engineering recommends installation of a Microphone Muff
Kit from Oregon Aero (1-800-888-6910). This will not only optimize VOX performance, but will improve
the overall clarity of all your communications.
Table 3-1 Mic Muff ™ Part Numbers
Manufacturer
Model
Mic Muff™ Part Number
Bose
Dynamic
Electret
M87 Dynamic
90010
90015
90020
David Clark
H10-30
H10-20, H10-40
H10-13.4
90010
90015
90015
Lightspeed
All
90015
Peltor
7003
7004
90010
90015
Pilot
11-20 & 11-90
90015
Sennheiser
90015
Telex
Airman 750, Echelon
AIR3000
90015
90010
3.7.2
Mono headsets in Stereo Installation
The pilot and copilot positions work with stereo or mono headsets. All passenger headsets are connected
in parallel. Therefore, if a monaural headset is plugged in to a PAR200 Stereo installation, one channel
will be shorted. Although no damage to the unit will occur, passengers with stereo headsets will only hear
in one ear, unless they switch to the “MONO” mode on their headset.
3.7.3
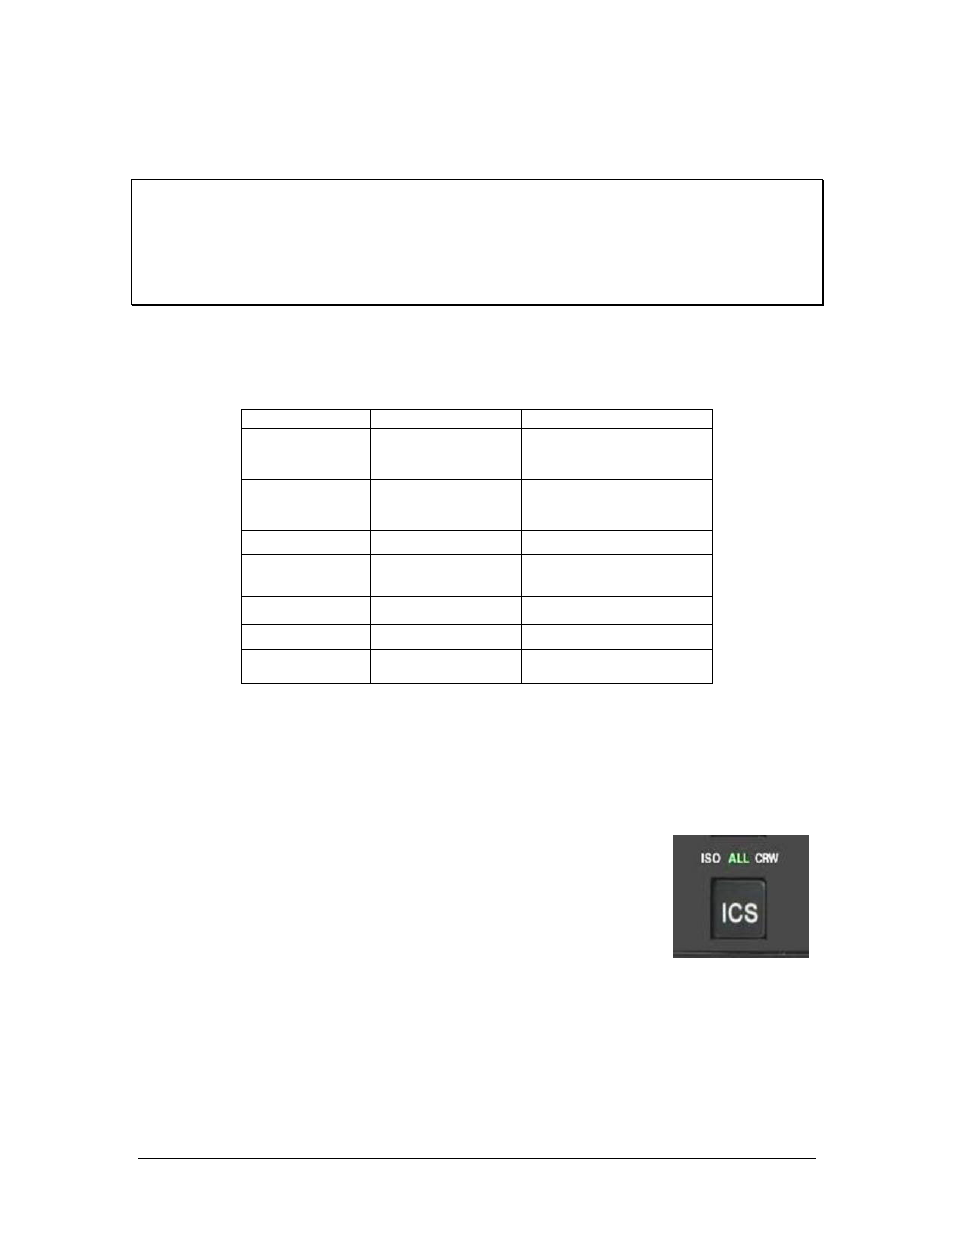
Intercom Modes (8)
The “ICS” pushbutton switch on the left side of the panel provides the selection
of the three intercom modes.
This button cycles through the intercom modes, from left to right, then right to
left as: ISO, ALL CRW and CRW, ALL, ISO. An LED behind the text shows
which mode is currently active.
I
SO
: The pilot is isolated from the intercom and is connected only to the aircraft
radio system. He will hear the aircraft radio reception (and sidetone during radio transmissions). Copilot
will hear passengers’ intercom and music, while passengers will hear copilot intercom and music. Neither
will hear aircraft radio receptions or pilot transmissions.
When the audio panel is put into the “Split Mode” (pilot on COM 1, copilot on COM 2), the intercom
automatically enters the ISO mode to prevent confusion with two intercom conversations. The intercom
can be changed to the CRW or ALL mode if desired.