Is-cs, 1b:00, L¿':go – Philips FW338C User Manual
Page 22: Inrc aux, Clock
Attention! The text in this document has been recognized automatically. To view the original document, you can use the "Original mode".
inrc
AUX
CLOCK
I
g:
Continuous Playback From Tape Deck 2
to Tape Deck 1________________________
1
Press
TAPE
to select TAPE mode.
Z
Load the tapes in
tape deck 1
and
2.
3
Press
PLAY
► on
tape deck 2.
4
Press
PAUSE
on
tape deck 1.
5
Press
PLAY
►on
tape deck 1.
-* * Playback will begin with tape deck 2 and will
continue with tape deck 1 when playback on tape
deck 2 ends.
6
Press
STOP*OPEN
if you want to stop playback
before the end of the tape in
tape deck 1
or
tape
deck 2.
Notes:
-
During rewinding or fast forwarding of a tape, it is
also possible to select another source mode (e.g. CD,
TUNER or AUX mode).
- Check and tighten slack tape before use with a pencil.
Slack tape may get jammed or may burst in the
mechanism.
- C-120 tape is extremely thin and is easily deformed or
damaged. It is not recommended for use in this
system.
- Store the tapes at room temperature and do not put
them too close to a magnetic field (for example, a
transformer, W or loudspeaker boxes).
View Clock
You can view the clock (if it is set) at standby or any
source mode. It will be displayed for about 7 seconds.
• Press
CLOCK'TIMER
briefly.
"
IS-CS
PM" (the current time) will be displayed,
will ba displayed if the clock is not set
Clock Setting
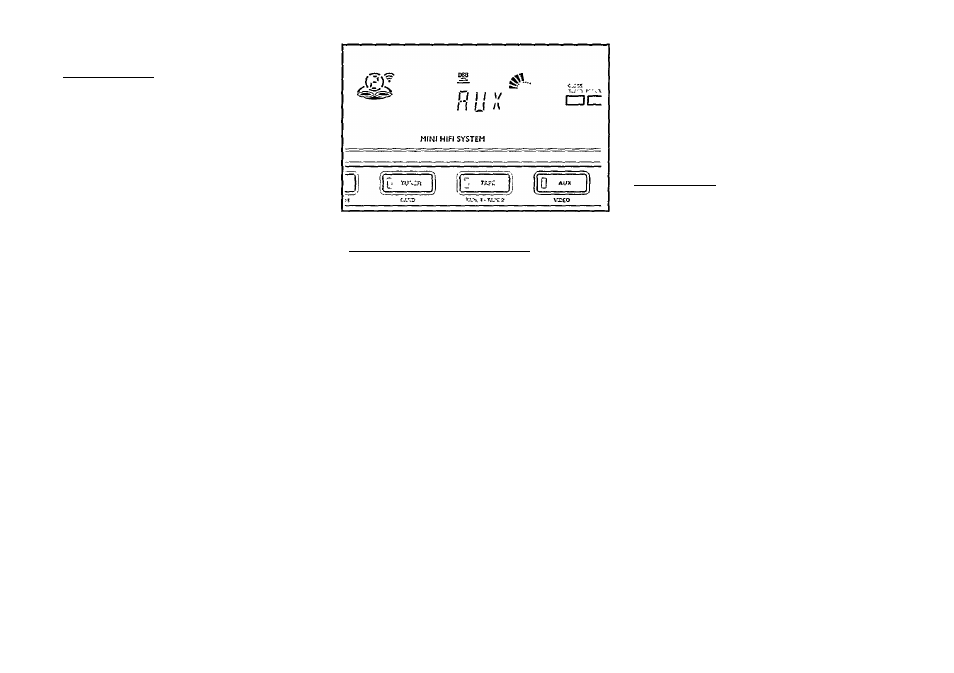
Selecting External Equipment___________
If you have connected the audio out terminals of the
external equipment (TV, VCR, Laser Disc or DVD player) to
the AUX IN terminals, you can hear the enhanced sound
from the system.
• Press
AUX
to select the external mode.
— ■SL):.'" will be displayed.
Note:
-All the sound control features (e.g. DSC, DBB, etc.) are
available for selection.
The clock is set in 12-hour mode, e.g."
1B:00
AM" or
"
l¿':GO
PM". Before setting the clock, you must be in
the View Clock mode.
1
Press
CLO CK»TIMER
to select clock mode.
— " AM" or the current time starts flashing.
—
M . M, Klightup.
2
Set the hour with or
3 Set the minute with (◄or ►(.
4
Press
CLOCK«TIMER
again to store the setting.
-* The clock starts running.
• To exit without storing the setting, press
STOP
■
Notes:
- During clock setting, if no button Is pressed within SO
seconds, the system will exit clock setting mode
automatically.
- When a power interruption occurs, the clock setting is
erased.
22