Optional upgrade – Heli-Max HMXE07 User Manual
Page 15
15
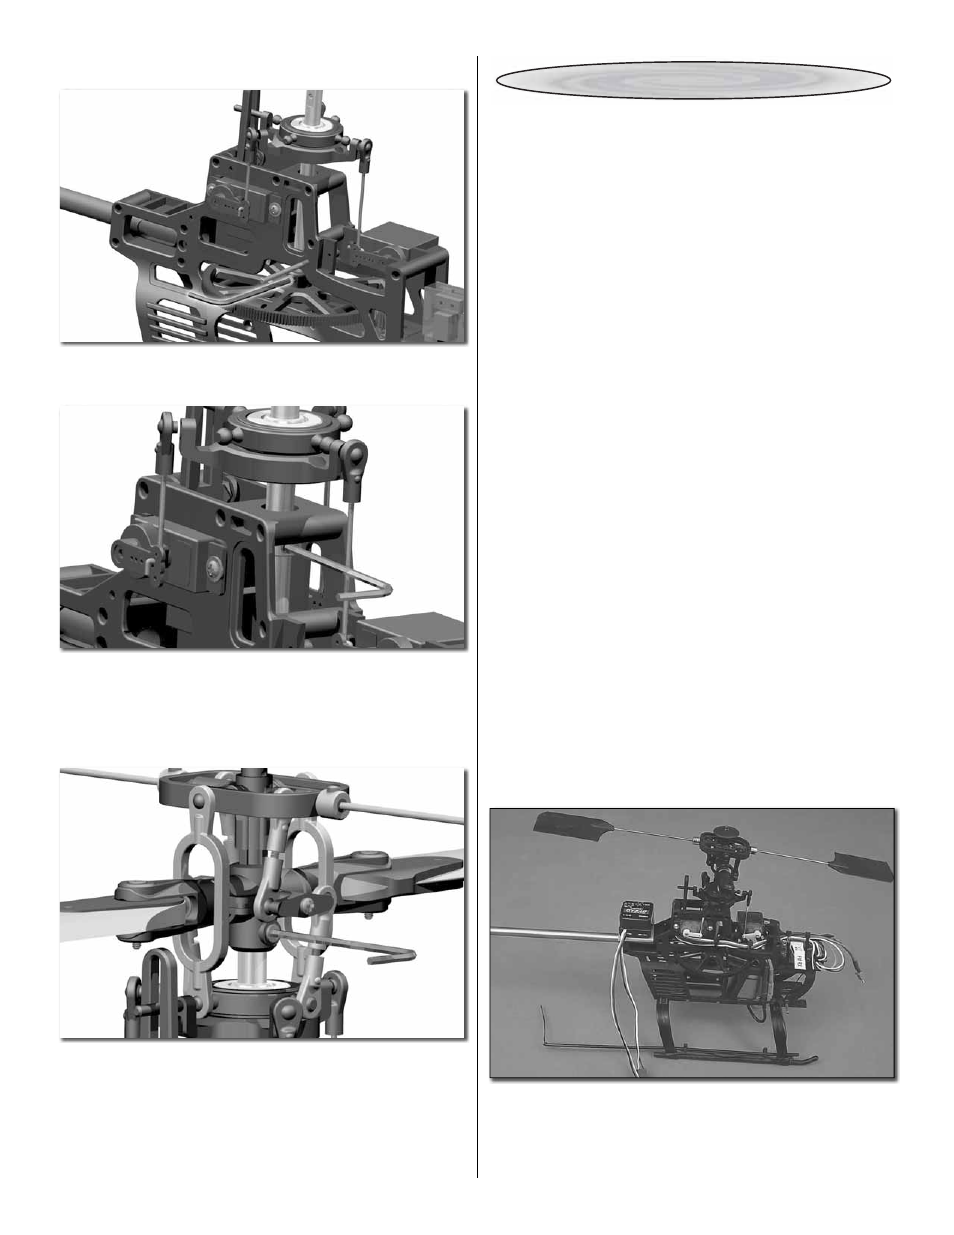
MAIN SHAFT INSTALLATION
Using the 1.5mm hex wrench and pliers to hold the nut, re-
install the lower main shaft bolt.
Insert a 1.5mm hex wrench into the main shaft collar set
screw. While pushing downward on the main shaft, pull
upward on the main shaft collar and tighten the set screw.
There should be no vertical movement in the main shaft
once you have completed this step.
Slide the main rotor head block back onto the main shaft.
Make certain the fl at spot inside of the head block is aligned
with the fl at spot on the main shaft. Use a 1.5mm hex wrench
to re-install the 2mm bolt head bolt.
OPTIONAL UPGRADE
This section is provided to help you install the optional
Futaba
®
GY240 AVCS heading hold gyro in the Heli-Max
AXE CP V3 RTF. This section may be omitted if you do
not intend to install this gyro.
Items Needed (must be purchased separately):
(1)
Futaba GY240 AVCS Gyro (FUTM0809) OR (1) Heli-
Max HM4000 Heading Lock Gyro (HMXM1012)
(1)
Great Planes
®
ElectriFly
™
C-12 Micro Brushed ESC
w/BEC (GPMM2015)
(1)
W.S.
Deans
®
Micro 2R Plug (WSDM3007)
(for C-12 ESC)
(2)
Small
Tie
Wraps
Tools:
Solder and Soldering Iron
Wire
Cutters
Installing a heading hold gyro into the Heli-Max AXE CP V3
RTF will make the model easier to fl y. The gyro will now allow
you to focus your concentration on the other controls instead
of constantly fl ying the tail.
We highly recommend using the optional Great Planes
950mAh LiPo 11.1V 3s 15C battery (GPMP0401) for the
best overall performance.
INSTALLING THE GYRO
Use alcohol and a paper towel to remove any grease or mold
release agents on the gyro and helicopter frame. Apply the
double-sided foam mounting tape included with the gyro to
the bottom of the unit. Carefully align the gyro as shown in
the picture and mount the gyro onto the helicopter frame.