Great Planes Ultra Sport 40 Plus Kit - GPMA0390 User Manual
Page 49
❏
1. Cut the canopy on the cut line. If you chose to install a
pilot, use double-sided tape or glue it with CA to attach it in
place. The instrument panel decal should also be in place by
now. Position the canopy in place on top of the fuselage.
Once satisfied with the fit, apply a small bead of Z-56
canopy glue to the bottom of the canopy where it comes in
contact with the fuselage. Hold the canopy in place with
masking tape until the glue is fully cured (overnight).
❏
1. Wrap the battery in 1/4" [6.4mm] R/C foam. The battery
can be installed in two different places. If you use a light
weight engine or you do not want to explore the aft range of
the CG of this airplane, you can install it directly behind the
servos and secure it in place with a piece of scrap 1/4" x
1/2" [6.4mm x 13mm] balsa stick. If you used a heavy
engine or you plan to explore the aft range of the CG of this
airplane, install the battery in the bottom fuse behind the
hatch in the aft end of the fuselage. Use double-sided tape
and several drops of CA on the tape to secure the battery in
place. Another method to hold the battery in place is to use
hook and loop material with one of its sides glued to the
fuselage’s bottom balsa sheeting and the other wrapping
the battery to secure it in place. In any case, you should
always use some kind of rubber padding to protect the
battery from vibration.
❏
2. Wrap the receiver in 1/4" [6.4mm] R/C foam and install
it in place as shown on the plans. Use a piece of scrap 1/4"
x 1/2" [6.4mm x 13mm] balsa stick glued to the sides of the
fuselage to secure it in place.
❏
3. Connect all servos, servo extensions and battery wires
to the receiver and switch. Secure critical connections with
heat shrink tubing or tape.
❏
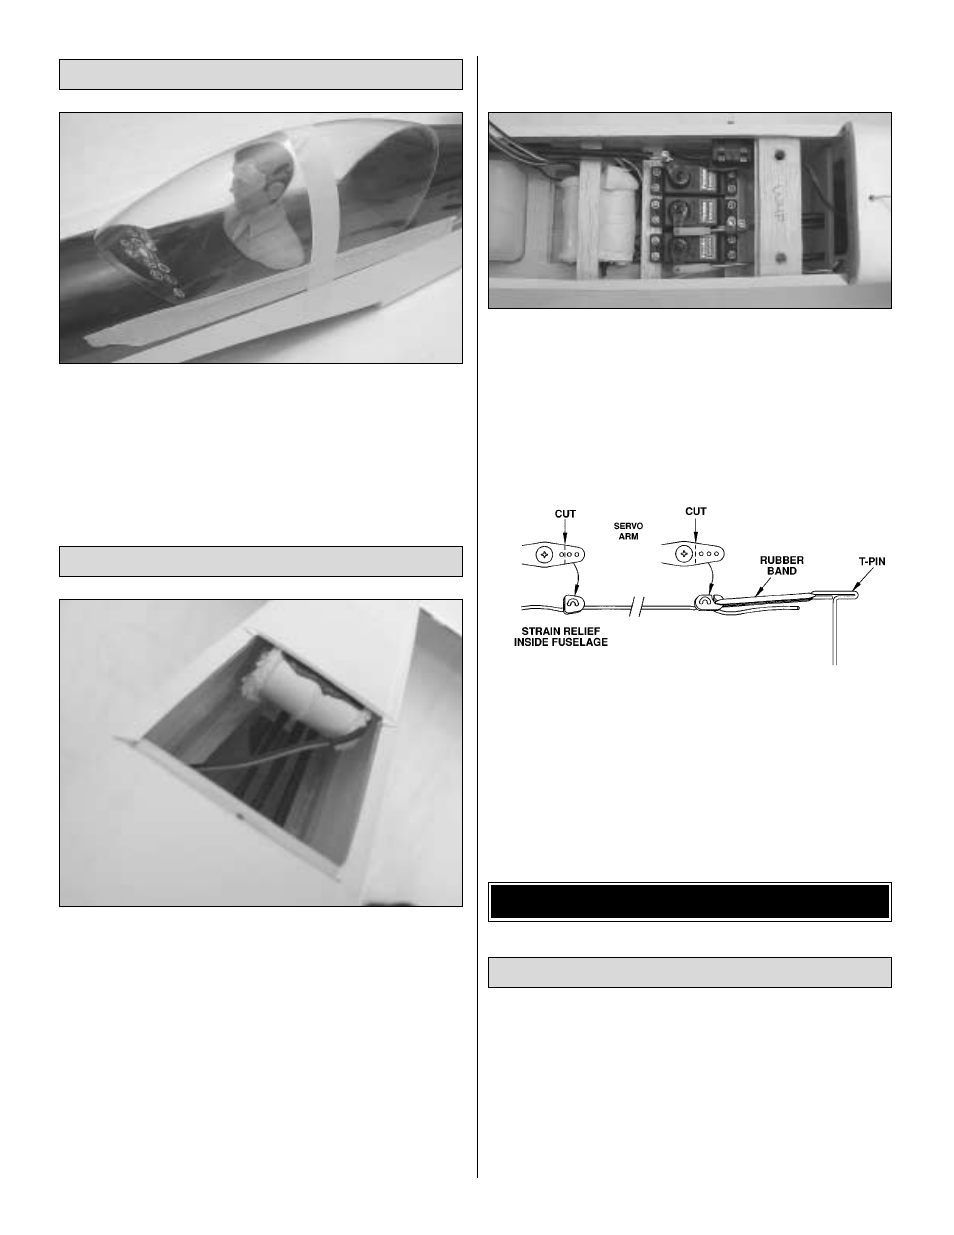
4. Make a small hole at the bottom fuselage sheeting.
Install a strain relief on the antenna wire and route it to the
aft part of the airplane. Use another strain relief and a small
rubber band to attach the battery to a pin in the aft area of
the fuselage or to the tail wheel.
❏
1. Turn on the transmitter and receiver and center the
trims. If necessary, remove the servo arms from the servos
and reposition them so they are centered. Reinstall the
screws that hold on the servo arms.
❏
2. With the transmitter and receiver still on, check all the
control surfaces to see if they are centered. If necessary,
adjust the clevises on the pushrods to center the control
surfaces.
Check the Control Directions
GET THE MODEL READY TO FLY
Finish the Radio Installation
Finish the Cockpit
49