Build the wing panels build the wing – Great Planes Ultra Sport 40 Plus Kit - GPMA0390 User Manual
Page 13
❏
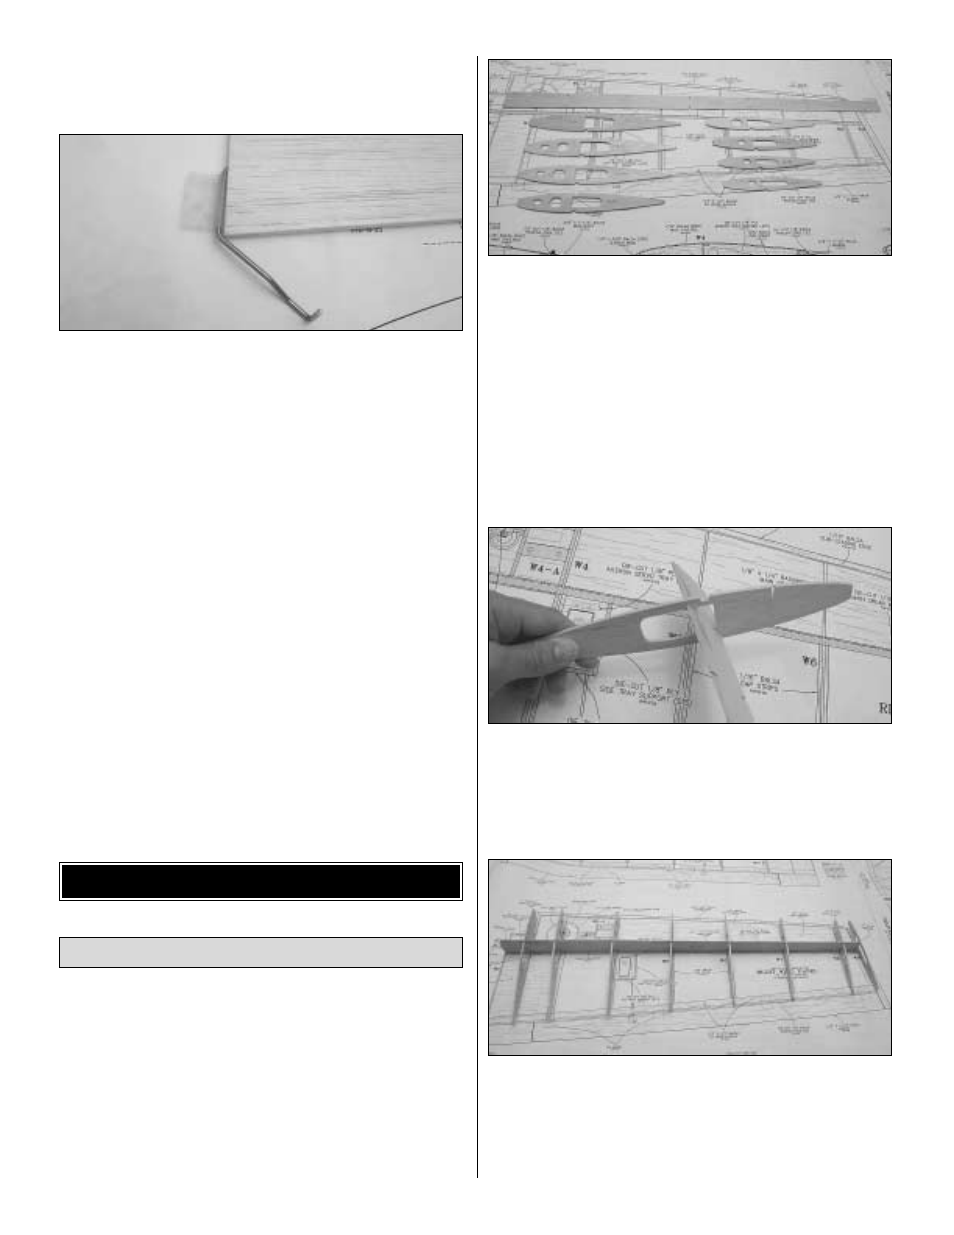
9. Cut the hinge slots on the trailing edge of the fin and
the leading edge of the rudder following the same procedure
used on the stab and elevators.
❏
10. Fixed Mains and Tailwheel and Retractable
Mains/Fixed Tailwheel. Drill a 7/64" [2.8mm] hole 1"
[25mm] deep in the rudder for the tail wheel assembly as
shown on the plan. Make sure it is oriented 90 degrees to
the leading edge of the rudder. Wick thin CA in the hole. Cut
a groove 1/8" [3.2mm] wide from the bottom of the rudder up
to the hole. Hint: A perfect tool for this is the Great Planes
Groove Tube
™
(GPMR8140).
❏
11. Bevel the leading edge of the rudder as shown on the
plans cross section.
❏
12. Test fit the CA hinges but do not glue them in place.
This will be done after the model is covered.
❏
13. Drill 1/16" [1.6mm] holes for the control horn on the
rudder as indicated on the rudder plan. Wick some thin CA
into the holes.
❏
1. Unroll the plan sheet. Roll it inside out so they will
lie flat.
❏
2. Locate the right wing panel of the plan. You may find it
helpful to cut the plan in half, making them a more
manageable size to pin to your building board.
❏
3. Position the right wing panel plan flat on the building
board. Cover the plan with Great Planes Plan Protector or
waxed paper so glue will not adhere to it.
❏ ❏
4. Locate the die-cut 1/16" [1.6mm] balsa main shear
web (MSW), the die-cut 3/32" [2.4mm] balsa wing ribs W2
through W8 and the die-cut 1/16" [1.6mm] balsa wing
rib W9.
Note: In the following steps it is important to pay careful
attention and assemble the parts exactly as instructed.
Failure to do so will result in a wing that is not straight.
❏ ❏
5. Insert the wider end of MSW into W2. Position the
rib over the second set of notches and then twist it into the
notch. The top of MSW is marked. Push MSW forward until
it sits against W2. Do not glue them to each other at this time.
❏ ❏
6. Insert all other ribs in order (W3, W4, W5, ...W9)
and twist them into their notches. Because W9 is installed at
a different angle against MSW, you may need to slightly
sand MSW to be able to position W9 as shown on the plans.
Again, all letters in the ribs should be right-side-up. Do not
glue any of the ribs in place yet.
Build the Wing Panels
BUILD THE WING
13