Great Planes Sportster Bipe 40 Kit - GPMA0510 User Manual
Page 22
6.
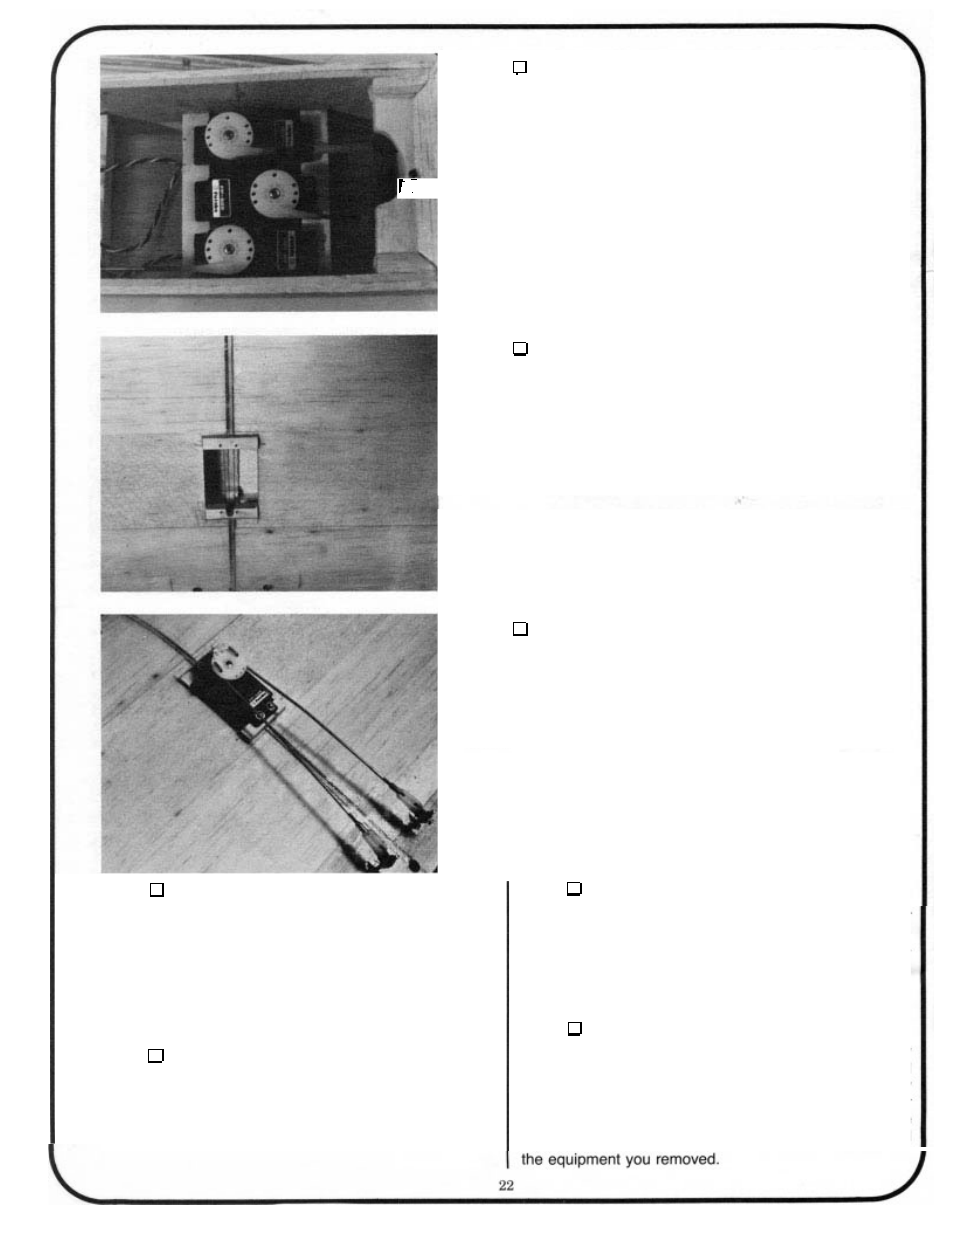
INSTALL RADIO COMPONENTS
Glue servo rails made from scrap plywood or
hardwood into the radio compartment. Install the rudder,
elevator and throttle servo directly to the hardwoodrails or install
the servo tray that comes with your radio. Position the battery
and receiver (wrapped in foam rubber for protection) as shown
on the plan. Install the on/off switch. Install the inner pushrod
wires or tubes into the pushrod housings for the rudder and
elevator. Also install a cable type pushrod and its outer tube for
the throttle linkage.
7.
CUTTHE SERVO WELL IN THE TOP OFTHE BOT-
TOM WING
The well is located directly behind the spars. Cut out
enough of the wing sheeting, center rib and root ribs to allow
the placement of the servo as deeply as possible inside the
wing. Glue hardwood rails (from scrap) as shown in the photo
or use the tray that came with your radio. Drill small pilot holes
in the rails for the servo screws.
8.
INSTALL AILERON SERVO AND LINKAGE
Mount the servo as deep into the wing as you can
so
no binding occurs with the other servos. Installthreaded wire
pushrods with
“Z’
bends at the servo. Connect the pushrods
to the aileron torque rod arms with the nylon connectors, wheel
collars and screws provided and clevises of your choice. This
end of the linkage is therefore adjustable.
9.
INSTALL THE MAIN GEAR
Place the soldered maingear and braceassem-
bly into the slots in the bottom
of
the landing gear plate.
Place 3 landing gear straps over the main gear and 2
straps over the brace and mark the hole positions on the
landing gear plate. Drill pilot holes for the
#2
x
3/8
screws.
Put the screws in place.
10.
INSTALLTHE ENGINE AND MUFFLER
Attach the muffler to the engine. Install the en-
gine mount unless you already have. Attach the enginel
muffler to the mount.
11.
INSTALLTHE FUELTANK
Install the tank now
if
you haven’t done
so
al-
ready. Assemble the tank per manufacturer’s directions.
Feed extra long fuel lines through the front of former 1A
into the tank compartment. Attach the lines to the tank
and pull the tank into position. Cut the fuel lines to length
and attach them to the engine.
12.
COVERTHE MODEL
Remove any equipment that will be in the way
while you are covering. Make sure the model is all final
sanded and clean (use a tack cloth or rag to pick up any
dust). Use heat shrink covering material and cover your
Sportster Bipe. Follow the instructions available with the
covering. When the model is completely covered, reinstall