Great Planes Sportster Bipe 40 Kit - GPMA0510 User Manual
Page 15
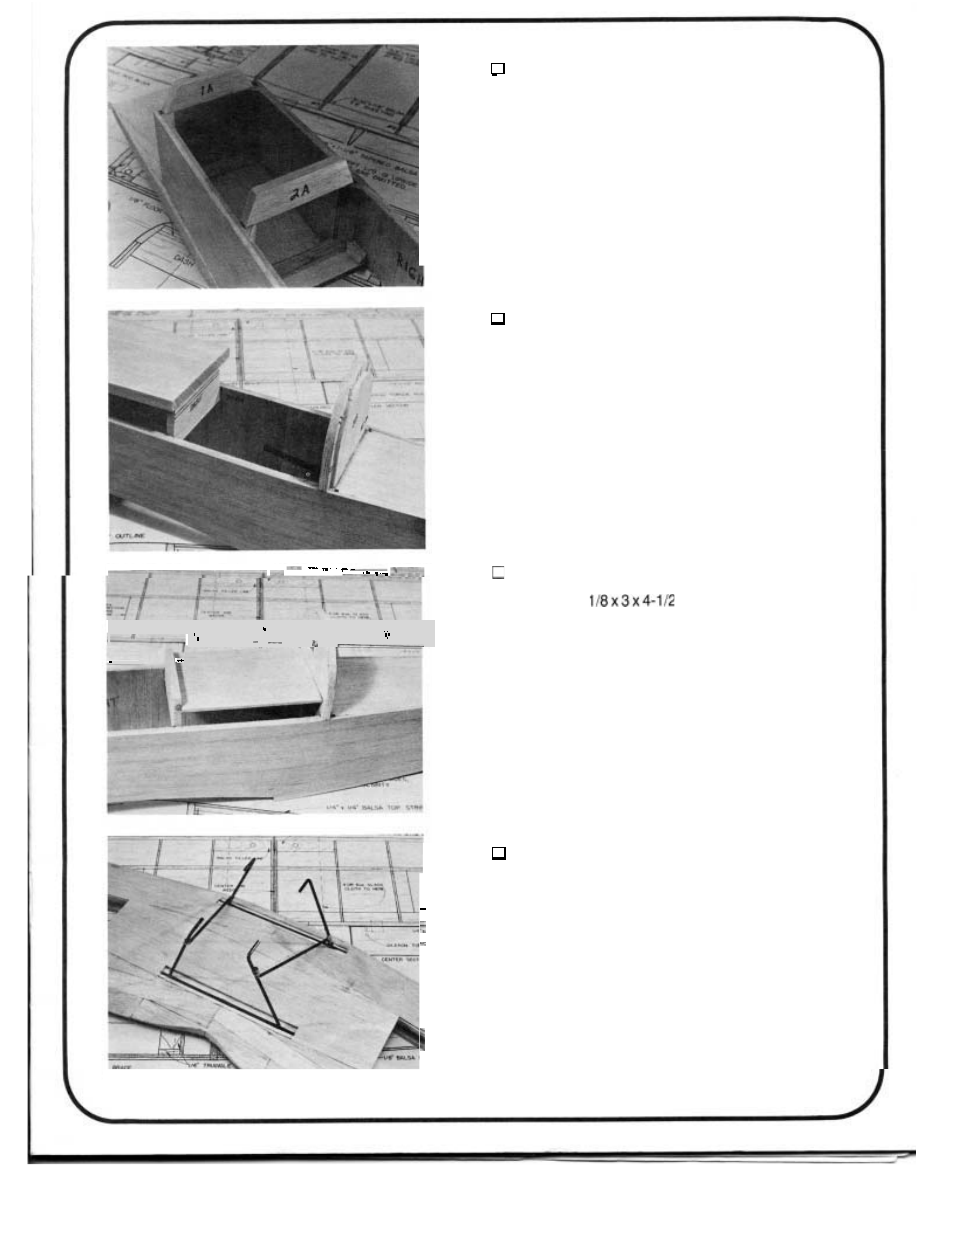
23.
ADD FORMERS
1A AND 2A
Glue formers
1A and 2A to the tops of bulkheads 1
and 2. When the glue is
dry sand the tops of these formers to
a slight angle
so
the top block will mate squarely when glued.
Trial fit the assembled fuel tank. Carve out a section of former
2A for fuel tank clearance if necessary. If you leave the tank in
permanently, plug all fuel lines
so
balsa dust does not enter the
lines.
24.
ADD THE DASH AND FORMERS 3N3B
Pin the hood top in place to determine the height of
the dash. Put the cockpit floor in position to determine the
placement of the dash on the fuse side. Glue the dash to the
fuse sides. Do not glue on the hood top yet. Glue former 3
A/3B
to the fuselage at the rear of the cockpit on top of bulkhead #3.
.
25.
GLUE IN THE COCKPIT FLOOR
Glue in the
balsa
cockpit floor between
the dash and former 3
A/3B on the lines you drew earlier.
26.
SOLDER THE CABANE WIRE
The cabanes for the
top
wing are permanently instal-
led into the fuselage. Cut the sheeting out over the cabane wire
holders in the top wing. With the wing level on your work surface
and the bottom side of the wing up, place the cabanes into the
slots in the holders. The bent ends of the cabanes should face
each other. Wrap the wire bracesto the cabanes with the copper
wire provided. With the cabanes 90 degrees to the wing, solder
the bottom (nearest the wing) wire wrapped end of the cabane
on both sides. Then solder the top wire wrapped end without
losing the alignment to the wing.
15
.