Great Planes Sportster Bipe 40 Kit - GPMA0510 User Manual
Page 11
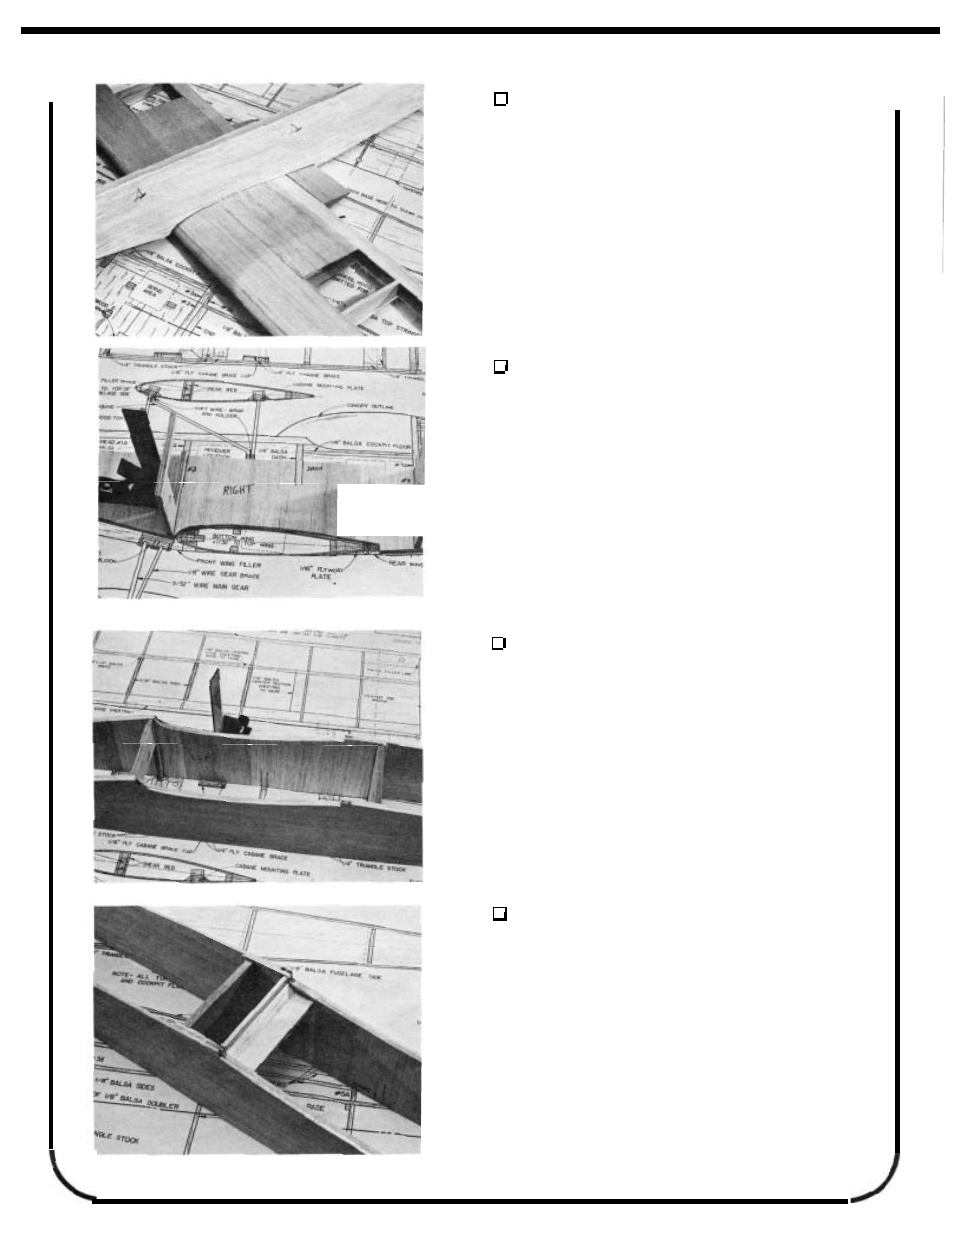
FIT THE WING TO THE FUSELAGE
Pin the fuselage sides together perfectly lined up.
Check the fit to the wing saddle cutout by placingthe fuse sides
on the wing. Custom sand if necessary but do not change the
wing incidence.
8.
SAND FUSELAGE TAIL; GLUE BULKHEADS #2
AND #3 TO THE RIGHT FUSELAGE
SIDE
Slightly sand the insides of the fuse sides at the tail
for a better glue joint. Pin the right fuse side to your work surface.
Position the bulkheads correctly (the angle
is at the bottom)
and glue them in place at 90 degrees to the fuse side.
NOTE: The straight edge at the top of the fuselage side is called
the Fuselage Reference Line and will be used later to align the
wing and stab to the fuselage.
9.
GLUE LEFT FUSELAGE SIDE TO THE BUL-
KHEADS
Align the fuselage sidelbulkhead assembly upside
down over the top view of the plans. Make sure the flat side is
resting flat on the building board and that the bulkheads are
aligned to the plans. Pin the fuselage in place. Glue the left
fuse side to bulkheads #2 and #3 making sure the left fuse
side is also flat to the building board. Clamp or pin the fuselage
in place until the glue is dry.
10.
GLUE IN THE HOLD DOWN PLATES
The hold down plates are 1/4 x 7/8 x 3 plywoodjust
like the hold down plates in the bottom wing. Glue the front
hold down to Bulkhead #2 and the fuse side doublers. Glue
the balsa 1/8 x 3/4 x 3 false bulkhead to the fuse side doublers
at the rear of the wing saddle. Glue the rear hold down to the
false bulkhead and doublers. Glue 1/4"triangle stock to the top
and bottom of both holddown plates. Use 1/4 tri x 36 balsastock.
11