Great Planes Sportster Bipe 40 Kit - GPMA0510 User Manual
Page 21
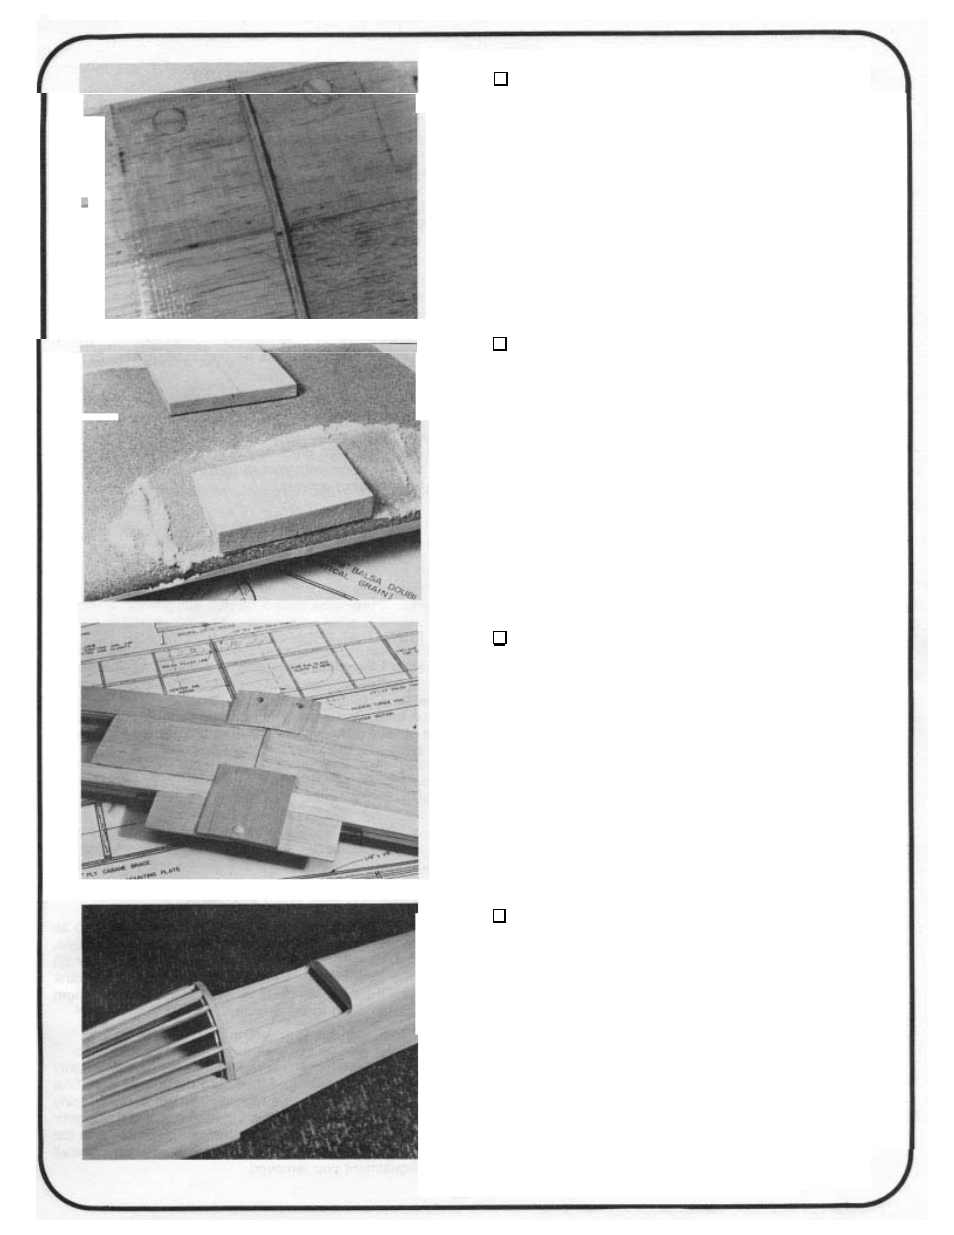
2.
DRILL AND TAP WING BOLT HOLES IN THE WING
AND FUSE
Withe fuse aligned to the work surface and the wing
aligned to the fuse, drill two 11/64 pilot holes through the wing
hold down plates in the leading edge of the wing and one hold
in the trailing edge of the wing. Drill the rear hole at an angle
so
the bolt head will rest flat on the trailing edge. Drill these
pilot holes through the hold downs in the fuselage at the same
time you drill through the wing. Remove the wing. Drill and tap
the holes in the fuselage hold downs for
1/4-20 bolts. Counter-
bore the leading edge holes in the wing
so
that the bolts will
rest flat against the hold downs in the wing.
3.
SAND THE WING FAIRINGS TO SHAPE
Prepare to install the wing fairings by drawing lines
on the bottom of the wing even with the fuselage sides. Cut the
fairings to width. Sand to shape by placing sandpaper on the
wing and working the fairings back and forth.
4.
G L U E THE FAIRINGS
I
N
THE FUSELAGE CONT
PLACE; SAND THEM TO
OUR
Drill holes through the fairings large enough for the
wing bolt heads to pass through. Install the wing bolts and glue
the fairings in place with 5 minute epoxy. Be careful not to get
any epoxy on the wing bolts and not to glue the wing to the
fuselage!When the glue is dry, sand the fairings to the fuselage
contour.
5.
FINISH COCKPIT AREA: FUELPROOF FUSE;
FINAL SAND MODEL
Finish the cockpit area any way you wish. You may
want to add a pilot, paint the cockpit area and/or add an instru-
ment panel. Fuelproof the engine compartment by coating all
the balsa and ply parts with resin or epoxy. Now final sand the
entire model.
21