Assemble the wing – Great Planes Matt Chapman CAP 580 Giant ARF - GPMA1285 User Manual
Page 11
❏ ❏
12. Remove the stock servo arm from the servo. Plug
the servo into the receiver and turn the radio on.
❏ ❏
13. Place the appropriate servo arm insert on the
servo. The inserts have letters stamped on the bottom of
them (A=Airtronics/JR, F=Futaba, H=Hitec).
❏ ❏
14. Attach the aluminum servo arm to the servo so
that it is 90 degrees to the long side of the servo case. If it is
not, remove the servo arm, rotate the insert 90 degrees and
attach the servo arm again. Use the insert position that
makes the servo arm fit closest to 90 degrees. Be sure to
secure the servo arm with the screw.
❏ ❏
15. Adjust the pushrod by turning it until the elevator
is centered on the stab.
❏
16. Repeat steps 1-15 for the other stab half.
❏ ❏
1. Repeat the hinging process used on the stab to
attach one aileron to its wing.
❏ ❏
2. Remove the covering from the servo openings in
the bottom of the wing.
❏ ❏
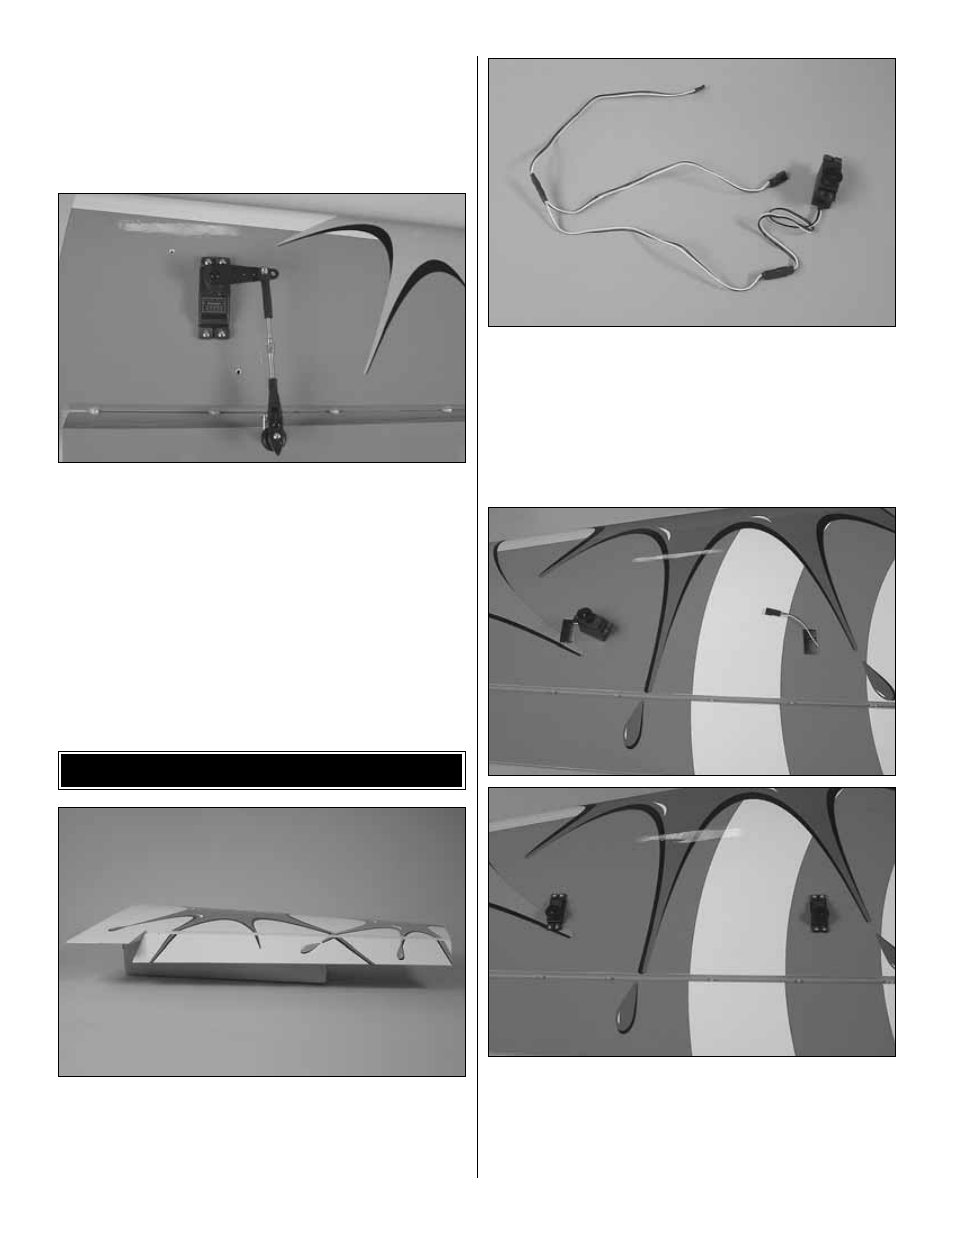
3. Secure one aileron servo lead to a long Y-harness
with string or a piece of heat shrink tubing (not included).
Hobbico Heavy Duty Y-Harnesses (HCAM2751) were used
on our models.
❏ ❏
4. Use the string in the wing to pull the y-harness
through the wing from the outer servo opening. Pull the
second end of the y-harness out of the inner servo opening.
Secure the second servo lead to the Y-harness just as you
did with the first one. Mount the servos, noting that the servo
arms go toward the trailing edge of the wing.
ASSEMBLE THE WING
11