Tracking adjustments, Timer recording – Philips VR 588 User Manual
Page 17
Attention! The text in this document has been recognized automatically. To view the original document, you can use the "Original mode".
Tracking Adjustments
Auto tracking
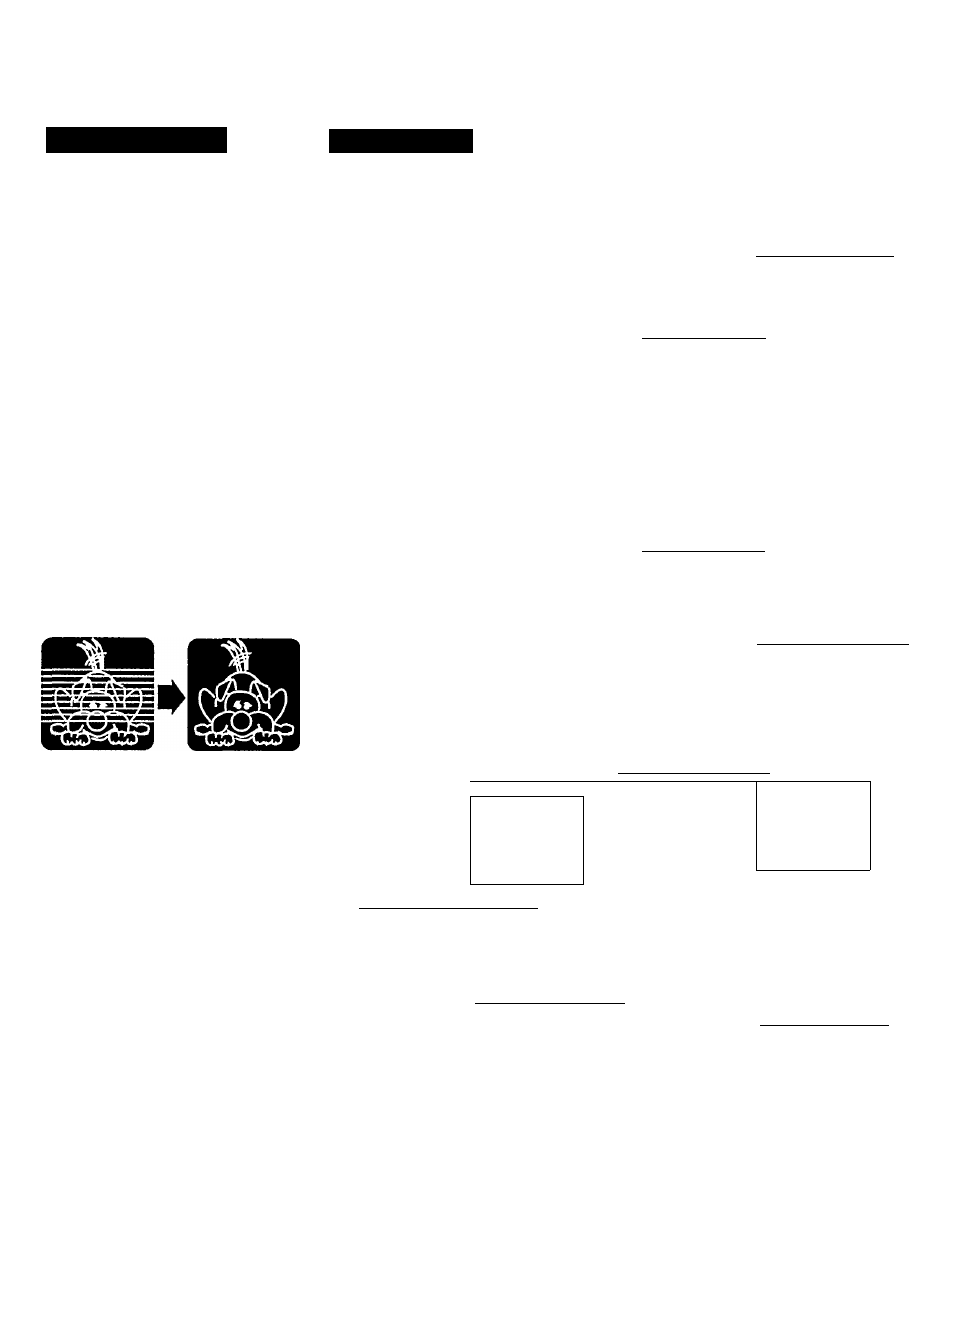
Each time a tape is inserted, auto
tracking starts working and
continuously analyses the signal to
adjust for optimum picture quality
during playback. So, there is no need
for you to minimize noises in moit
tapes during playback.
, ,
Manual tracking
• During normal playback:
If auto tracking cannot eliminate
noises well during playback, press
CHANNEL
A
or
T
on the front
panel.
• During a slow motion picture:
Press CHANNEL
A
or
T
on the
front panel to minimize noises in the
slow motion picture.
• During a still picture:
Press CHANNEL
A
or
T
on the
front panel to reduce jitter in the still
picture.
To cancel manual tracking, stop the
tape, eject the tape, then re-insert it.
Timer Recording
To record while you’re away, follow
step 1 —‘10 below. For each
programme you set, the VCR will turn
on, start recording, and turn off
automatically. You can store up to 8
programmes.
Make sure....
• The clock is set to the correct time
before setting timer recording.
• A cassette is inserted in the VCR and
the record tab of the cassette must
not be removed.
• The remote control operation mode
is set correctly for operating your
target component.
- Press VCR to operate the VCR.
- Press TV to operate the TV.
• ONLY FOR VR388/55: This VCR
can record a tape only in SP (Stand
ard Play) mode. You cannot select
the tape speed even if you press
SPEED.
FOR EACH STEP BELOW, YOU
NEED TO FINISH WITHIN 60
SECONDS; OTHERWISE,
PROGRAMMING WILL HAVE TO
BE RESTARTED FROM STEP I.
Select Cfiannel
1
ONE TIME PROGRAM
PROGRAM 1
CHANNEL+i-lZ
START ♦.t-
STOP+.t- —
REG SPEED LP
DATE+A- 07 SHTDAIlV=3 ORV.-EEKLYcO .TO END PUSH ЕШ______ Select Timer Mode Press TIMER. ing menu appears. Select Programme mode ONE TIMS PROGRAM PROGRAM 1 CHA*4.\'EL+.'------ START*.«- — STOP*«- REC SPEED LP DATE*i- OT.WS SET ОАТ.УеЗ OR WE0O.Y=9 TO EN-Q PUSH EXIT_____ 1 Press A or ▼ to select “QUICK MING” then press OK/^. The Quick Programming menu appears. • If you have already made 8 pro grammes, “ALL PROGRAMS IN (>>-P.18). Press CH A or T to enter the TV charmel. • To record from external line input, press CH A or T Select Start Time_________ Press START + or — (Number button 1 or 4). • Each time you press the button, the set intervals. ONE UVE PROGRAM PROGRAM 1. CHAS?v£L* *.'«-12 START*.«- C3;S0 STOP*.«- — REC SPEED IP DATE*.«- OT.’OA'Sfi Select Stop Time ONE TIME PROGRAM PROGRAM 1 CHANN-EL*«- 12 START*I'- 03’KI STOP*.«- 09:20 REC SPEED LP DATE**- OT.DA'SS SET DARYca OR \VEEaY»9 TO Ef.O PUSH EXIT ‘ Press STOP -b or — (Number button 2 or 5). • Each time you press the button, the set time changes by 1-minute intervals. If p ONLY FOR VR588/55; P Select Tape Speed__________ Press SPEED. ONE TP.*E PROGRAM SELECT'AT CHOOSE WOK ♦ QUICK PR03RAV. m ;IG PROGRAM REVIEW • Each time you press the button, the tape between “LP” and PROGRAM 1 CHANN-EL*.«-« START+A- C8:S9 STOP*.«- 09:30 REC SPEED LP 0ATE+Í- 07 SET DAT.Y=3 OR WEEKLY=9 TO END PUSH EXIT TO END PUSH EXIT “SP.” Select Start Date ONE T l VE PROGRAM PROGRAM 1 (^tAKNEL*.'- 12 START*.«- ОЗ'ЗО STOP*.«- 09-20 REC SPEED IP DATE+A- QTiQliSa FRIDAY SET OALYcS OR V.EEKLY=9 TQEN’DPU^ EXIT Press DATE + or - (Number button 3 or 6 ). • Each time you press the button, the set hold the button, the set date changes by 15-day intervals. You can only specify the date within one year. • The year and day of the week is displayed automatically. To be continued on the next page 17 —
The Timer Record
PROGRAM
USE” appears and goes back to the
Timer Recording menu. If this
happens, delete unwanted programmes
until “AW REAR” or “AW FRONT’
appears on the TV screen.
time changes by 1-
minute intervals. If you hold the button,
the set time changes by 30-minute
you hold the button, the set time changes
by 30-minute intervals.
speed alternates
date changes by 1-day intervals. If you