Kit inspection, Kit contents, Assemble the model – Flyzone FLZA4032 User Manual
Page 4: Charge the battery
4
KIT INSPECTION
Before starting to build, inspect the parts to make sure they
are of acceptable quality. If any parts are missing or are not
of acceptable quality, or if you need assistance with assembly,
contact Product Support. When reporting defective or missing
parts, use the part names exactly as they are written in the
Kit Contents list.
Flyzone Product Support
3002 N. Apollo Drive, Suite 1
Ph: (217) 398-8970, ext. 5
Champaign, IL 61822
Fax: (217) 398-7721
E-mail: airsupport@fl yzoneplanes.com
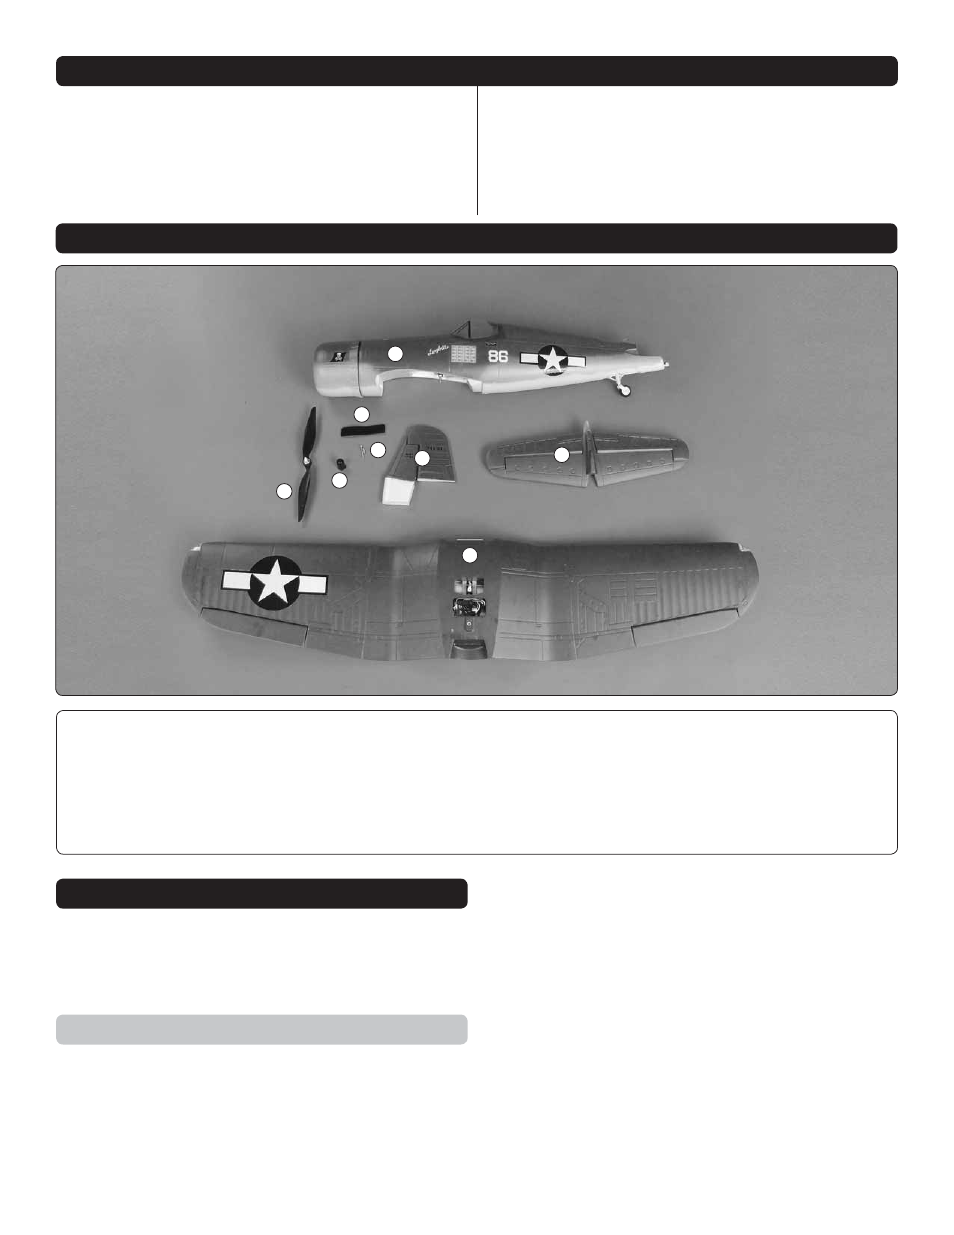
KIT CONTENTS
1. Fuselage
2. Wing
3. Horizontal Stabilizers and Elevators
4. Vertical Fin and Rudder
5. Propeller and Prop Adapter
6. Prop Nut
7. Hook and Loop Material
8. Screws
Kit Contents
ASSEMBLE THE MODEL
Before starting to assemble the Corsair, we recommend
charging the fl ight battery. Then, when you are ready to set-
up the radio system, the fl ight battery can be used to power
the receiver.
Charge the Battery
The following is an overview of how to charge your motor
battery using the ElectriFly Smart Charger. If you are using a
different LiPo charger, carefully follow the instructions included
with the charger.
1. Connect the input power to the charger. The GREEN LED
will be lit, indicating standby mode. The RED LED will be OFF.
2. Connect the battery to be charged to the balance plug.
The RED LED will also be lit, and remain RED during the
charging. Both LEDs should be lit solid while charging.
3. If the battery was completely discharged, the RED and
GREEN LEDs will start to fl ash after 2-hours and 40-minutes.
The charger has a built in safety timer.
4. Disconnect the battery from the charger, wait for the GREEN
LED to be lit, and then reconnect the battery to the charger.
5. It will take approximately 1-1/2 hours more to complete
the charge. When the battery is fully charged, the GREEN
LED will turn OFF. Remove the battery from the charger
at this time.
1
6
2
4
8
7
3
5