Finish the model – Flyzone FLZA4032 User Manual
Page 10
10
❏
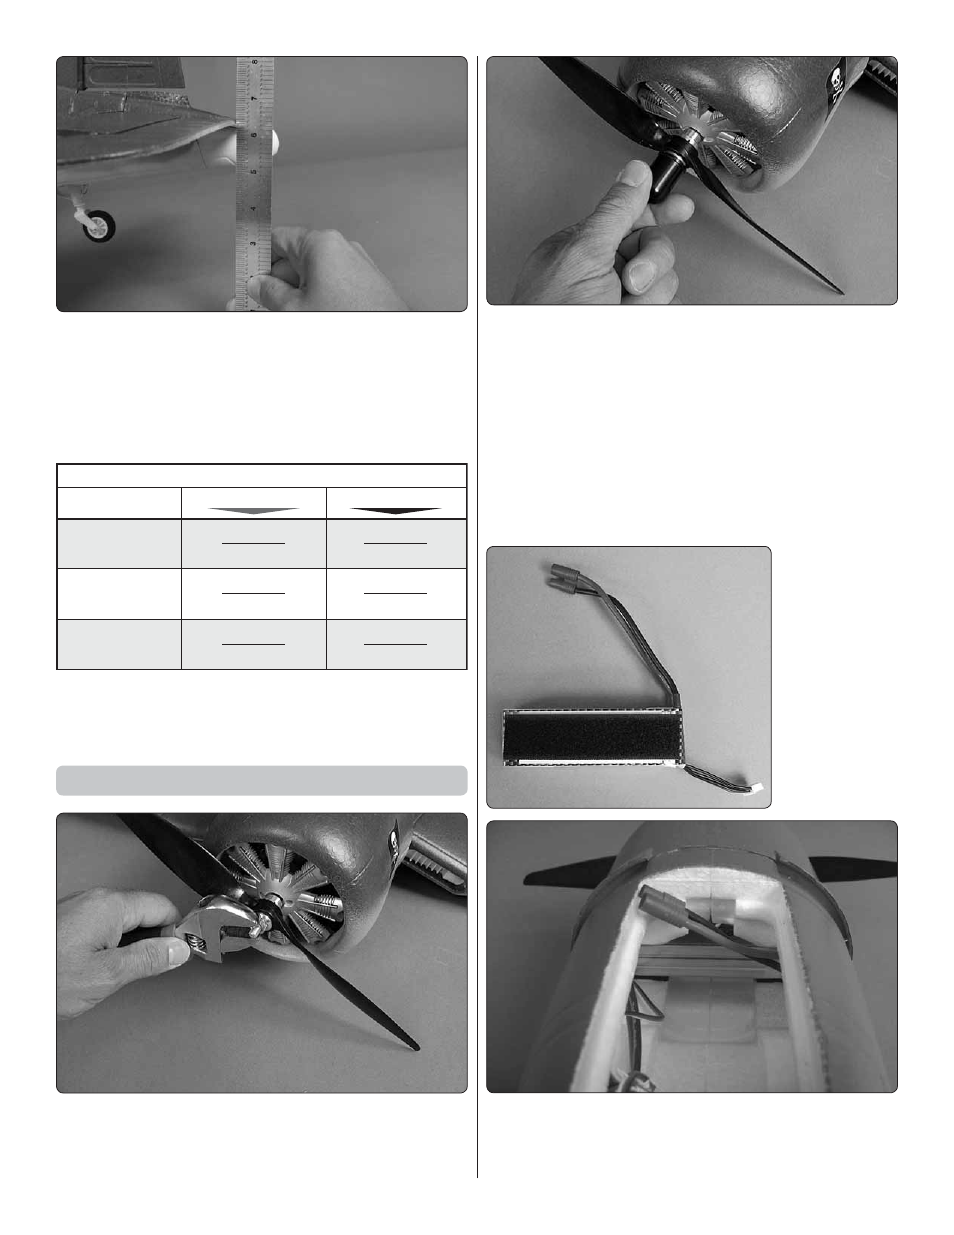
4. Use the transmitter to move the elevator up and measure
the distance it moved from center. This is your “up” control
throw. Measure the down elevator control throw following the
same procedure. Compare the up and down elevator throw
to the recommended elevator throw below. Measure and
compare the rudder and aileron throws as well.
These are the recommended control surface throws:
ELEVATOR
RUDDER
AILERONS
LOW RATE
5/16" [8 mm]
Up & Down
11/16" [17.5 mm]
Up & Down
13/16" [ 21mm]
Right & Left
HIGH RATE
7/16" [11mm]
Up & Down
7/8" [22 mm]
Up & Down
1-1/4" [ 32 mm]
Right & Left
Note: If you ever install different servos in the plane or use a
different radio control system, make sure you check that you
still have the recommended control throws.
Finish the Model
❏
1. Remove the plastic spinner nut from the prop assembly by
unthreading it. Loosen the aluminum prop nut on the assembly,
then slide the assembly onto the motor shaft. Thoroughly
tighten the prop nut with a wrench.
❏
2. Thread the plastic spinner nut back onto the prop adapter
until snug. It is not necessary to over-tighten the spinner nut
as doing so will strip out the hole in the nut. The spinner nut is
for scale detail only and does not aid in securing the propeller.
Note: With the propeller installed on the motor, you must
always be careful to stay clear of the prop blades whenever
the fl ight battery is plugged into the ESC! Always turn
on your transmitter fi rst and confi rm that the throttle stick
is all the way down before connecting the fl ight battery.
Always disconnect the battery fi rst before turning off the
transmitter.
❏
3. Apply the
piece of self-
adhesive loop
material to your
fl ight battery.
❏
4. Test fi t the battery into the battery compartment. Do not
connect the battery to the ESC until your transmitter is on,
the throttle stick is all the way down, and you are prepared
for the rotation of the propeller.