Digilent 240-042P-KIT User Manual
Page 9
SRK Reference Manual
www.digilentinc.com
page 9 of 9
Copyright Digilent, Inc. All rights reserved. Other product and company names mentioned may be trademarks of their respective owners.
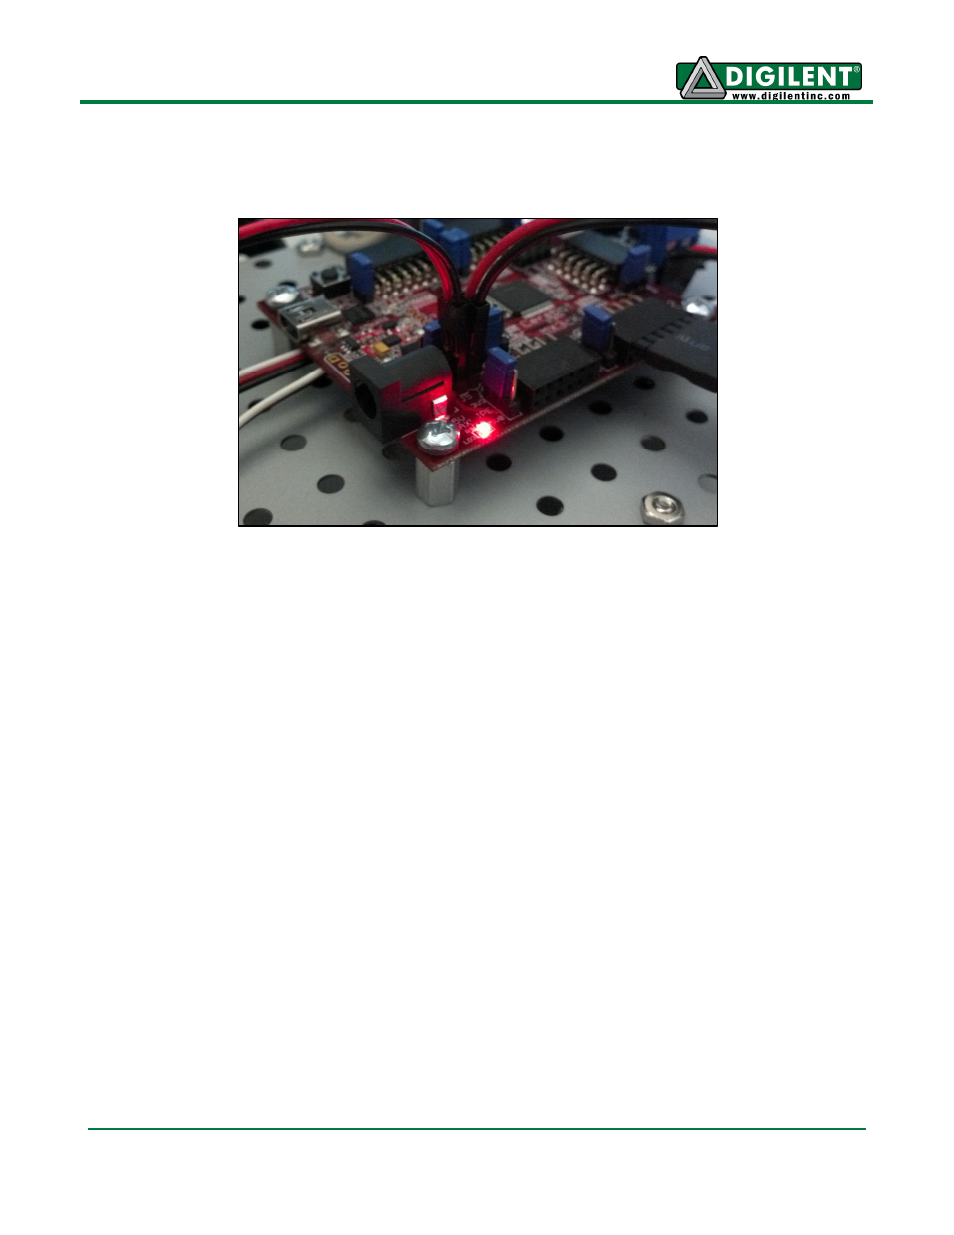
13. When you are ready to power the MX3cK, add four AA batteries to the battery pack, and
attach the connector end of the MTE cable to the two pin header J5 on the MX3cK. Take care
that the red cable connects to the ‘+’ pin (V) and that the black cable connects to the ‘-‘ pin (G).
MPIDE can now be used to program the ServoRobot demo project to the board. Again, this project
can be downloaded from the Servo Robot Kit product page at digilentinc.com. Once the board is
programmed, pressing BTN0 will move the robot forward, pressing BTN1 will make the robot pivot
right, pressing BTN2 will move the robot backward, and pressing BTN3 will make the robot pivot
left. The robot will not move unless a button is pressed. If the robot is moving in the opposite
direction than expected, then check that step 10 above has been followed correctly.