COMP Cams 5491 Sprint Car Front Drive Kit for LS Engines User Manual
Page 4
COMP Cams
®
3406 Democrat Rd.
Memphis, TN 38118
Phone: 901.795.2400
Part #COMP4-158
Revised 8/10/12
Toll Free: 1.800.999.0853
www.compcams.com
39
1 5490-NB1
INA AXK4060 Axial Needle Bearing
40
1 5490-NB2
INA AXK4565 Axial Needle Bearing
41
1 5490-NB3
SCH1612 Needle Bearing (for Idler Gear)
42
1 5490-AN8
AN-8 Plug
43
2 5490-AN10
AN-10 Radius Fitting
44
2 5490-AN12
AN-12 Radius Fitting
Installation Instructions
Please ensure that you have received all necessary components before beginning installation. Item
numbers will be referred to in brackets in the instructions below. Note: all stated torque specs are
for dry bolts.
Note: This kit is designed to work with FAST
™
crank sensor PN 301180CS and COMP Cams
®
cam sensor PN 5490-CS. Sensors are not included with this kit. Please contact a COMP Cams
®
sales representative to purchase these parts.
Step 1: With the cam and crank installed, begin by sliding the AXK4060 forward thrust bearing [39]
and AS4060 washers [37] over the cam snout. The forward thrust bearings and washers are the smaller
of the two sets of thrust bearings.
Step 2: Install the cam thrust plate [9] along with the six (for RHS
®
blocks) or four (for GM Blocks)
M8X1.25x20mm socket head cap screws [23]. Be sure that the supplied o-ring [16] is properly seated
in the cam thrust plate before installation. Torque the bolts to 27 ft-lbs.
Step 3: Slide the AXK4565 rearward thrust bearing [40] and AS4565 washers [38] over the shoulder
on the back of the cam gear [2]. Install the proper cam degree bushing [45] and install the gear onto
the cam using the three supplied M8X1.25x35mm socket head cap screws [27]. Torque the bolts to 27
ft-lbs.
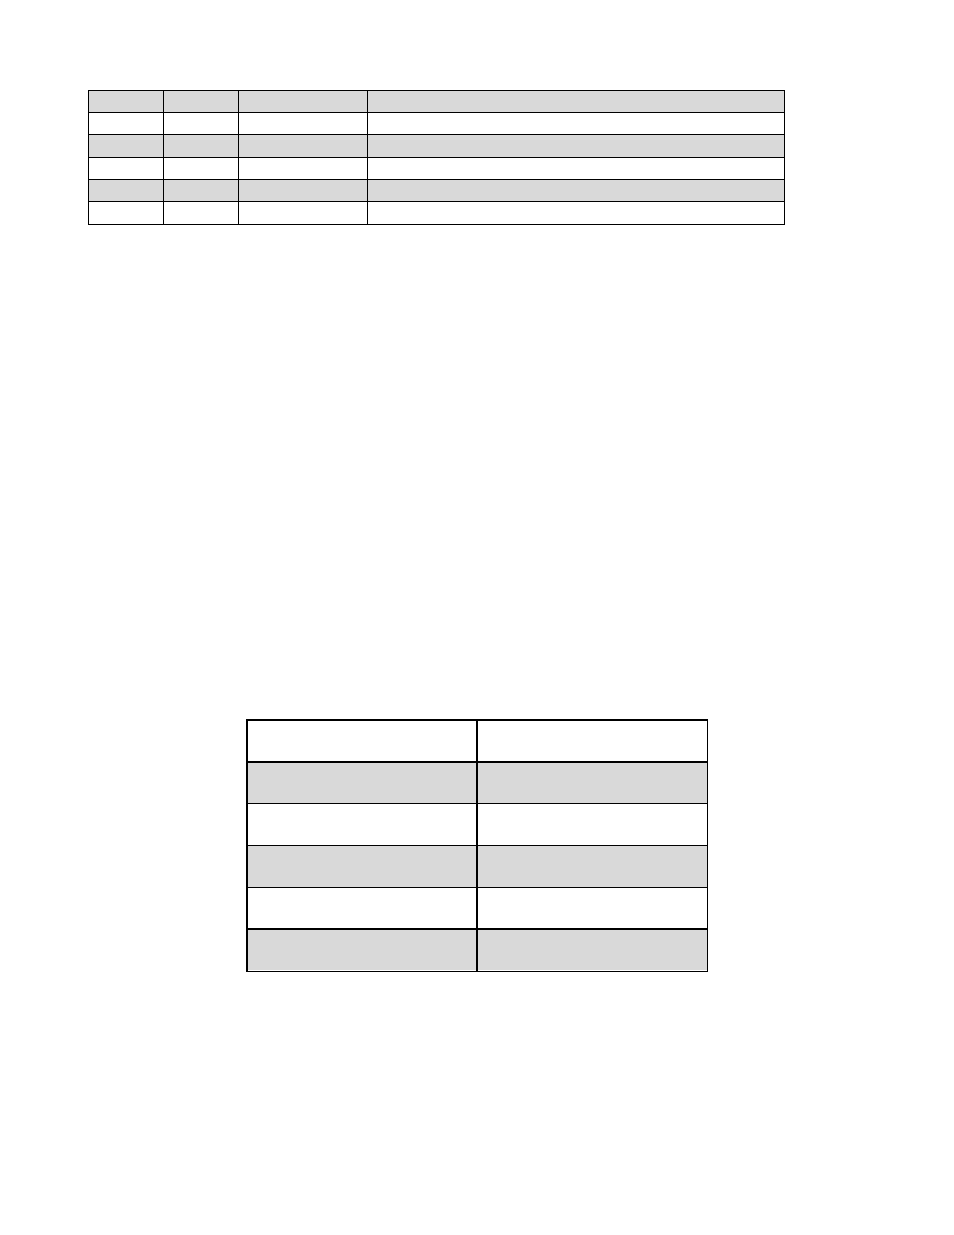
Cam Degree
Color
0°
Black
2°
Silver
4°
Copper
6°
Gold
8°
Dark Grey
Step 4: Drive on the crank gear [4]. Note that there are two key slots. With the #1 piston at TDC,
install gear with the dimple located next to the “R” pointed up (toward the cam) for RHS
®
(or any
raised cam height) block or use the dimple next to the “S” for GM (or and standard cam height) blocks.