COMP Cams 212 Big Block Chevrolet Two-Piece Timing Cover User Manual
Instructions
COMP Cams®
3406 Democrat Rd.
Memphis, TN 38118
Phone: (901) 795-2400 Fax: (901) 366-1807
www.compcams.com
Part #142
Revised 10/30/06
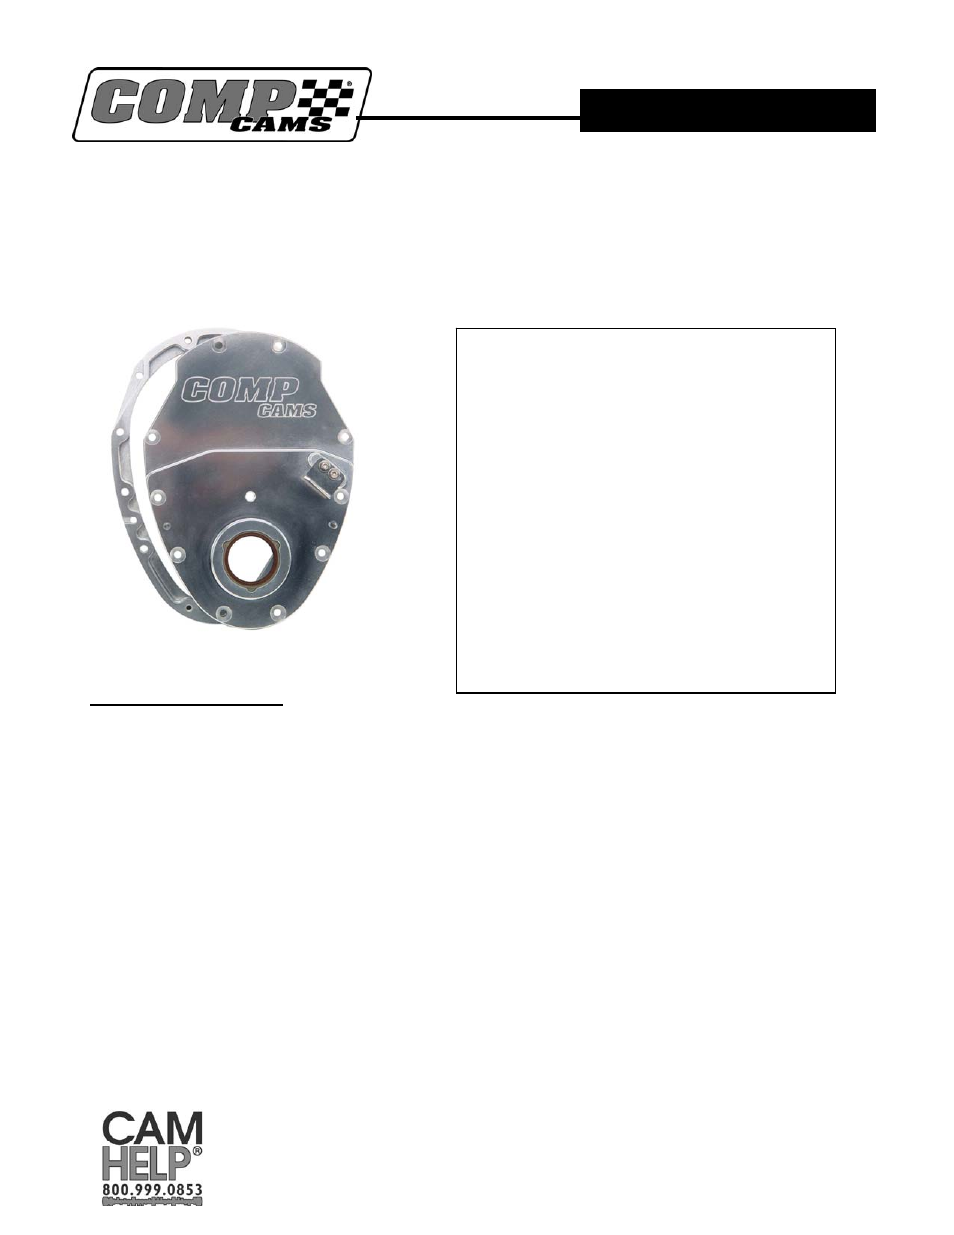
#212 Big Block Chevrolet Two-Piece Timing Cover
Thank you for choosing COMP Cams® products; we are proud to be your manufacturer of choice.
Please read this instruction sheet carefully before beginning installation, and also take a moment to
review the included limited warranty information.
Installation Instructions:
1. Inspect the block side of your cam gear to ensure it is smooth and free of any burrs. Should the
gear or the block need smoothing, use 600 grit sandpaper. Some engine builders machine the
back side of the cam gear in order to use a wear plate. (If you choose to use a wear plate, use
COMP Cams® #203 for Chevrolet Big Block.) This is not mandatory but is a widely used
practice among many professional engine builders. Another option is to use a timing chain with
a roller thrust bearing that will reduce friction on the front of the block. (If you choose this
option, use COMP Cams® Part #7110 Billet Timing Set or #3110KT Adjustable Gear Set.)
2. Install the timing cover base on the block using the (2) ½” standard Allen bolts and the gasket
supplied. You should set endplay before installing the timing chain. This is done by placing the
cam gear onto the cam with the wear plate (not included) in place, if using one. Then, install
the cam thrust button, sandwiching (1) .010” shim between it and the cam. Place the cam
button retaining plate over the cam button and install with the three supplied ¾” standard Allen
head cam bolts. Install the front cover using all 8 bolts and tighten firmly. DO NOT use any
sealer at this point! Measure camshaft endplay with a dial indicator through the checking hole
in the front cover. Use a screwdriver through a lifter bore to move the cam back and forth.
Recommended movement (endplay) is .005”-.010.” Install the proper shims between the end of
INSTRUCTIONS
#212 Hardware Pack Includes:
(6) 1 ¼” Counter sunk head Allen screws
(3) ¾” Standard head Allen bolts
(2) ¼” Counter sunk head Allen screws
(2) 1 ¼” Button head Allen bolts
(6) ¼” Button head Allen bolts
(1) Pipe plug with Allen head
(4) Shims (1) .005” thick
(2) .010” thick
(1) .020” thick
(1) Roller cam button
(1) Cam plate
(2) Standard head Allen bolts
(2) Timing Pointers
(2) Button head bolts for timing pointer
(2)
Washers