Clear, Dvanced, Ettings – CLEAR 4G+ Personal Hotspot Users Guide User Manual
Page 39: Outer, Manage your clear spot (continued)
38
Manage your CLEAR Spot (continued)
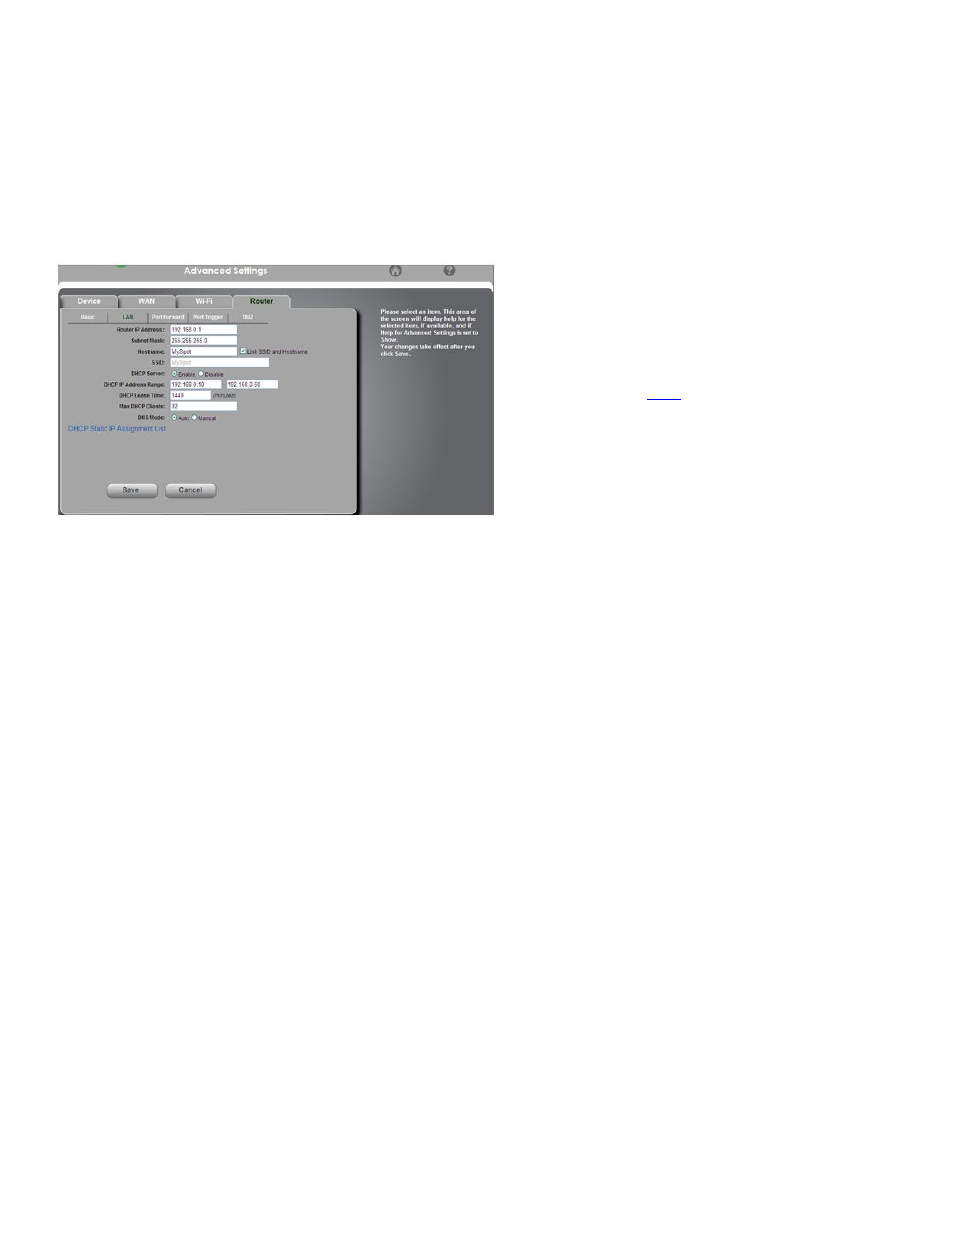
CLEAR Spot Home Page / Advanced Settings/ Router / LAN
Warning: This window includes settings that could negatively impact the performance of the CLEAR
Spot, if set incorrectly. These settings should be modified only by advanced users or if directed by
CLEAR Customer Care.
Use this window to view and change Network Address Settings of the CLEAR Spot.
Network Address Settings
Router IP Address: Allows you to view / modify the Internet Protocol (IP) Address used to locate
and access your Clear Spot network. You may desire to change the IP Address to integrate the
CLEAR Spot into an existing wireless network or to help secure the network.
Subnet Mask: Allows you to view / modify the Subnet Mask address, if necessary. The subnet
mask is used to subdivide the network.
Hostname: The host name is, in essence, the name you’re giving the CLEAR Spot. In most
cases, it is easiest to link the CLEAR Spot wi-fi network name (SSID) and the Hostname. Check
the box to do this.
SSID: The CLEAR Spot wi-fi network name.
DHCP Server: Dynamic Host Configuration Protocol (DHCP) is used to automatically assign IP
Addresses and configuration information to Wi-Fi clients, greatly simplifying network setup.
DHCP IP Address Range: You may configure the range of IP Addresses you want the CLEAR
Spot to allow to recognize the CLEAR Spot network name.
DHCP Lease Time: Set the time that a computer remains connected to the gateway using its
current assigned IP address. At the end of this time, the DHCP server renews the lease or
assigns the computer a new IP address.
Max DHCP Clients: The number of DHCP addresses that can be assigned and active at the
same time. It’s recommended you set this to a number greater than the number of wi-fi users.
DNS Mode: Specifies how the DNS servers are obtained. Select “Auto” or “Manual”.
Note: To make changes, you must be logged in to the CLEAR Spot Home Page.
When you’re ready to set your basic router settings, click “Save”.
If you don’t desire to make any changes, click “Cancel” and you’ll see the CLEAR Spot Home Page.
Note: The Advanced Settings Tab appears on every window of the CLEAR Spot Home Page.
If you’re using your CLEAR
Spot and are connected to the
internet, clic
to open the
CLEAR Spot Home Page.