Data, B200dbb®i, Korg midi driver installation and setup – KORG Concert Korg Digital Piano C-150 User Manual
Page 24
Attention! The text in this document has been recognized automatically. To view the original document, you can use the "Original mode".
Data
1. Korg MIDI Driver installation
and setup
The Korg MIDI Driver software is included with the
optional AG-OOIB and AG-002B. If the application (se
quencer) you are using on your IBM PC (compatible)
is compatible with Windows, using the Korg MIDI
Driver will allow the C-350 connected to the serial
port to be handled as a MIDI device. If the applica
tion (sequencer) you are using on your Apple
Macintosh is compatible with the Apple MIDI Man
ager, using the Korg MIDI driver will allow the C~
350 connected to the serial port to exchange data with
the Macintosh,
4. Select [Sound, video, and game controllers] and
click the [Next >] button.
Aifcl
StiiclihB
iMnt lointul
M Jlilinclbn adapict!
OlK« devicei
% PCMCIA socket
Ports (COMtLPTj
^ Ponlo
^SCSI conirolefs
*S
System devtces ^
rB*Ut
Installing tfie Korg MIDI Driver into Windov/s 95
Note: If the processing speed of your computer is not fast
enough, data from MIDI IN may not be received cor
rectly.
5.
1,
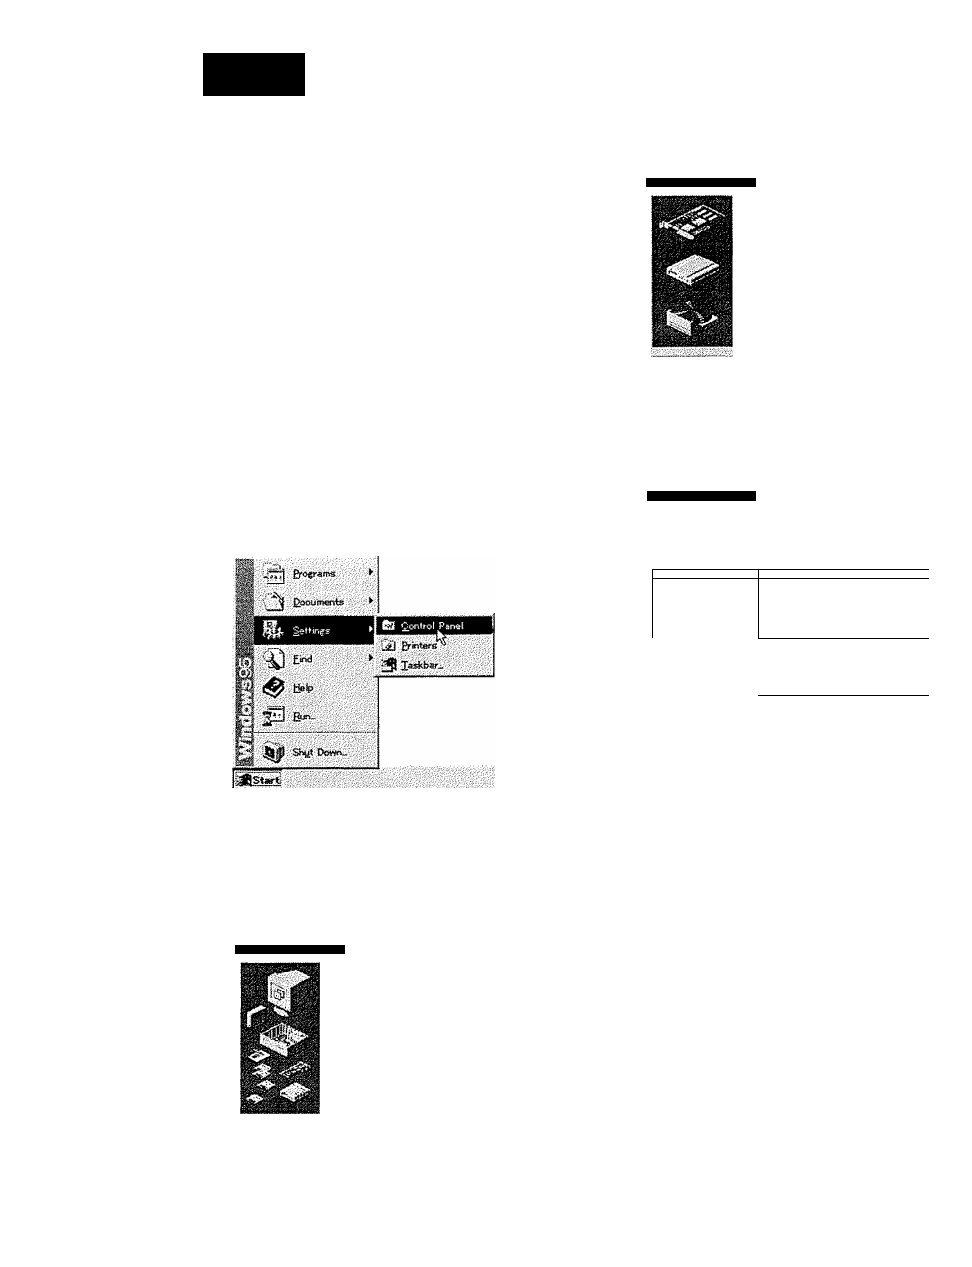
In the task bar, click the [Start] button. Click the
[Control Panel] item located in [Settings].
2
.
3.
In the control panel, double-click the [Hardware]
icon, and the hardware wizard will start up. Click
the [Next >] button.
In reply to the question "Automatically detect
new hardware?" be sure to select [No], and click
the [Next >] button.
Add New
Wizard
■ Sjtt* hwrJwwi i
iw »iioUif haw j
V/»ybwj<5e<«ii.
./ .
tha
oaiw
* ««titioi iorih» aavb* wd iw( *6 wiwe» ahw. ;; fcd your i«(*Mra 7 ii . n X« (RwoBWModtMj Click [Have Disk]. Add Hdrdtvare WisArd :: Ctdc of >0Ut tWdWH» ism i Marxiaciuar. mm IV AitichLabi «1; Ad Lib G oid C ompfllijie [0PL3| Compaq .ij : De^live Ldbi '.-.'i ESS TechfW totiyJriC. -'jiv 6. Insert the floppy disk included with the AG-001 B into the floppy disk drive of your computer. If. ton. 7. Click the [OK] button and then dick [Finish]. ;i CiiSi S» ScuTid, vidM ini 5 aams «««fiAsi (hat twfeiwt yw ; Aod then oSefc Ofc if Arrii !d»i« ¥ifiiah' «¿daiyov f»««; efck Ofc T fit i sfwwk ooiy ¥iM wi» (ourrf w d« ifvriatitiai tW:. Hods!«; : B200DBB®i OK ■ 24
A dialog box will appear, allowing you to specify
the drive and directory.
DSPGioiip
Inlal................ ........ .......iZl-
you have inserted it into drive A, type "A;\" (or
"B;\" if using drive B), and click the [OK] but