Repeating playback, I [2k 120, Deleting your recorded data – KORG Concert Korg Digital Piano C-150 User Manual
Page 17
Attention! The text in this document has been recognized automatically. To view the original document, you can use the "Original mode".
4
. Reading the Memory Usatge Gauge
Press the [START/STOP] switch to start the
playback.
START/SrOP RECORD
Note: The LED indicator inside the [START/STOP] switch
lights to indicate that the recorder is playing back.
8
Use the [TEMPO] slider to adjust the speed of
playback; left for slower, right for faster. Tempo
adjustmeirt does not affect the pitch.
S
Press the [START/STOP] switch to stop the play
back.
START/STOP
T3—n
Press the switch briefly;
the recorder pauses at
its current position, and
the (START/STOP}
lamp begins blinking.
START/STOP
Hold the switch down:
the recorder returns to
its start position, and the
(START/STOP) lamp
goes out.
Note:
When ail the recorded data has been played, the
[START/STOP] lamp starts blinking.
■ Repeating Playback
This feature lets you set the piano so that it plays your
recorded song over and over again, in an endless loop.
To start repeated playback, simply press the
[TRANSPOSE/FUNCTION] switch while play
back is in progress, so that the switch's lamp
begins blinking.
To stop the playback (and cancel repetitive-playback
mode), press [START/STOP] switch.
4. Reading the Memory Usage
Gouge
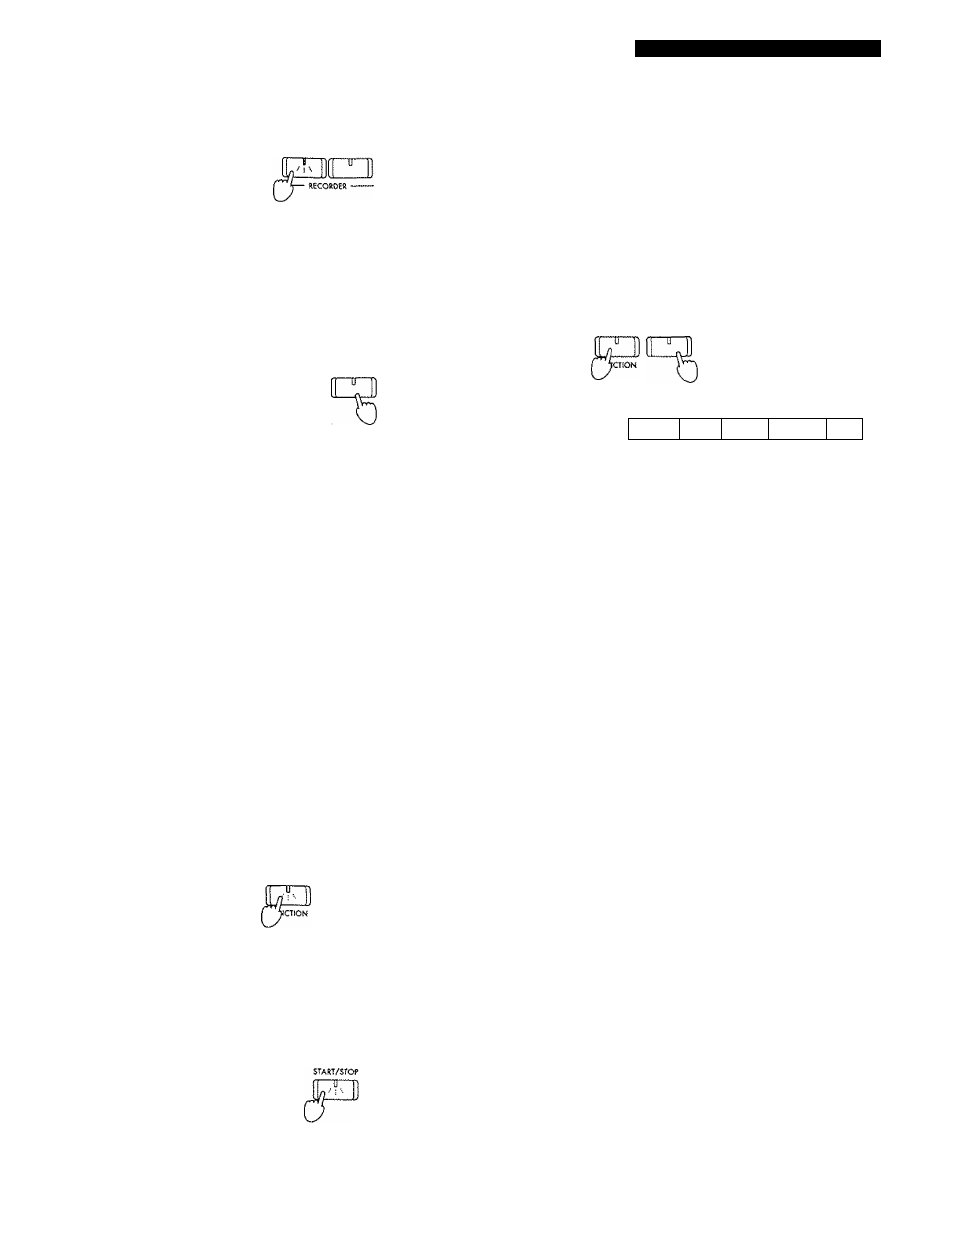
Hold down both the [RECORD] switch and the
[TRANSPOSE/FUNCTION] switch.
The [VOICE SELECTOR] lamps act as a bar graph,
lighting up to indicate the amount of data that you
have recorded. The number of unlit lamps indicates
the amount of recording space remaining.
TRANSPOSE
ORGAN STRINGS
[i
[2K
120
u
—
indicates amount of recorded data.
Note: The [RECORD] lamp begins blinking when remain
ing memory falls below 10% of the total recording
memorybwhen there is space for less than 400 addi
tional notes or when the number of recorded mea
sures is 990 {since maximum recordable length is
999 measures). You can retain your recorded data
by saving it to a data filer. {See page 21.)
3. Deleting Your Recorded Data
While playback of the recording is in progress,
hold
down
the
[TRANSPOSE/FUNCTION]
switch and press the [START/STOP] switch. The
lamps on these two switches begins blinking,
indicating that piano is standing by to delete the
data.
START/STOP
n—tr
If you decide that you really do not want to delete
the
data,
press
the
[TRANSPOSE/FUNCTION]
switch again to cancel the deletion.
To complete the deletion, press [START/STOP]
switch.
17