JVC SP-PWC60 User Manual
Th-c60, Th-c50, Th-c40
Attention! The text in this document has been recognized automatically. To view the original document, you can use the "Original mode".
DVD DIGITAL THEATER SYSTEM
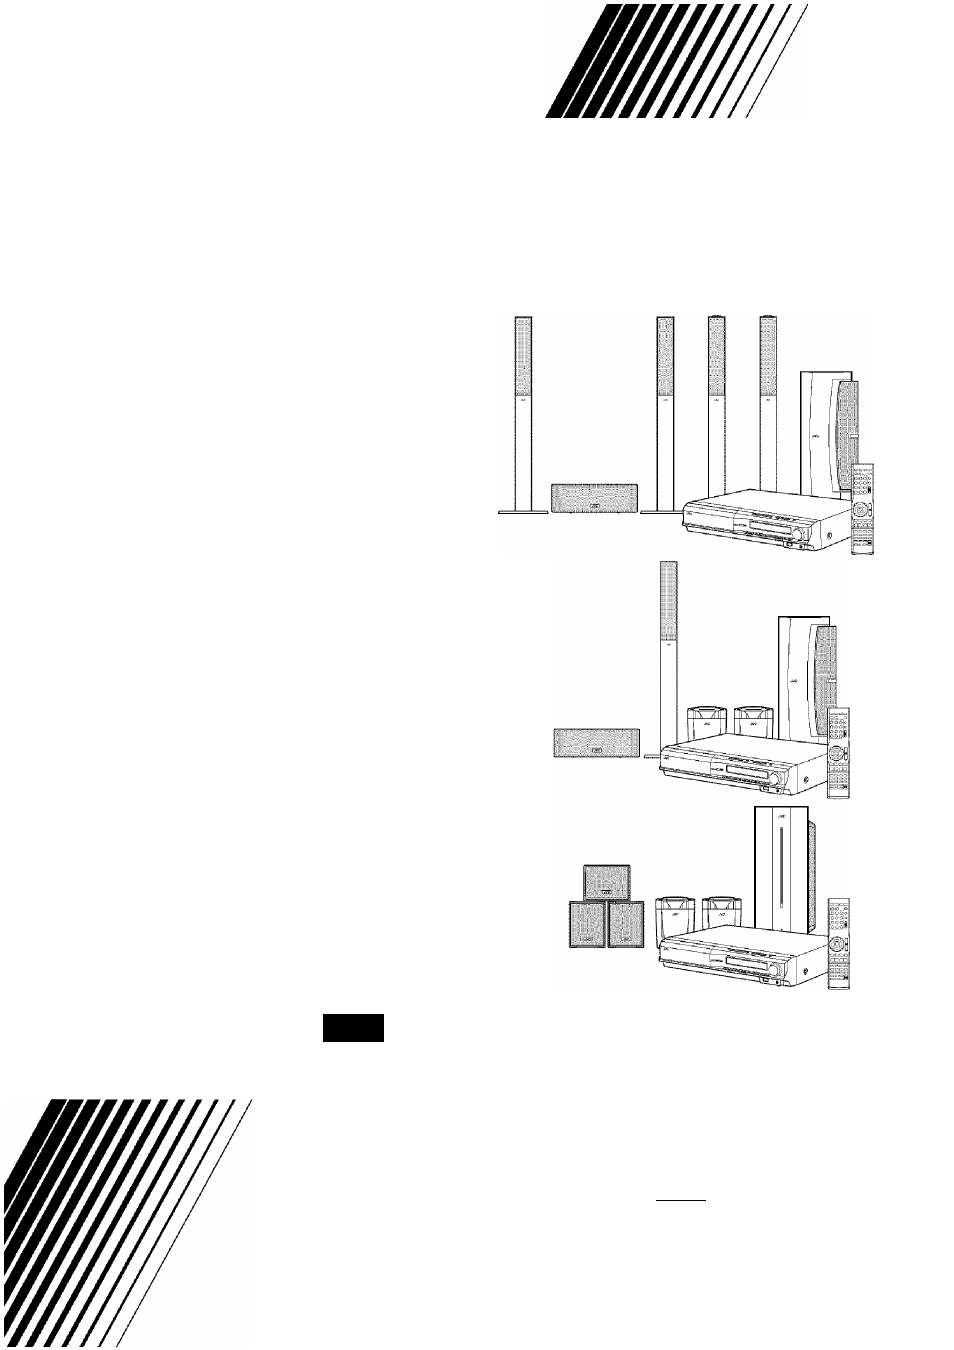
TH-C60
Consists of XV-THC60, SP-PWC60,
SP-THC60F, SP-THC60C and SP-THC60S
TH-C50
Consists of XV-THC50, SP-PWC50,
SP-THC60F, SP-THC60C and SP-THC50S
TH-C40
Consists of XV-THC40, SP-PWC40,
SP-THC40F, SP-THC40C and SP-THC40S
{SUPER VIDEO
I
jm w
1#
a m if w t x
D I G I T A L
IÍ i C r T A L
dlts
S U R R O U N D
Div?^ l-inmi
MPEG-4
m m ■ ■ ■ ■
^
5
^ PLAYBACK
u i _ T p a
Digital Direct Progressive Sean
INSTRUCTIONS
For Customer Use:
Enter below the Model No. and Serial
No. which are located either on the rear,
bottom or side of the cabinet. Retain this
information for future reference.
Model No.______________________________
Serial No.
LVT1504-003A
[J]
Document Outline
- DVD DIGITAL THEATER SYSTEM
- Consists of XV-THC60, SP-PWC60, SP-THC60F, SP-THC60C and SP-THC60S
- Consists of XV-THC50, SP-PWC50, SP-THC60F, SP-THC60C and SP-THC50S
- Consists of XV-THC40, SP-PWC40, SP-THC40F, SP-THC40C and SP-THC40S
- Table of contents
- Introduction
- About discs
- Description of parts and controls
- Description of parts and controls
- Powered subwoofer
- Description of parts and controls
- Remote control
- Operating the system from the remote control
- Connecting the FfVI and AfVl antennas
- Connecting the satellite (front, center, surround) speakers
- Speaker layout
- Connecting a TV
- Connecting the powered subwoofer
- Connecting to an analog component
- Connecting to a digital component
- Connecting a USB mass storage class device
- Connecting the power cord
- Operating external components with the remote control
- Basic operations
- Turning the system on/off
- Selecting the source to play
- Adjusting the volume [VOLUME]
- Listening with headphones (not supplied)
- Turning off the sound temporarily [MUTING]
- Adjusting the brightness of the indications [DIMMER]
- Sleep Timer [SLEEP]
- Adjusting the output level of the subwoofer and speakers
- Adjusting the sound
- Changing the scan mode
- Playback
- IMPORTANT
- Basic playback
- One Touch Replay
- Fast-forward/fast-reverse search
- Skip to the beginning of a desired selection
- Skipping at about 5-minute intervals
- Locating a desired title/group using number buttons
- Advanced operations
- Using the surround mode
- ■ Auto Surround (AUTO SUR)
- ■ Dolby Surround
- ■ DTS Digital Surround^^
- ■ DSP
- Selecting the surround mode
- Using the on-screen bar
- Playing from a specified position on a disc
- Locating a desired chapter using the on-screen bar
- Locating a desired scene from the DVD menu
- Locating a desired scene using a VCD/SVCD menu with PBC
- Locating a desired position by specifying the time
- ■ When specifying the eiapsed piaying time from the beginning of the disc
- ■ When specifying the eiapsed piaying time from the beginning of the current titie/track
- 7 Press ON SCREEN twice.
- 2 Press Cursor ►/◄ to highlight .
- 3 Press ENTER.
- 4 Use number buttons (0-9) to enter the time.
- 5 Press ENTER.
- 6 Press ON SCREEN.
- Using the file control display
- Selecting the subtitle
- Selecting a view angle
- Selecting the audio
- Special picture playback
- Program Playback
- Random Playback
- Repeat Playback
- Tray lock
- Sound and other settings
- Using the surround mode
- Setting DVD preferences
- Tuner operations
- IMPORTANT
- Manual tuning
- Preset tuning
- ■ To preset the stations
- 7 Tune in the station you want to preset.
- 2 Press MEMORY.
- 3 Press number button(s) (1 -10, 0) to
- select a preset number you want.
- 4 Press MEMORY.
- 5 Repeat steps 1 to 4.
- ■ To tune in to a preset Station 7 Press FM/AM repeatedly to select FM or AM.
- 2 Press number button(s) (1 -10, 0) to
- select a preset number.
- Selecting the FM reception mode
- Reducing the noise of AM broadcast
- AV COMPII LINK remote control system
- References
- JVC