Carl Goldberg GPMA1993 Skylark 70 Sport ARF User Manual
Page 9
9
6
.
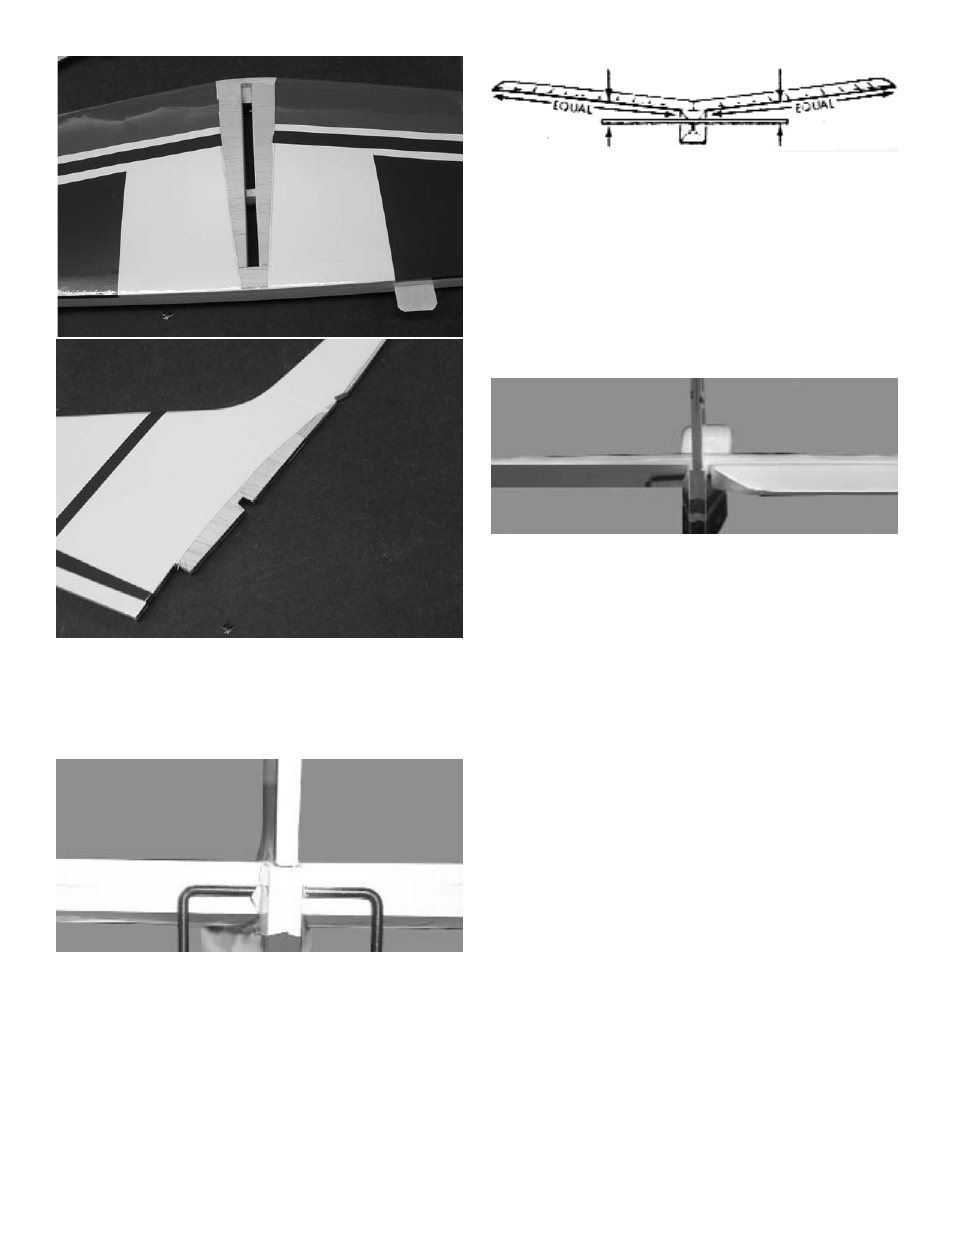
Remove the stab from the fuse and, working
1/8" inside the drawn lines, carefully remove
the covering from the bottom of the stab, both
sides of the fin and the top of the fuselage. BE
CAREFUL TO AVOID CUTTING THE WOOD
7.
Re install the stab back onto the fuselage.
Place the metal elevator joiner at the rear of
the stab next to the fuselage.
Make sure the joiner twist easily up and down
and is centered.
7.
Make sure the stab is level (parallel) with the
wing and insert paper strip shims under the
low side of the stab, if necessary.
Remove the stab & fin from the fuse.
9.
Spread epoxy on both the bottom of the stab,
fin and the fuselage where the fin will rest.
Replace the stab on the platform and the fin
into the slots, after again checking the align-
ment of the stab to the wing, tape together
and allow the epoxy to dry thoroughly.
10.
As with the installation of the ailerons, insert a
straight pin in the center of 6 CA hinges.
Mix up a small amount of epoxy and insert it
into the hole in the elevator where the wire
elevator joiner fits.
Slide the hinges halfway into the elevator and
then slide the entire assembly into the hinge
slots in the stabilizer making sure the wire
joiner is inserted in the hole and groove .
Make sure the elevator is flush with the end of
the stab. If desired, tape the elevator to the
stab to keep the pieces together.
11.
Keeping the stab and elevator in position,
remove the pins and apply 3 or 4 drops of thin
CA on to each hinge location.
Repeat steps 10 & 11 for the other elevator.
Allow the elevator/stab assembly to dry for at
least 10 minutes before flexing the elevator.