Wing assembly – Carl Goldberg GBGA1091 User Manual
Page 9
9
5.
Drill a 3/16” hole in line with the throttle arm on
your engine.
4.
Reinstall the engine and bolt in place using
the 6-32 bolts and aircraft lock nuts.
3.
Place your engine on the mounts and mark
the location of the engine mounting holes on
the mounts. Remove the engine and drill a
5/64” hole at the marks.
Wing Assembly
1.
The wing is one piece so all there is to do is
glue the aileron and flap hinges in place. Use
the straight pins in the holes in the hinges to
make sure they stay centered. Make sure
aileron is aligned with wing tip and flap does
not rub against aileron and both work freely.
2.
Remove the pins and glue in the same man-
ner as we did the elevators and rudder.
Deflect the aileron and flap fully in one direc-
tions and apply one drop of thin CA. Turn the
wing over and deflect the aileron and flap in
the other direction and apply one drop to glue.
Repeat process of two drops of glue on each
hinge. Repeat for the other side of the wing.
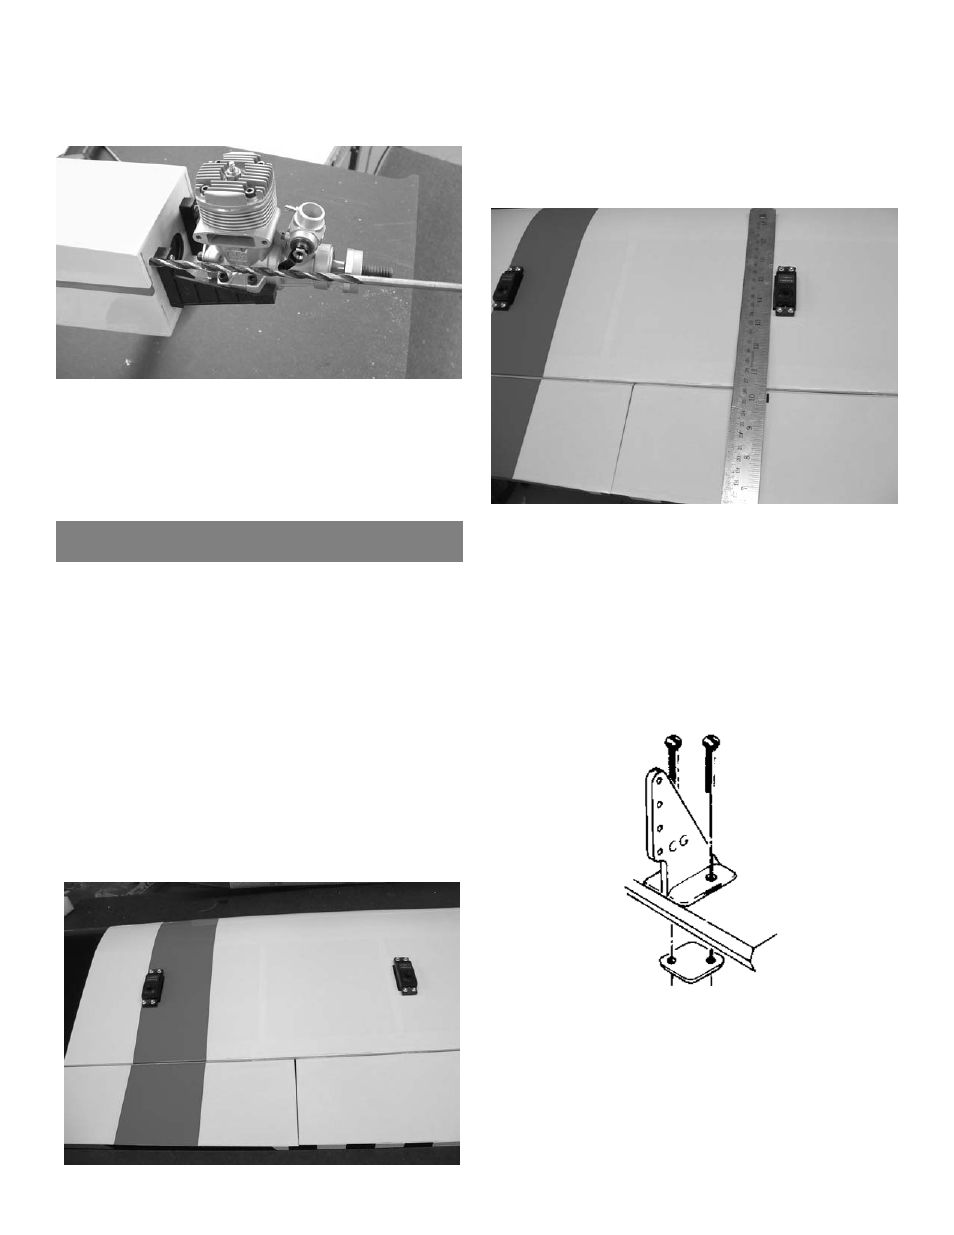
3.
Install the two servos in the cutout provided
with the output arm to the rear. You will need
a 12” extension on the out board servo. Use
the string provided to pull the servo lead to the
hole in the center of the wing. As the lead
passes the inboard servo attach the wire from
the servo and pull both to the middle.
4.
Lay a straight edge along side the servo and
mark the location of the horn on the aileron
and flap. Mark both aileron servos on the out-
board side of the servo (toward the tip of the
wing). If you plan to use the flaps as just flaps
you will have to mount the horn on the same
side of the servo on both sides(right flap on
the inboard side left flap on the outboard side)
If you plan to use them just as ailerons and
have them coupled to the ailerons you should
mount the horns as you did for the ailerons.
5.
Mount the control horns using the #2 screws
with the nylon plate on top. Make sure the
holes for the clevis to connect to are aligned
over the hinge line.