Final assembly, Canopy installation – Carl Goldberg GBGA1091 User Manual
Page 15
15
4.
The battery can be wrapped in form and fitted
into the opening.
Final Assembly
1.
Locate the 1/4-20 nylon bolt and the wing bolt
reinforcement plate. Bolt the wing in place.
2.
The CG should be 4” to 4.75” behind the
leading edge of the wing measured at the
fuselage. Start off with the Cg forward and
move it back as you become more familiar
with the plane. The further back you move it
the better it will perform the 3D maneuvers but
it will also become more unstable and harder
to control.
3.
Set up the control throws as follows:
Elevator Low rate 1” each direction
High rate all you can get.
Ailerons Low rate 3/4” each direction
High rate all you can get.
Rudder 1-1/2” each direction
High rate all you can get.
Flaps 1-1/2” down or they can be coupled with
the ailerons or set up as flaperons and cou-
pled with the elevators.
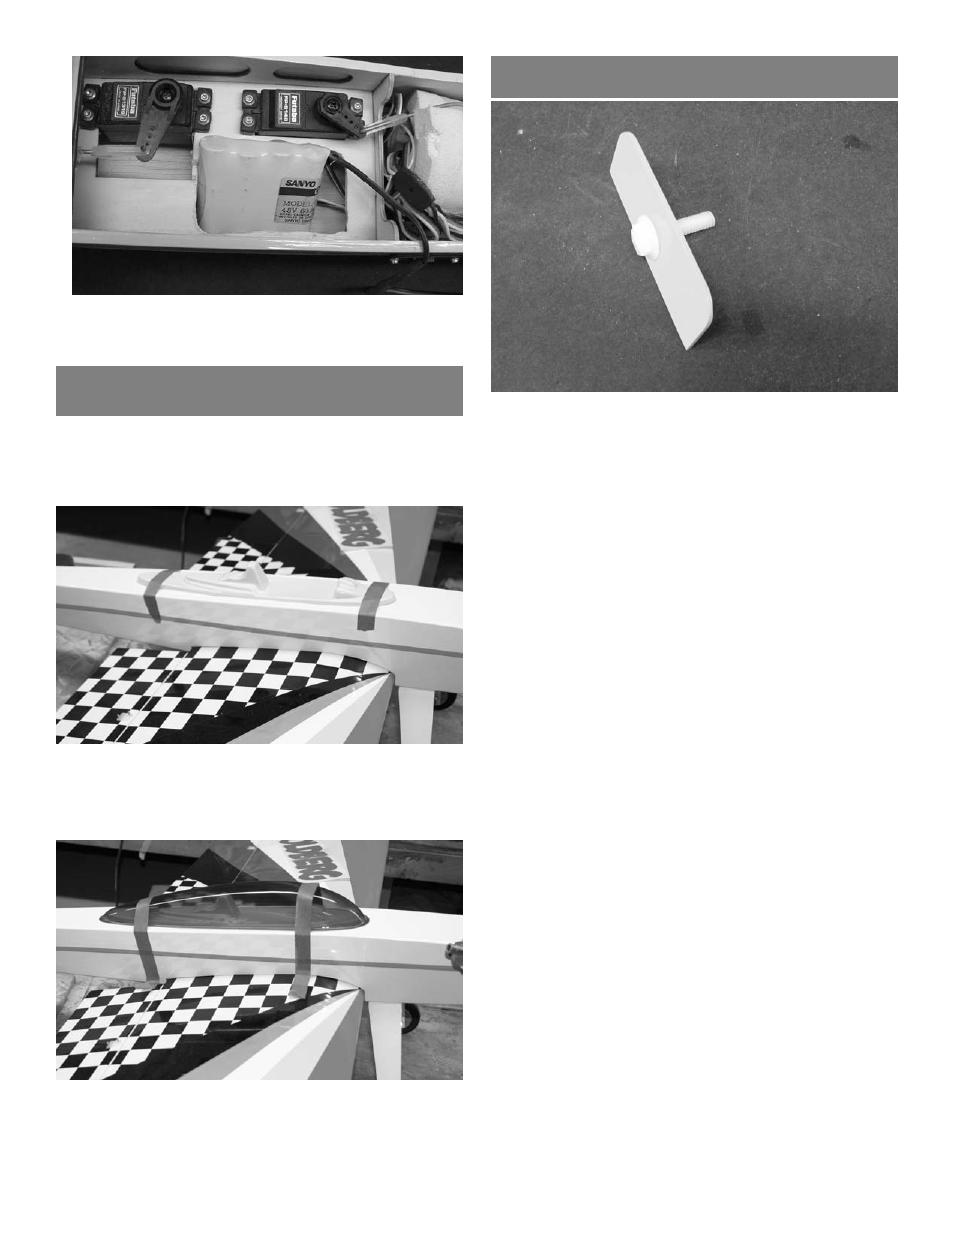
Canopy Installation
1.
COLLECT THE FOLLOWING ITEMS
(1) PLASTIC COCKPIT INSERT
(1) TINTED CANOPY
2.
Using Canopy glue, glue the cockpit insert to
the top of the fuselage even with the leading
edge of the wing and centered on the fuse-
lage.
3.
When the insert has dried, glue the canopy in
place. Use masking tape to hold in place till
dry.