Lcm plus, B2 initial start-up of the instrument, B3 printer start-up – ALTANA LCM plus User Manual
Page 6
BYK-Gardner GmbH
LCM plus
235 017 133 DE 0302
35
B2
Initial Start-Up of the Instrument
For start-up plug-in the mains plug and press the OK-key or grey menu key. The port for the
power supply unit is at the rear of the instrument (page 7, Abb. 3, Items 10 and 8). When the
instrument is on, the display indicates instrument type and number of EPROM-version while the
self-check is running. When self-check and zero measurement are over (approx. 20 sec.) you
are prompted to insert a calibration or sample cuvette.
B3
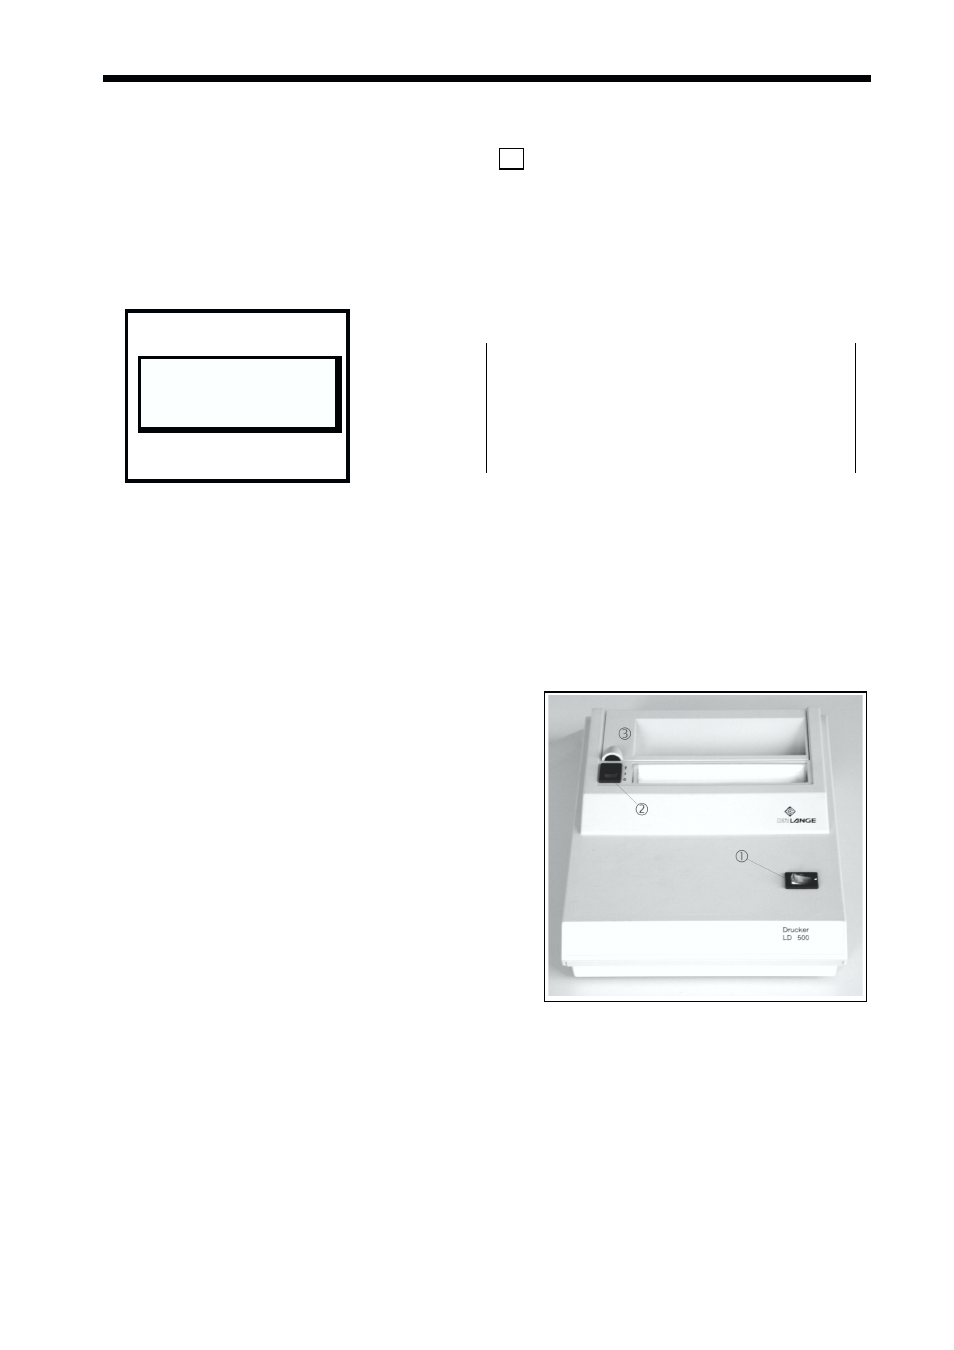
Printer Start-Up
The supply voltage for the printer is turned on and off with the green toggle switch
on the
right of the printer’s front. The printer is on when the black key is in neutral position (1) and off
when key is at (0). Paper feed is done pressing the '
↑' –part of key next to the printing unit.
B3.1
Connection to LCM plus
The printer is connected by plugging the supplied
connection cable to the RS232-port on the rear
side of LCM plus.
B3.2
Change paper
Turn the printer on and open the flap
behind the
printing unit. Put a new reel of paper into the paper
container and unroll approx. 10cm of it. Then lead
the free beginning of the paper into the slot until
perceiving a slight resistance. Press the paper
feed key and push the paper on carefully. Hold the
key down until the paper passes the tear bar.
Finally close the flap again.
LCM plus
V1.00
Pleas ins. cuv.
for sample
LCM plus
V1.00 15:20 30.06.00
Fig. 12: Printer LD 500