Saving a calibration – Cannon Instrument miniAV-LT User Manual
Page 39
35
CANNON
®
miniAV-LT Automatic Viscometer with VISCPRO
®
Instruction & Operation Manual
Version 1.a— May, 2009; CANNON
®
Instrument Company
2139 High Tech Road • State College, PA 16803 • USA
If the difference is still too great, repeat the calibration process until the
difference falls within acceptable limits (refer to the precision statement
in ASTM D446). If the tube calibration fails repeatedly, refer to Chapter
5 for miniAV-LT maintenance/service information.
12. When the new calibration constants are acceptable, click on Update
tube to save the constants for the current instrument.
NOTES
Once the Update tube button is pressed, the updated calibration con-
stants are associated with the selected instrument, and will remain the
same regardless of the instrument configuration defined for that instrument.
You must click Update tube before changing bulbs if you wish to save
the new calibration constants for that bulb.
13. Repeat steps 8-12 for all the timing bulbs. When the proper constants
for all the timing bulbs have been determined, close the Calibration
window.
14. Test several standards to verify a successful calibration.
Saving a calibration
When calibration is complete, the calibration information is saved to the
current instrument configuration and will be displayed in the Tray
Settings: Tube and Bath window. This calibration information will
remain in effect until the instrument is recalibrated at that same tempera-
ture, or until instrument and tray settings from a previously-saved
instrument configuration are restored.
To avoid losing valid calibration data, CANNON
®
recommends saving
the instrument configuration settings after completing a new calibration
(see Saving a configuration, chapter 4). The name for the instrument
configuration might ordinarily identify the instrument, the calibration
date, and the temperature:
EXAMPLE:
miniAV-LT JAN10 40C
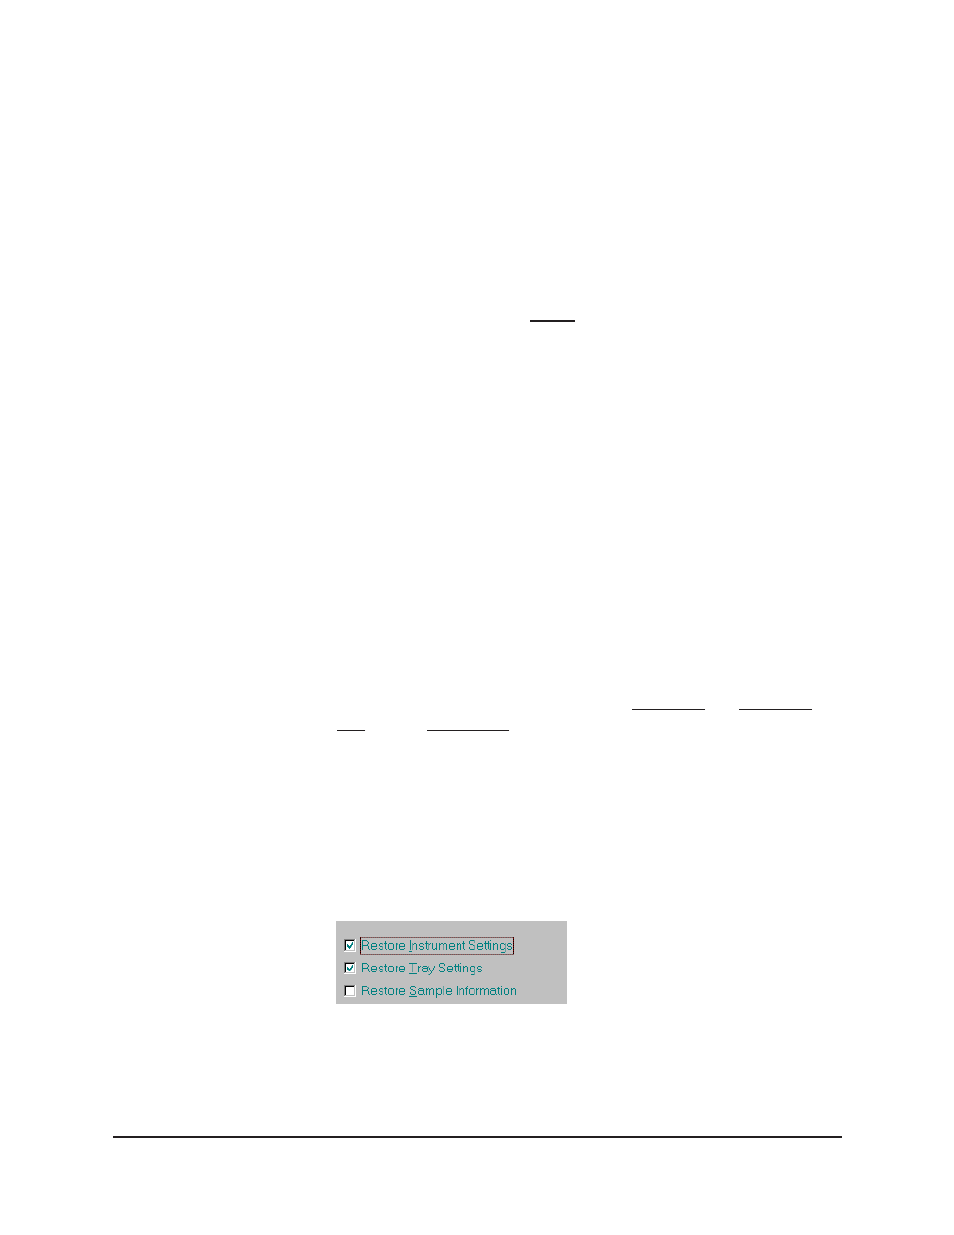
After the instrument configuration has been saved, calibration data may
be restored at any time using the Restore Instrument & Tray Settings
option from the Configure menu. Note that the Restore Instrument
Settings and Restore Tray Settings check boxes must both be selected
to restore instrument calibration data:
NOTE
The Restore Instrument Settings and Restore Tray Settings options are
security-protected at the Manager level.