13 shift, 14 rew (rewind), Index – Panasonic NVSD200BA User Manual
Page 9: Tracking/v-lock, 35 still adv, 36 programme position selector buttons, 37 infra-red transmitter, Power source for the remote controller, Precautions for battery replacement, Loading the batteries
Attention! The text in this document has been recognized automatically. To view the original document, you can use the "Original mode".
Controls and Connection Sockets
13 SHIFT
To blank unoccupied programme positions.
14
REW (REWIND)
In the stop mode;
To rewind the tape.
In the playback mode:
To search backward.
33
In the rewind mode:
To obtain high speed
“<1<” is lit.
picture.
34
15 STOP
To stop any playback or recording.
16
PLAY
To start playback. is lit.
17 FF (FAST FORWARD)
In the stop mode:
To fast forward the tape.
In the playback mode:
To search forward.
In the fast forward mode; To obtain high speed
picture.
">[>’’is lit.
18
VIDEO IN
To connect a video cable to a movie camera or another
video recorder.
19 VIDEO OUT
To connect a video cable to a TV or another video
recorder.
20
RF IN
To connect to the external aerial.
21
CHADJ.
To adjust the RF transmitting channel 30-40.
22
AC IN
TO connect to the mains power supply.
23
TEST SIGNAL
The test signal is transmitted on channel 38.
24
AUDIO IN
To connect an audio cable to a movie camera or
another video recorder.
25
AUDIO OUT
To connect an audio cable to a TV or another video
recorder.
26
RFOUT
To connect to the aerial terminal on a TV set.
27
VTR/TV
No function.
28
PAUSE/STILL
During playback: Still picture.
During recording: To interrupt recording.
29
ZERO STOP
For the zero stop function.
30
No function.
31
DISPLAY
To change the indication on the VTR Display.
Clock-«-^Counter
32
RESET
To reset the tape counter (elapsed time) to “0:00,00”.
»The tape counter is automatically reset to “0:00.00"
when a video cassette is inserted.
INDEX
For the index search function.
TRACKING/V-LOCK
For manual tracking adjustment
The + and - buttons are used to adjust the tracking
when, for example, noise bars on the picture are better
removed manually than by the automatic digital
tracking control. After making a manual adjustment,
press both buttons together to return to automatic
digital tracking control.
For still advance tracking adjustment
When noise bars appear during Still or Still advance
switch over to still advance and adjust with the + or -
button to reduce the noise bars.
For vertical locking adjustment
Use the + and - buttons to minimize any vertical jitter
during still-picture playback.
35
STILL ADV
To advance a still picture during still playback.
36
Programme Position Selector Buttons
To select the programme positions.
37
Infra-red Transmitter
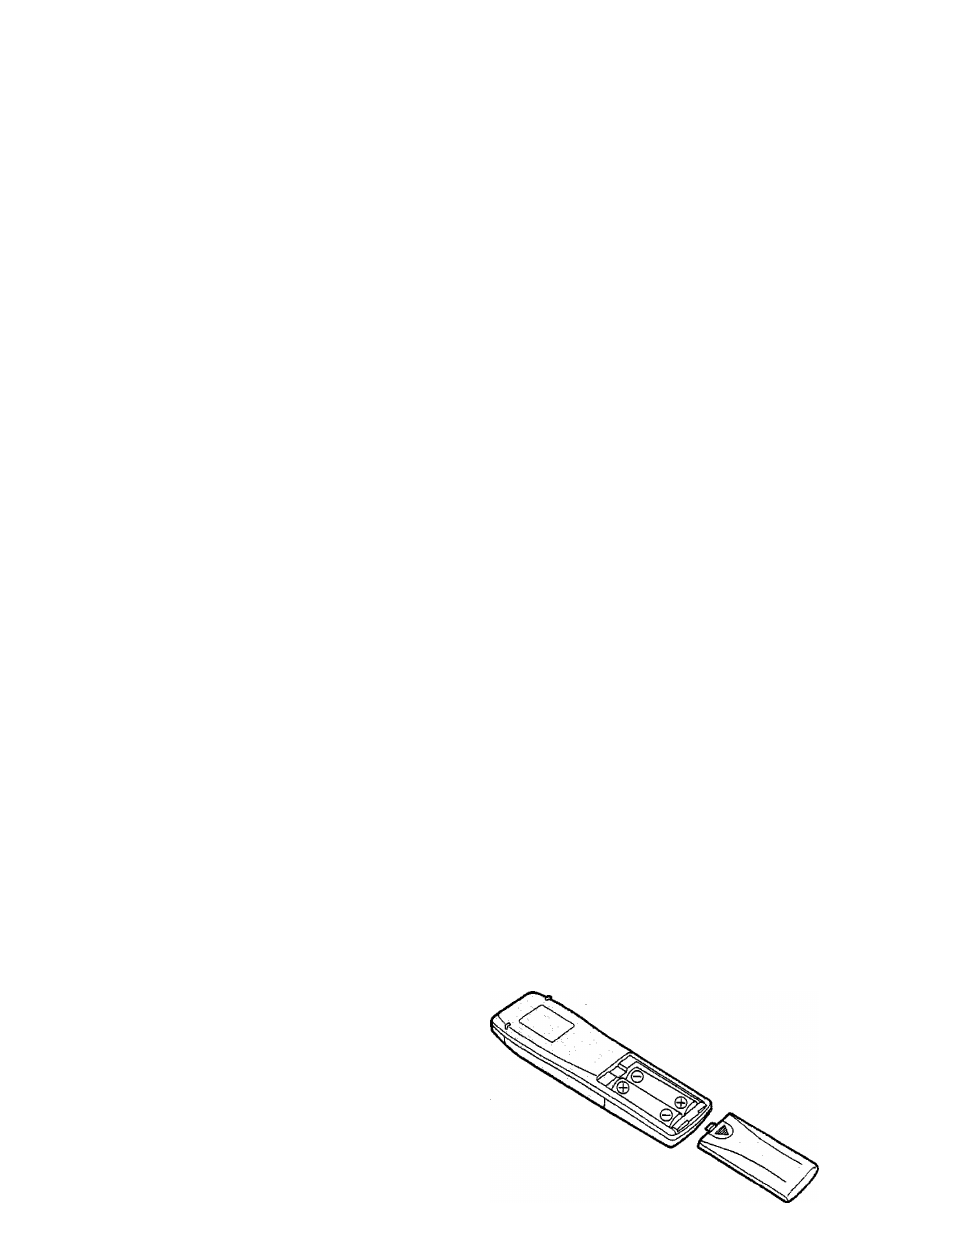
Power source for the remote controller
The remote controller is powered by 2 “UM3” or “R6” size
batteries. The life of the batteries is about one year,
although this depends on the frequency of use.
Precautions for battery replacement
•Load the new batteries with their polarity (® and ©)
aligned correctly.
•Do not apply heat to the batteries, or an internal
short-circuit may occur.
•If you do not intend to use the remote controller for a long
period of time, remove the batteries and store them in a
cool and dry place.
•Remove spent batteries immediately and dispose of them.
•Do not use an old and a new battery together, and never
use an alkaline battery with a manganese battery.
Loading the batteries