3 grounding, Grounding – CANOGA PERKINS 9145ELB Network Interface Device Hardware User Manual
Page 33
Installation
9145ELB NID Hardware User’s Manual
Connecting the Electrical Power
19
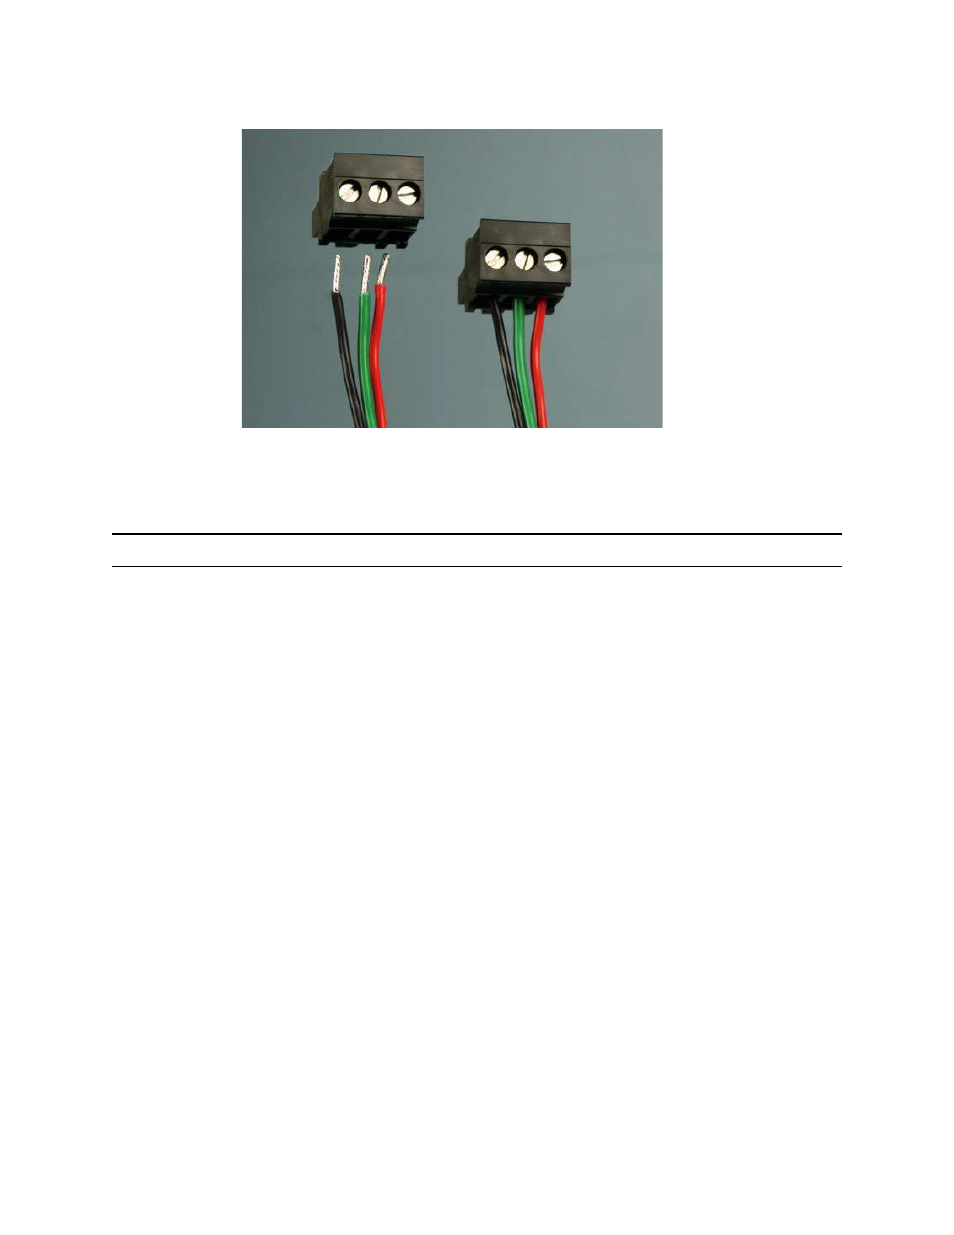
Figure 3-7 DC Power Leads
The 9145ELB is shipped with a compatible DC Power terminal block. To connect DC power to
the 9145ELB:
NOTE: The 9145ELB supports both Positive and Negative grounded DC power.
1. Loosen the terminal screws for +, -, and GND.
2. Slide the wires one at a time (green = GND, red = +, black = -) into the square openings in
the bottom of the terminal block.
3. Tighten the terminal screws so that they crimp the wires.
4. Use an ohmmeter to verify that power leads are not shorted to GND.
5. Connect the + and - wires to the power source.
6. Insert the terminal block into the DC power receptacle at the front of the 9145ELB.
3.8.3 Grounding
A grounding lug kit is included in the 9145ELB accessory tray. Connect a 6AWG grounding cable
to the 9145ELB as follows (
):
1. Strip approximately ¾-inch of insulation from the end of the grounding cable.
2. Twist the exposed wires together and trim the ends off evenly.
3. Insert exposed wire into the grounding lug until it bottoms out inside the barrel.
4. Position the crimping tool over the center of the grounding lug, with the lug in the crimping
tool’s proper crimp pocket.
5. Squeeze handles firmly until grounding wire is secured within the grounding lug.
6. Insulate the grounding connection as required.