3 mounting options, 1 rack mounting, 1 mounting the 9145elb in a 19" or 23" rack – CANOGA PERKINS 9145ELB Network Interface Device Hardware User Manual
Page 28: Mounting options, Rack mounting, Mounting the 9145elb in a 19" or 23" rack
9145ELB NID Hardware User’s Manual
Installation
Mounting Options
14
3.3 Mounting Options
The 9145ELB can be rack mounted or placed on any horizontal flat surface such as a shelf or
table.
3.3.1 Rack Mounting
One 9145ELB can be mounted in a 19" rack or a 23" rack.
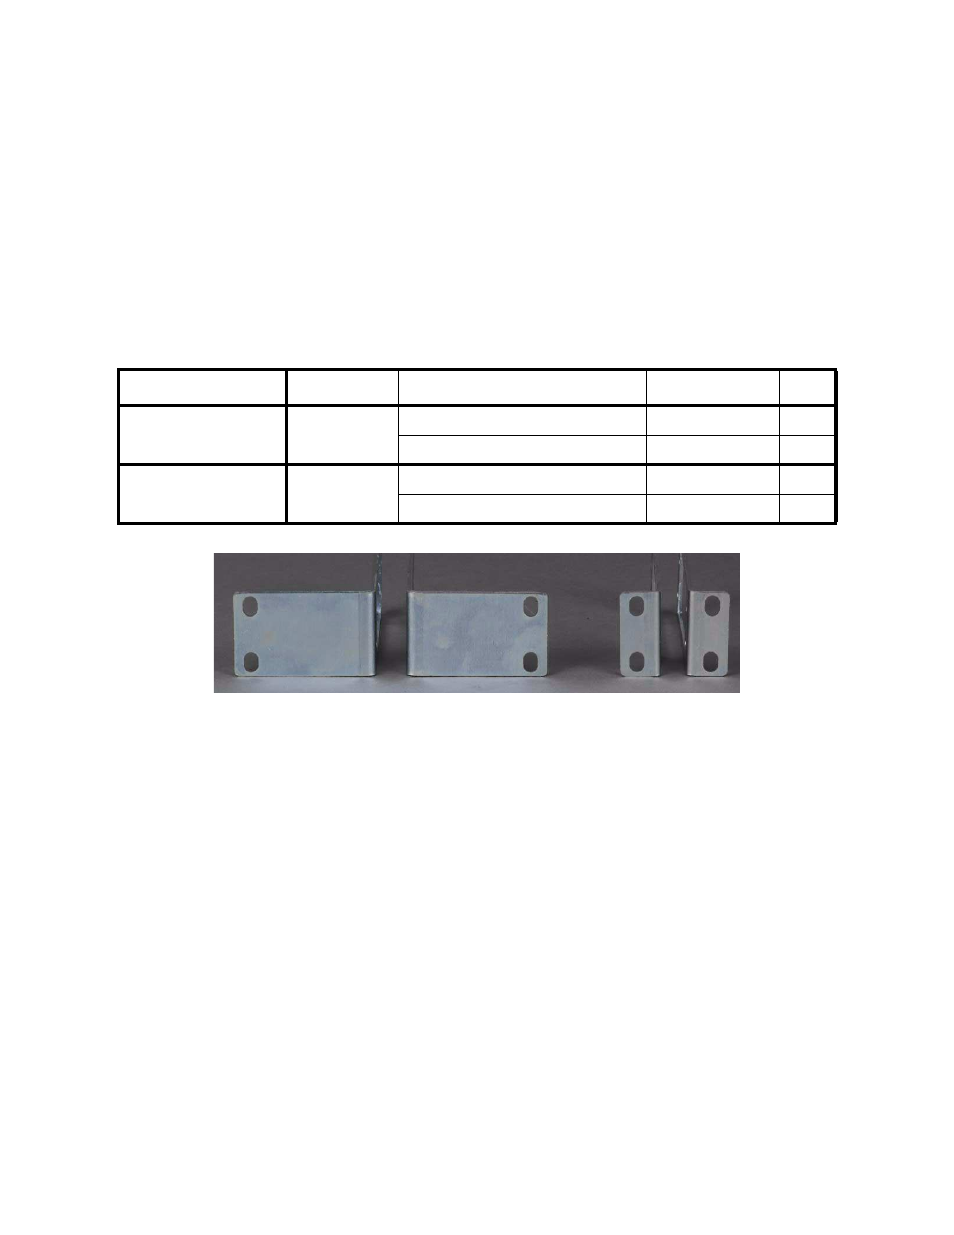
Rack mounting kits (
) are available. Each rack mount kit contains the brackets
necessary for installing the 9145ELB (
), as well as the mounting hardware required to
attach the brackets to the unit(s). Rack mount screws are provided by the rack manufacturer.
Table 3-1 Rack Mount Kits
Figure 3-1 9145ELB Rack Mounting Brackets
3.3.1.1 Mounting the 9145ELB in a 19" or 23" Rack
To rack mount one 9145ELB, use the following steps:
1. Install the 19" or 23" Rack Mount Bracket Kit.
The Rack Mount Kit includes two mounting brackets and the screws required to attach
the brackets to the 9145ELB. The brackets attach to the four threaded holes on each side
of the 9145ELB, toward the front (
) using the flat head screws provided.
Torque the flat head screws to 14.5 – 15.5 in-lb.
2. Place the unit with brackets attached in place on the mounting rack.
3. Install four screws through each bracket into the threaded holes on the mounting
rackFigure 3-2. Torque the screws to the rack manufacturer’s specifications.
Rack Mount Kit
Part Number
Component
Part Number
Qty
Rack Mount Bracket
Kit, 19" Single Unit
1803-2000
Bracket, rack mount,single, 19” 6214100-119-6
2
Screw, 8-32 flat head, 5/16 L
8060051
8
Rack Mount Bracket
Kit, 23" Single Unit
1803-2001
Bracket, rack mount,single, 23” 6214100-123-6
2
Screw, 8-32 flat head, 5/16 L
8060051
8