Vernier DataMate Guidebook User Manual
Page 11
DataMate Guidebook
9
LABPRO TUTORIAL #2: USING A NON AUTO-ID SENSOR
LabPro will automatically identify auto-ID sensors; however, you may have a number of older
sensors that are not automatically recognized. These will frequently be sensors with a round 5-
pin
DIN
plug, which require a DIN-BTA adapter to connect to LabPro. The DIN-BTA adapter is a
small plug with a round 5-pin DIN plug on one side, and a white, flat British Telecom plug on
the other. Using these sensors is not a problem, since only a couple extra steps are required to
begin data collection. This tutorial will show you how to set up non auto-ID sensors (pH is just
an example) and take some data using the DataMate program in meter mode.
MATERIALS
TI graphing calculator
pH System with a DIN-BTA adapter.
LabPro interface
a number of liquids in which to measure
DataMate program
solution (cola or any soft drink, milk,
vinegar, window cleaner, etc.)
distilled water
beaker to hold liquids
PROCEDURE
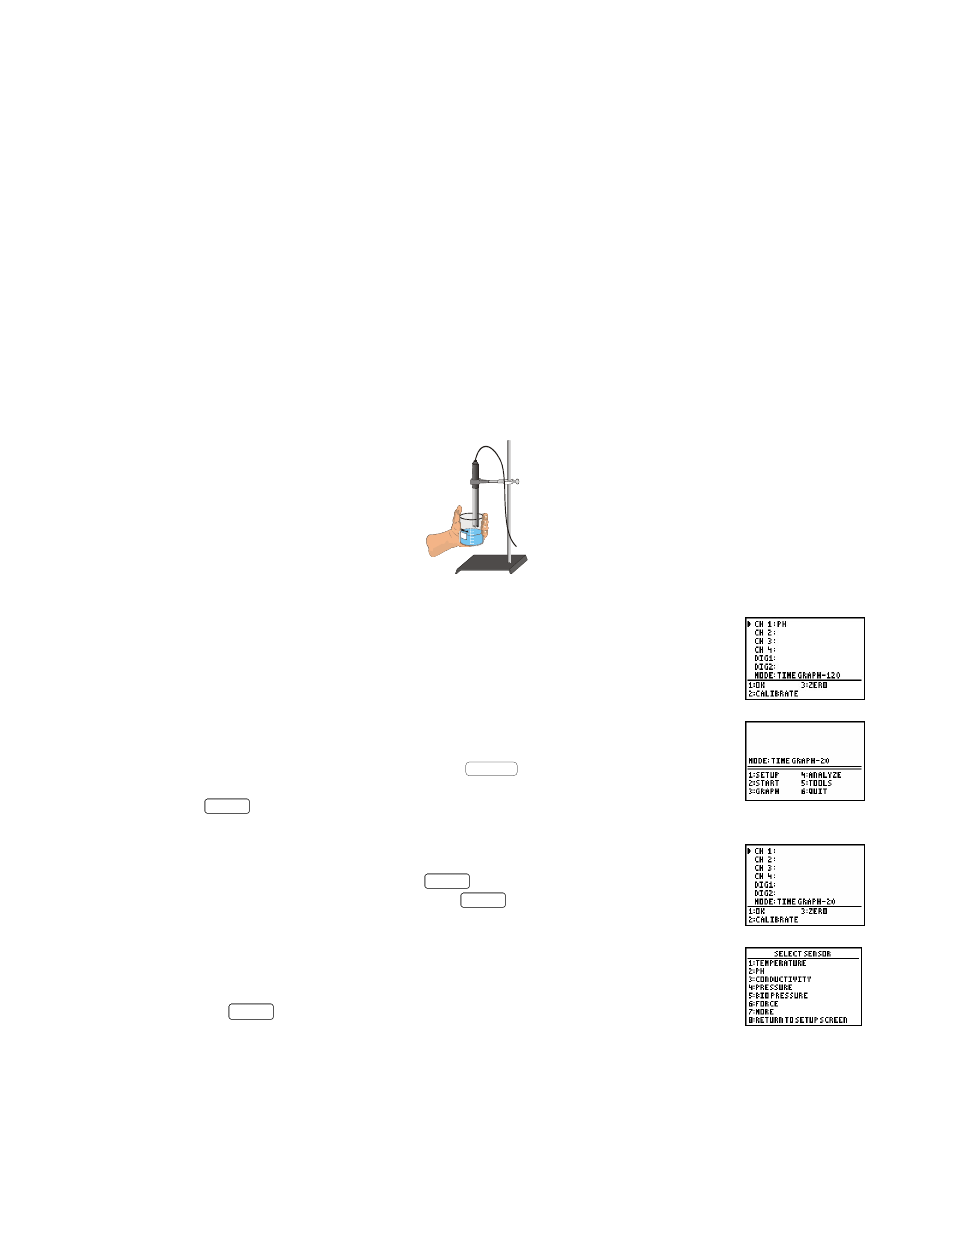
1.
Connect the pH System to the DIN-BTA adapter then plug the adapter
into Channel 1. Use the link cable to connect the TI graphing calculator to
the interface. Firmly press in the cable ends.
2. Turn on the calculator and start the DataMate program.
You will notice that DataMate has not recognized your pH System. That’s
because you have one of the older, non auto-ID sensors that LabPro cannot
detect. It must be manually set up. Press
CLEAR
to reset the program.
3. Press
1
to select
SETUP
.
4. This is the Setup screen. Here you can change the sensor, units of
measurement, and data collection parameters. Notice that the cursor is on
CH1, indicating that you can press
ENTER
to modify that channel. To add a
non-auto pH system to channel 1, press
ENTER
.
5. A list of probes will appear. Press the number preceding
PH
. You will be
returned to the Setup screen. By choosing a sensor type, DataMate loads
the default calibration and data collection rate for that sensor. Select
OK
by
pressing
1
to return to the Main screen.