Losi LOSB0103 User Manual
Page 9
16
17
Inboard Camber Location: The 1/10 HIGHroller has three
different inner locations with vertical adjustment for the front
camber tie rod. In general, the lower or further out the inside
position is, relative to the outside, the more camber gain (total
camber change through the total throw of the suspension) is
present. This is an adjustment that is difficult to make a generic
statement for as it can have slightly different results on various
conditions. The following is a summary of how this adjustment
will usually impact the handling of the 1/10 HIGHroller. A
longer front camber link will usually make the 1/10 HIGHroller
feel stiffer. This will help keep the 1/10 HIGHroller flatter with
less roll, but can make the 1/10 HIGHroller handle worse in
bumpy conditions, it also will make the 1/10 HIGHroller easier
to drive. A shorter front camber link will result in more front
end roll, which will provide more steering on tighter turns with
the loss of some stability. You will also lose some high-speed
steering but might gain some more steering response. Too
short of a front link may make the 1/10 HIGHroller feel “twitchy”
or “wandery” meaning that it may be difficult to drive straight
at high speed.
Inboard Camber Vertical Adjustment: Washers are often
used under the inner ball stud mounting location; this is one
of the most important adjustments on the 1/10 HIGHroller.
You should get a feel for how the number of washers affects
the handling. Adding washers will make the 1/10 HIGHroller
more stable and keep the front end flatter. This works well
on higher traction surfaces. Removing washers will make the
steering more aggressive, which works well on lower traction
surfaces. This can be good in some conditions, but can also
make the 1/10 HIGHroller difficult to drive in others. The
washers that are used are included in an assortment package
of washers (LOSA6350).
Outboard Camber Location: In addition to the inboard
camber location, the 1/10 HIGHroller also provides two
outboard mounting options. The outer location helps the 1/10
HIGHroller stay tighter in turns with a more precise steering
feel. Moving the link to the inner hole will make the steering
react slightly slower and steer smoother. The advantage to the
inner hole is that it can increase on-power steering and help the
1/10 HIGHroller get through bumps better.
Toe-In/Out: This is the parallel relationship of the front tires to
one another. Toe-in/out adjustments are made by changing the
overall length of the steering tie rods. Toe-in (the front of the
tires point inward, to a point in front of the front axle) will make
the 1/10 HIGHroller react a little slower, but have more steering
from the middle of the turn, out. The opposite is true with
toe-out (the front of the tires point outward, coming to a point
behind the front axle), the 1/10 HIGHroller will turn into the
corner better but with a decrease in steering from the middle
of the turn, out. Toe-in will help the 1/10 HIGHroller to track
better on long, straight, high-speed runs, where toe-out has a
tendency to make the 1/10 HIGHroller wander. We recommend
to run between 0-degree of toe-in/out to 1 degree of toe-in.
Bump-In/Out: Bump-out (front of the front tires toe-outward
under suspension compression) will result in more off-power
steering and less consistent handling if you have too much
bump-out. This effect is obtained by adding washers under the
steering spindle ball stud. Bump-in (front of the front tires toe-
inward under suspension compression) will result in less off-
power steering. Too much bump-in can make the steering feel
very inconsistent. This effect is obtained by installing a ball stud
washer on the bottom of the spindle. Testing has shown that
running a little bit of bump-in (kit setup) in the 1/10 HIGHroller
offers the best overall setup.
Caster: This is the angle of the king pin from vertical when
viewed from the side of the 1/10 HIGHroller. The 1/10
HIGHroller comes equipped with a 30-degree kick-up angle.
Total caster is determined by adding the amount of kick-up
(1/10 HIGHroller has 30 degrees) and the king pin angle of the
front spindle carriers. Increasing total caster will provide more
steering entering a turn but less on exit. Decreasing total caster
will cause the steering to react faster and increase on-power
steering.
Ride Height: This is the height of the chassis in relation to
the surface. It is an adjustment that affects the way your 1/10
HIGHroller turns and goes through bumps. To check the ride
height, drop one end (front or rear) of the 1/10 HIGHroller
from about a 5-6 inch height onto a flat surface. Once the 1/10
HIGHroller settles into a position, check the height of that end
of the 1/10 HIGHroller in relationship to the surface. To raise the
ride height, lower the shock collar on the shock evenly on the
end (front or rear) of the 1/10 HIGHroller that you are working
on. To lower the ride height, raise the shock collar. Both left and
right nuts should be adjusted evenly.
Every driver likes a little different feel so you should try small
ride height adjustments to obtain the feel you like. This should
be one of the last adjustments after everything else has been
dialed in (tuned). Do not use ride height adjustment as a
substitute for a change in spring rate.
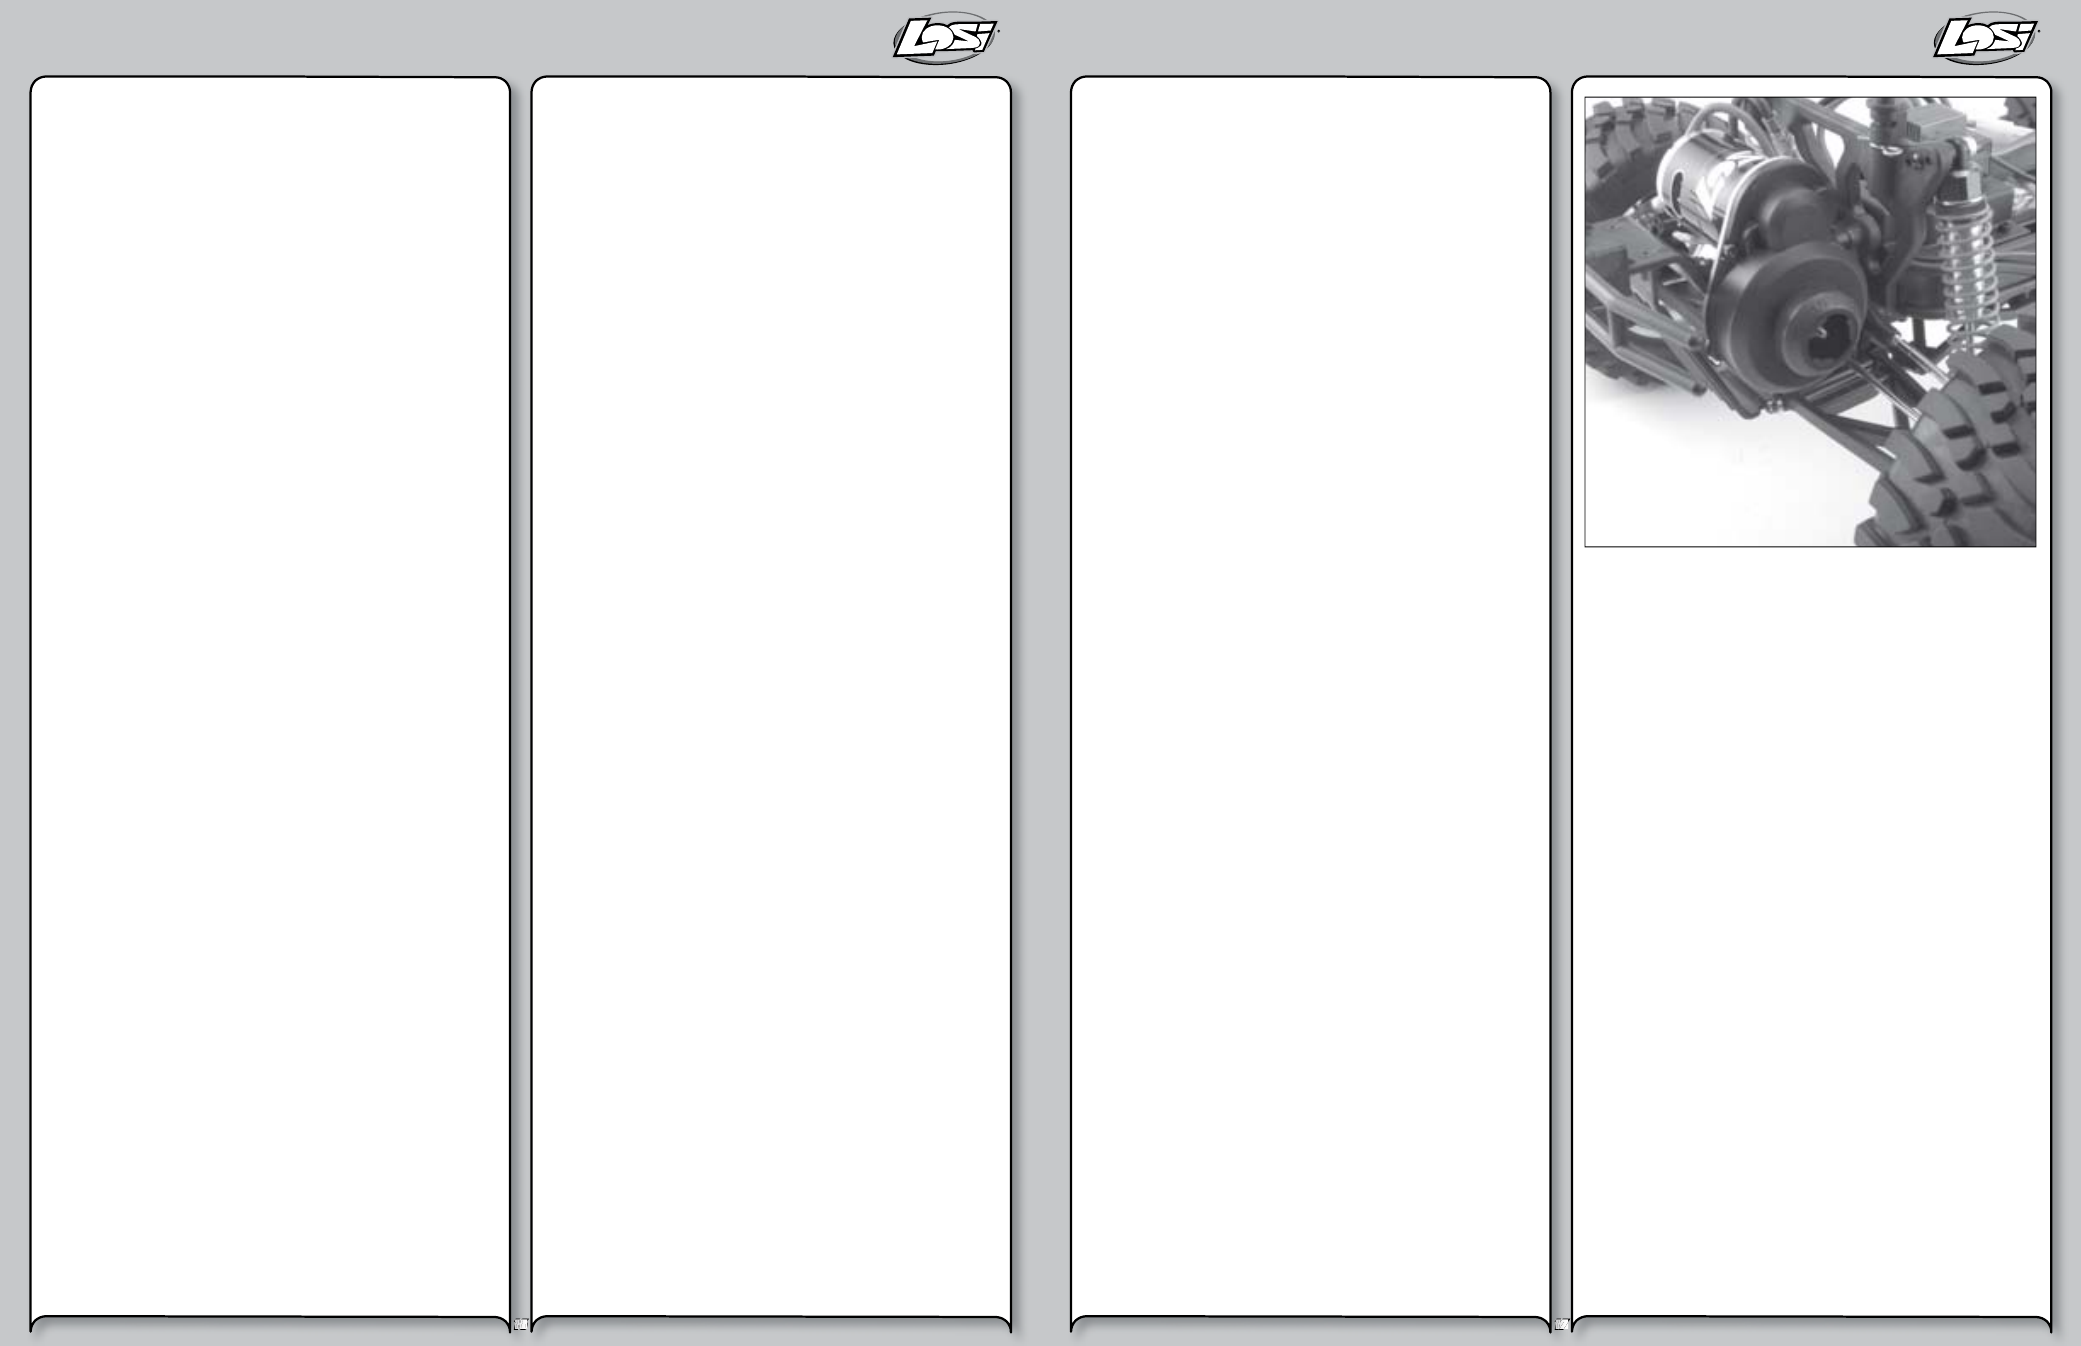
Tuning the Rear End of the 1/10 HIGHroller
Shock Location: Moving the shocks in on the arm will result in
more forward traction and let the 1/10 HIGHroller drive more
square off the turn.
Static Camber: Having the same definition as for the front end
and measured in the same fashion, rear camber can also be a
critical tuning feature. Testing has shown that running a small
amount of negative camber (.5-1 degree) is best. Increasing
negative rear camber (in the range of 1.5-3 degrees) will
increase stability and traction in corners, but decrease high
speed stability. Decreasing rear camber (in the range of 0-1.5
degrees) will decrease stability and traction in corners, but will
increase high-speed stability.
Inboard Camber Location: The 1/10 HIGHroller has multiple
rear camber locations. Using a longer camber link will improve
stability and traction (grip). Using a shorter camber link will
increase steering while decreasing rear grip. Running the
camber link in the inside position on the shock tower will give
your 1/10 HIGHroller more steering entering the turn as it will
let the 1/10 HIGHroller set over the rear tire and give you more
forward traction exiting the turn. As you move the camber link
towards the outside of the 1/10 HIGHroller, you will gain less
initial steering, however, you will gain more steering as the
1/10 HIGHroller exits the turn. The 1/10 HIGHroller now has the
capabilities of a lower row of holes in the rear shock tower for
the inner camber link location. The lower hole gives the 1/10
HIGHroller more camber gain (more angle relative to arm =
more camber gain). This can be helpful when the surface gets
bumpy and rutted to help the rear end of the 1/10 HIGHroller
go through the bumps easier due to the increased camber gain
of the tires.
Outboard Camber Location: Running the camber link in the
inside position on the hub will generate more rotation entering
a turn, but decrease steering on exit. Running the camber link
in the furthest outer position on the hub will generate more
stability entering a turn and increase steering on exit.
Toe-In: The stock toe-in is 3 degrees of inboard per side and 0
degrees in the hub.
Anti/Pro-Squat: Increasing anti-squat is generated by raising
the front of the pivot block, relative to the rear of the pivot.
This will increase initial steering and forward traction. You can
increase anti-squat in 1 degree increments by using two .030
washers between the front of the pivot plate and pivot block.
Pro-squat is generated by raising the rear of the pivot relative to
the front. This will decrease forward traction and initial steering,
but provide more on-power steering on high-traction surfaces.
Pro-squat will also help the 1/10 HIGHroller from pulling
wheelies on high-bite surfaces.
Tuning the Chassis of the 1/10 HIGHroller
Slipper Adjustment: After fully tightening the adjustment
nut (so the coils of the spring just touch) loosen the slipper
adjustment nut 2 1/2 turns. This will be a good starting point for
your slipper settings.