ISSPRO R82000 User Manual
Page 2
Form No. IS164 (Rev. B 09/18/2008
)
ISSPRO, INC.
2515 N.E. Riverside Way
Post Office Box 11177
Portland, Oregon 97211-1899
503-288-4488
800-888-8065
Fax: 503-249-2999
www.isspro.com
© 2008 ISSPRO, Inc. All Rights Reserved.
6
Run the wires up to each individual gauge and leave enough extra wire to pull the gauge out of its
mount so it can be unplugged.
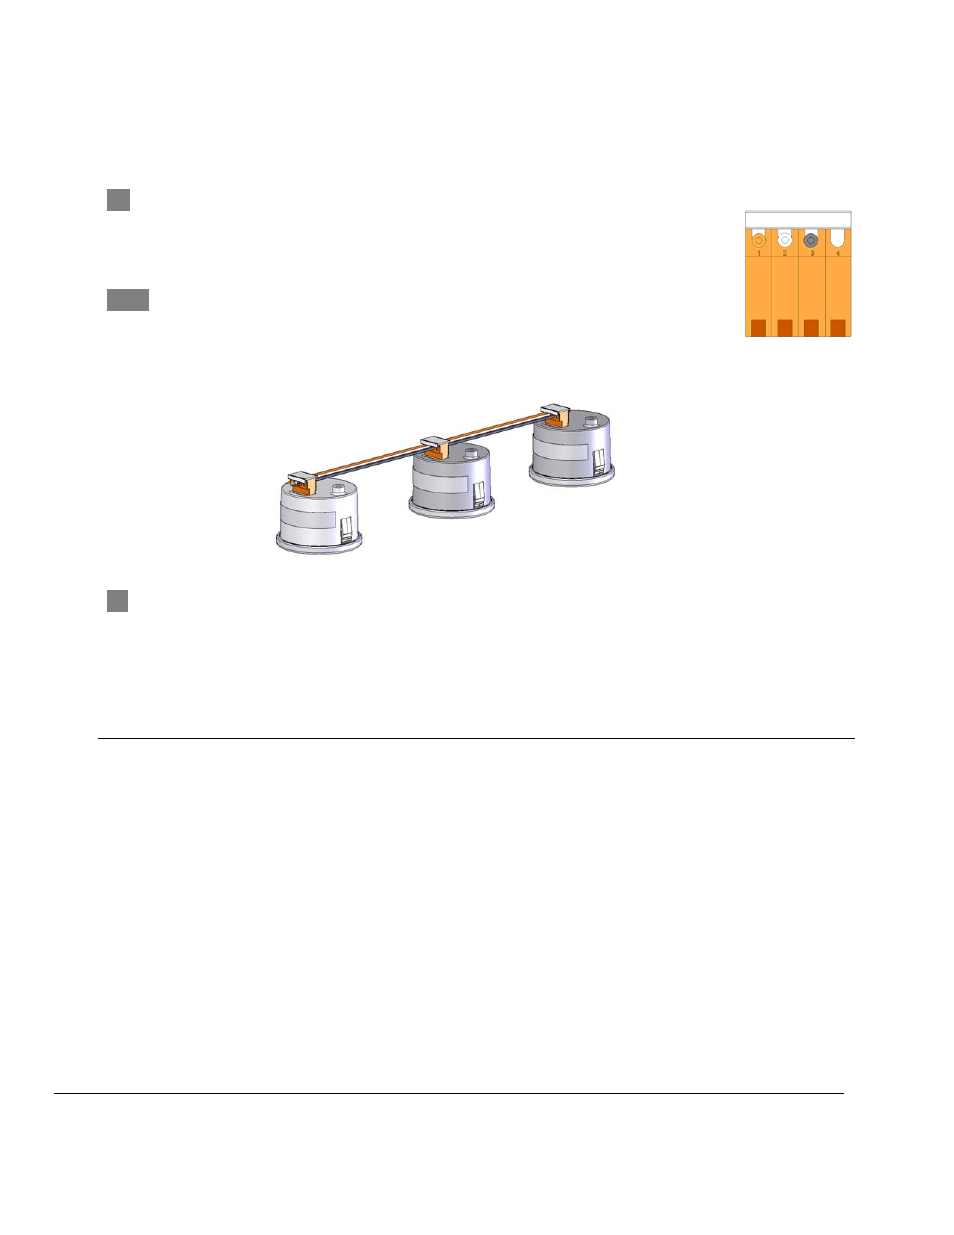
7
Once the length of the wires has been determined, install the three wires into the
insulation displacement connector (orange connector). The orange, white, and black
wires are the +7V, data, and ground output to gauges, and connect to cavities 1, 2, and
3 of the orange connector respectively.
8
To install, carefully lay the wires across the connector cavities, hold the
connector steady with a vice or pliers and press the wires into each cavity with a small
screwdriver. Do this for each gauge to be installed as shown in the illustration. Slide
the white dust cover over each orange connector once the wires are securely installed.
9
Secure all wiring so that it does not interfere with moving parts or chafe on sharp edges. This may
be accomplished by routing the wiring within the factory wire harness sheath, using wire ties and
sheathing, and using appropriate grommets when passing through the firewall.
10
OPTIONAL: Adjust the backlighting to match the output of the factory gauges. This adjustment
should be completed when it is dark outside the vehicle.
a. Turn on the ignition, so that your Performax™ gauges are powered on.
b. Adjust the factory dimmer so that the factory instruments are at a comfortable lighting level.
c. Press and hold the mode button. After 5 seconds, the backlight level will begin to adjust,
getting brighter initially (until it reaches the brightest setting), then getting dimmer until it
reaches the dimmest setting, and repeating the cycle. Release the button when the
Performax™ gauge lighting intensity matches the factory instrument lighting intensity.
The lighting setting will be automatically saved in the ESP, and will now be the default. The
Performax™ gauge lighting will get brighter and dimmer as you change the factory dimmer
adjustment.
If you are just making this adjustment one time to match the factory gauges, you can temporarily run
mode switch wires outside the vehicle and into the cab (rather than permanently routing them
through the firewall).