Dynojet 250i: Control Panel Interface Upgrade (S/N 202xxxx) User Manual
Page 3
1
April 12, 2004
Control Panel Interface upgrade for 200i/250i Dynos
Serial Number 202xxxx
These instructions are intended for use with installing the Control Panel Interface upgrade into Dynojet
Research model 200i and 250i dynos with a serial number prefix of 202. Before proceeding, check the
serial number on the dyno front left corner to verify it is in this range. The Dynojet part number for this
upgrade is P/N 78121003. If the serial number on your dyno does not start with 202 you will need a
different kit for the upgrade. Contact Dynojet with any questions.
This upgrade requires that your dyno has the optional monitor tray and upright arm to allow the mounting
of the Control Panel. If your dyno does not already have this option you will need to order it. Contact
Dynojet for the information. The part number and description for this option is P/N 61329110 Monitor Tray
and Upright Assembly.
This upgrade requires the altering of wiring that carries 240 volts during normal dyno operation. Failure to
follow these instructions could result in exposure to hazardous voltages or damage to your dyno. If you do
not feel that you can follow these instructions properly and safely, contact Dynojet.
Read all of these instructions before proceeding.
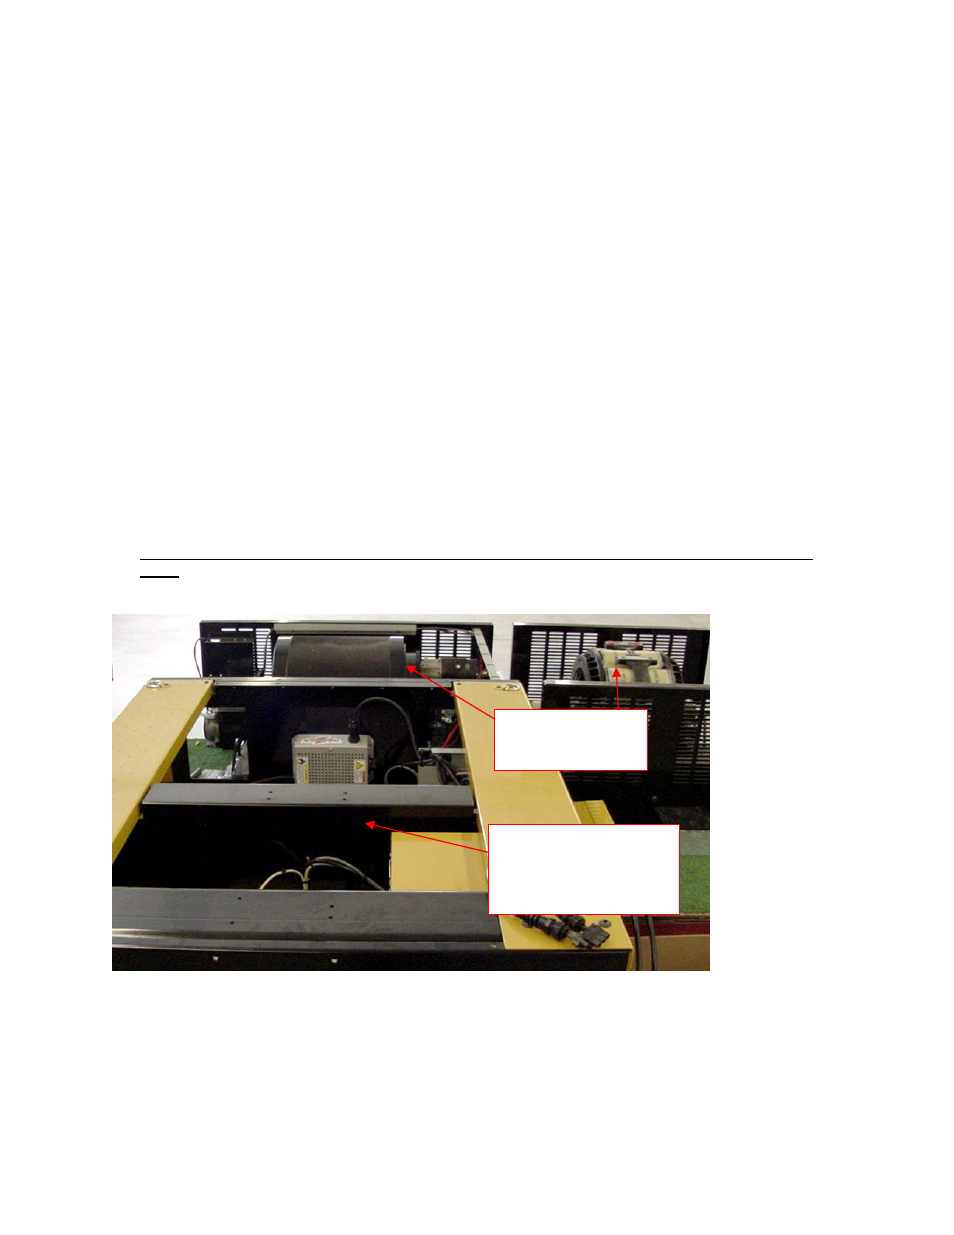
1. Unplug
all power cords going into the dyno. This includes the main power cord and any additional
cords. Remove the carriage and the top cover on the carriage module. Remove the covers over the
retarder (if present) and the drum.
Note: Dynojet recommends using a hardened 5/32-inch hex driver (such as Snap-On FA5E) to remove
the 1/4-inch screws. A standard allen key may round off in the shallow screw head.
Remove carriage and
carriage module cover
Remove Retarder
and Drum Cover