Unpacking the dyno, Removing the crate top and sides, Locating the installation guide – Dynojet 250ix: Pre-Installation Guide User Manual
Page 33
D Y N O P R E - I N S T A L L A T I O N I N F O R M A T I O N
Unpacking The Dyno
Version 3
Pre-Installation Guide for Model 200i/250i, 200iP/250iP, 250iX, and 250iPX Motorcycle Dynamometers
25
. . . . . . . . . . . . . . . . . . . . . . . . . . . . . . . . . . .
UNPACKING THE DYNO
When you receive your dyno, examine the exterior of the shipping container for any
visible damage. If damage is detected at this stage, contact the shipper or Dynojet
before proceeding with unpacking.
You will need to provide equipment capable of lifting and moving the dyno. Refer to
“Forklift Requirements” on page 6 for more information.
R
EMOVING
THE
C
RATE
T
OP
AND
S
IDES
1
Move the crated dyno to a clear area near your dyno room.
2
Using a pry bar, or a large flat screwdriver, and a hammer, carefully remove the
top and sides of the crate.
Note: At this point, you will want to inspect the exterior of the dyno for any
indications of damage. Report any damage immediately.
L
OCATING
THE
I
NSTALLATION
G
UIDE
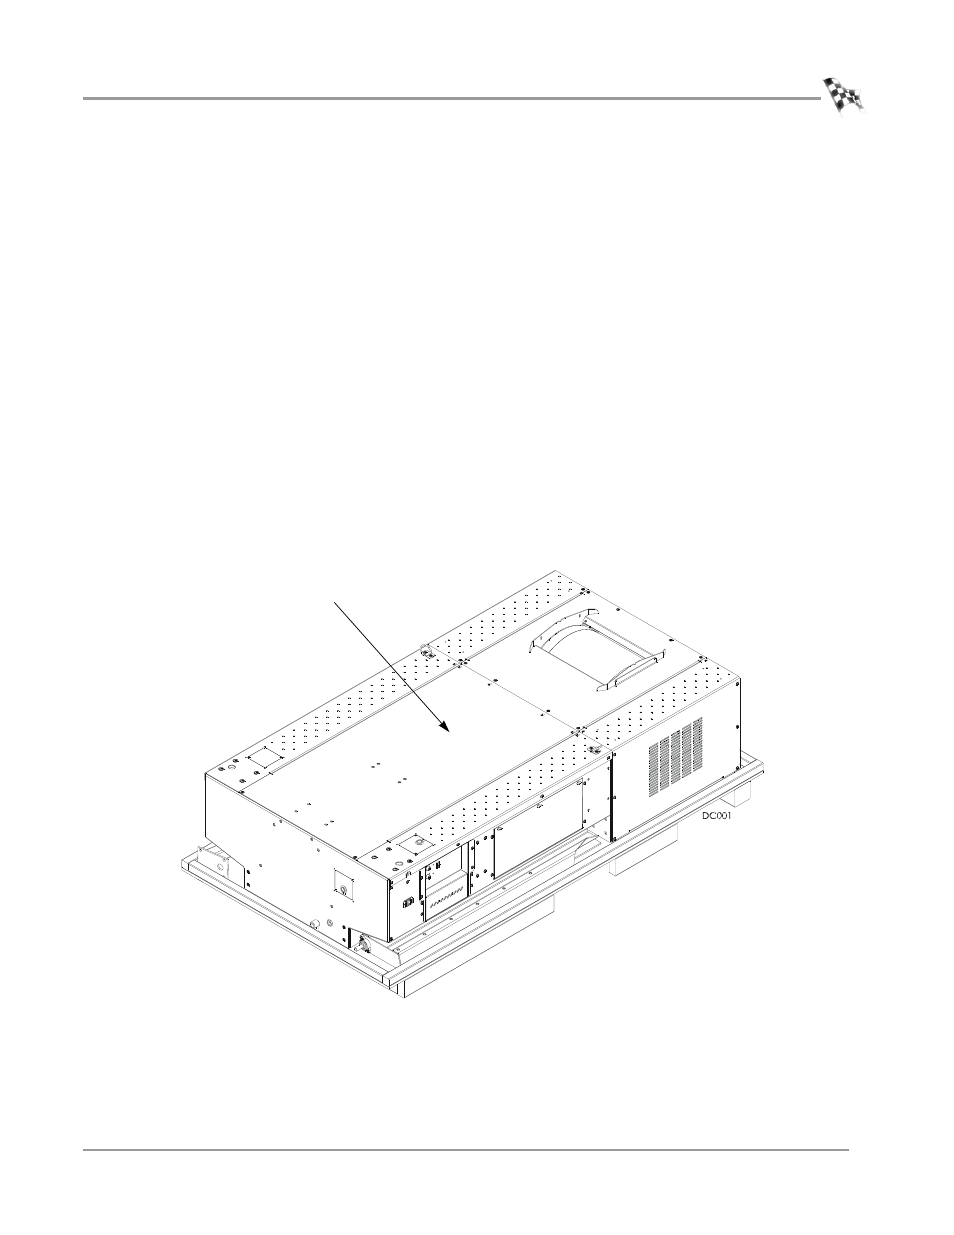
Your dynamometer installation and user guides are located in a manila envelope and
secured to the top of the dyno.
Figure 17: Locating the Installation Guide
dyno manual
on top of dyno