AVer SF1031W User Manual
Page 28
20
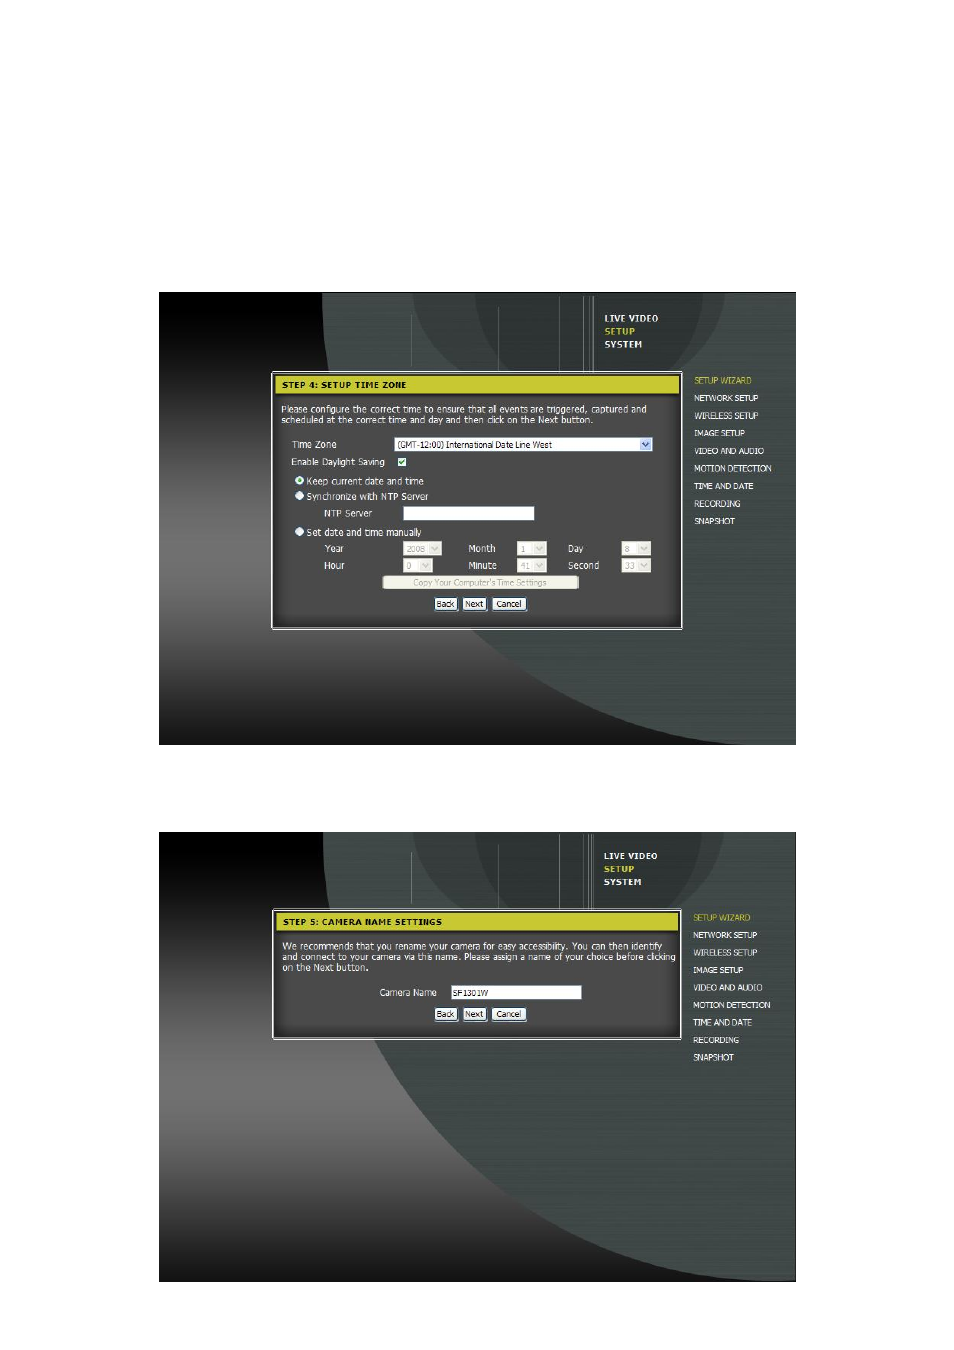
STEP 4: SETUP TIME ZONE
Setup the system time of the camera. Click Next to go to next step.
Time Zone: Select the time zone that IP camera is located.
Enable Daylight Saving: Enable/disable daylight saving function if the time zone that camera is
located has daylight saving time.
Keep current date and time: The time will be user has been setup.
Synchronize with NTP Server: To adjust the time by NTP server that user has setup.
Set date and time manually: To adjust the date and time manually. Select the Year, Month, Day,
Hour, Minute, and Second from drop-down list. Or click Copy Your Computer’s Time Settings to
get the date and time setting directly from your PC.
STEP 5: CAMERA NAME SETTINGS
Give a name to the IP camera. Default is model name of the IP camera. Click Next to complete the setup
process.