AVer EB3004_MD User Manual
Page 30
26
OSD MENU
Description
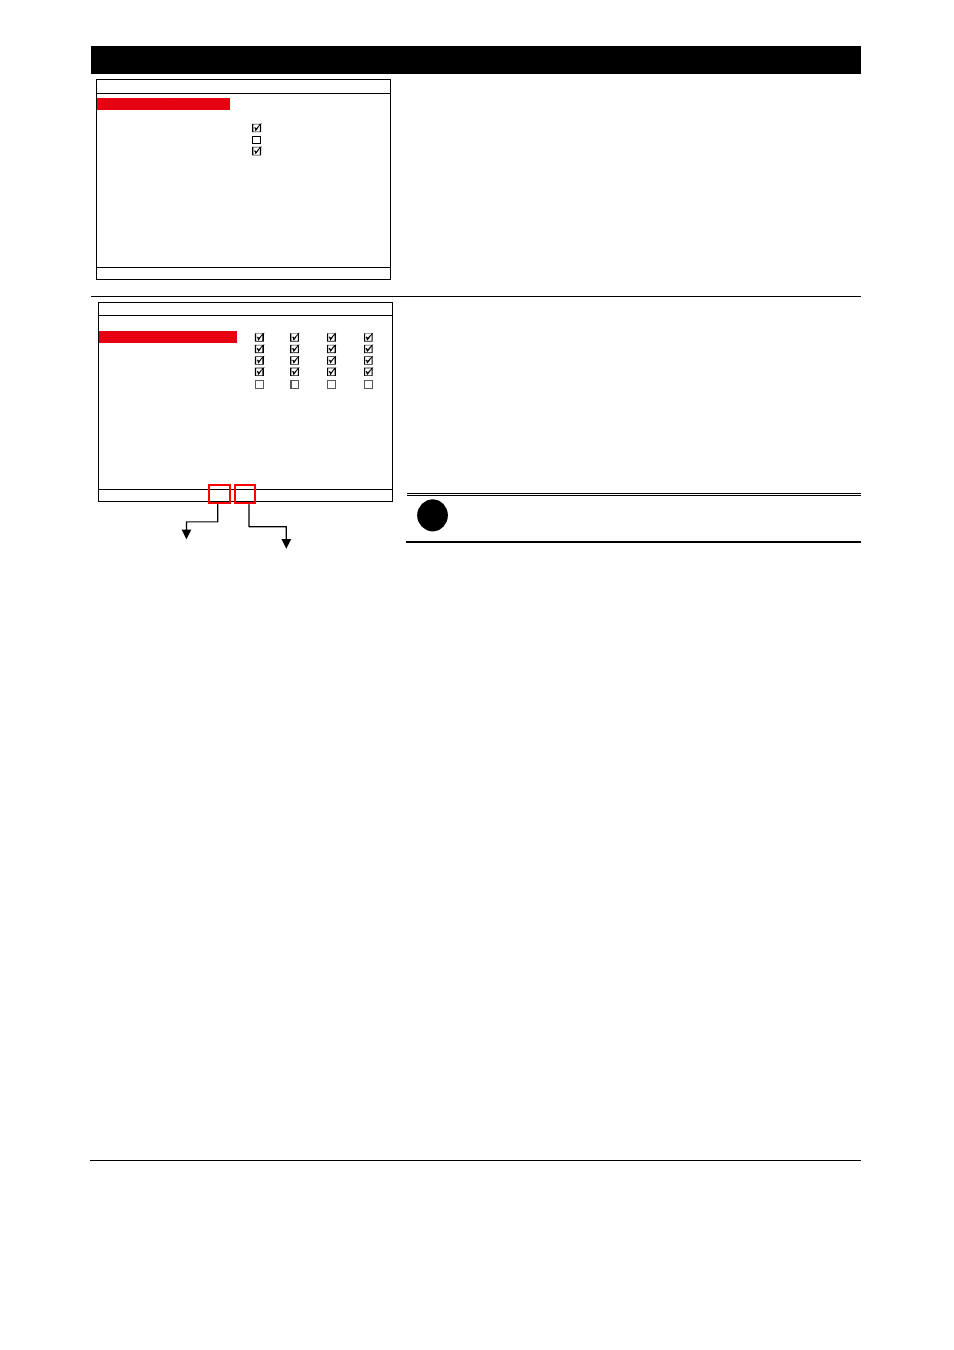
GENERAL SETUP
RECORD MODE
TIME STAMP
DVR NAME
WATERMARK
AUTO RECORD
CIF
COMPANY
AUTO RECORD
Enable/disable auto continue recording when interrupted (i.e.,
power breakdown, video playback or configuration setup). It
starts to record after 5 second of idleness. This is applicable in
Always Record mode.
CHANNEL SETTING SETUP
120 / 120 FPS
RECORD
ENABLE
AUDIO RECORD
PREVIEW
CH1
CH2
CH3
CH4
MAX. FPS
30
30
30
30
FPS
30
30
30
30
QUALITY
BEST BEST BEST BEST
FPS(ALARM)
30
30
30
30
QUALITY(ALARM)
BEST BEST BEST BEST
ENCRYPTION
CHANNEL SETTING
Configure the parameters of each channel.
ENABLE
Enable/disable the channel to display the video on the
surveillance screen. If the channel is disabling, there won’t be
any video display and recording.
RECORD
Enable/disable the channel number to record video.
i
The channels are enabled in the ENABLE can be set fo
video recording.
AUDIO RECORD
Enable/disable audio recording. To record sound, make sure
the audio input device (ex: microphone) is connected to the
DVR unit.
PREVIEW
Enable/disable the video preview on the surveillance screen.
MAX. FPS
Display the maximum frame rate of recording that user has set.
Maximum fps total value depends on the RESOLUTION that
user has chosen.
FPS
Set the number of frames per second to be recorded.
The
higher the frame rate, it uses more hard disk space.
QUALITY
Select the video quality setting from BEST, HIGH, GOOD,
MEDIUM, NORMAL or LOW. Choosing higher quality allows
user to record less hours but the quality of the recorded video
is better.
FPS(ALARM)
Set the number of frames per second to be recorded when
alarm has occurred.
The higher the frame rate, it uses more
hard disk space.
QUALITY(ALARM)
Select the video quality (BEST, HIGH, GOOD, MEDIUM,
NORMAL or LOW) of alarm recording. Choosing higher quality
allows user to record less hours but the quality of the recorded
video is better.
Current total fps
value that user
has set
Total fps value that
user can set