Q compose and focus on the subject, Iq take the photograph, Asic operation —continued – Nikon FG User Manual
Page 9: Lasic operation —continued
Attention! The text in this document has been recognized automatically. To view the original document, you can use the "Original mode".
lASIC OPERATION —continued
Q
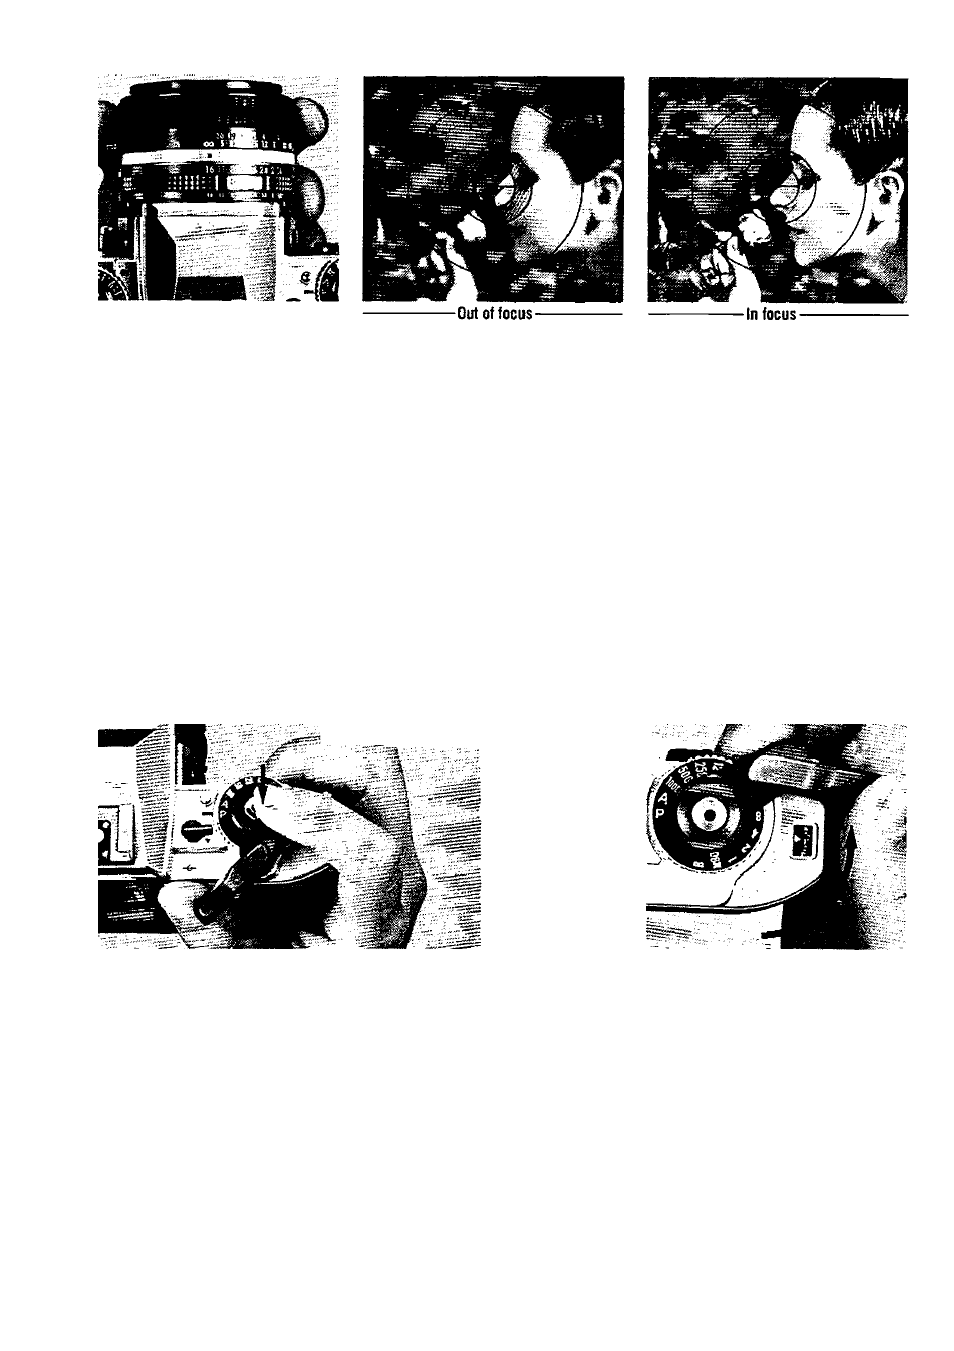
Compose and focus
on the subject.
lile looking through the viewfinder, compose your
oto with the main subject in the center to
assure
rrect exposure. Then turn the focusing ring
®
of
5 lens until the subject looks clear. The FG employs
3 standard Type K focusing screen for all-purpose
otography. For precise pinpoint focusing for sub-
;ts with distinct contours, use the central split-
age rangefinder and turn the focusing ring until the
lit image becomes whole. For rapid focusing and
subjects with indistinct outlines, use the micro
prism collar and turn the focusing ring until the shim
mering image becomes sharp. When doing close-ups
or macrophotography or shooting with telephoto
lenses of maximum apertures of approx, f/4.5 or
smaller, the split-image spot and microprism collar
are likely to darken. Therefore, use the matte outer
field and turn the focusing ring until the image be
comes sharp.
ASIC OPERATION —continued
IQ Take the photograph.
Look through the viewfinder and press the shutter release
itton halfway to turn on the exposure meter. When the audio warning
les not sound, depress the button all the way to take the picture. In this
ise. the proper shutter speed to match scene brightness is displayed
■ the LED inside the viewfinder. If the warning sounds, check the view-
ider information. If either the top or bottom warning LED blinks, the
ailable light is too bright or too dim for the meter's range and correct
posure is not possible without adjustment. Use either a neutral density
:er to reduce the amount of light reaching the film or artificial light to
:rease the subject's brightness. If the LED at 1/30 sec. or below lights
I, shutter speed is too slow and blur may result. In this case, use a
pod to prevent blurred images. When you correct the exposure, the
idio warning will stop.
Advance the film.
“ * ■ Stroke the film advance
lever to transport the film to the
next frame.