Press • to enter the recording pause mode. note, Play the program source to be recorded, 6 turn rec level to adjust the recording level – Sony HCD-541 User Manual
Page 19: Restart the program source, if required, Start recording, To record on the front side of the cassette, To record on the reverse side of the cassette, Note, To stop recording, press, Notes
Attention! The text in this document has been recognized automatically. To view the original document, you can use the "Original mode".
Select the side(s) to be recorded.
=SCS5 RELAY
To record on one
side
DIRECT^
s=ses> RELAY
To record on both
sides
TWi
DIRECTION
4
Press • to enter the recording pause mode.
Note
The direction indicator for the side opposite the
specified one will flash for fiiree seconds to indicate
that recording is possible on that ade also. If,
however, the tab for that side has been removed to
prevent recording, the indicator will not flash.
If the tab has been removed from either dde A or B,
recording is impossible on the side(s).
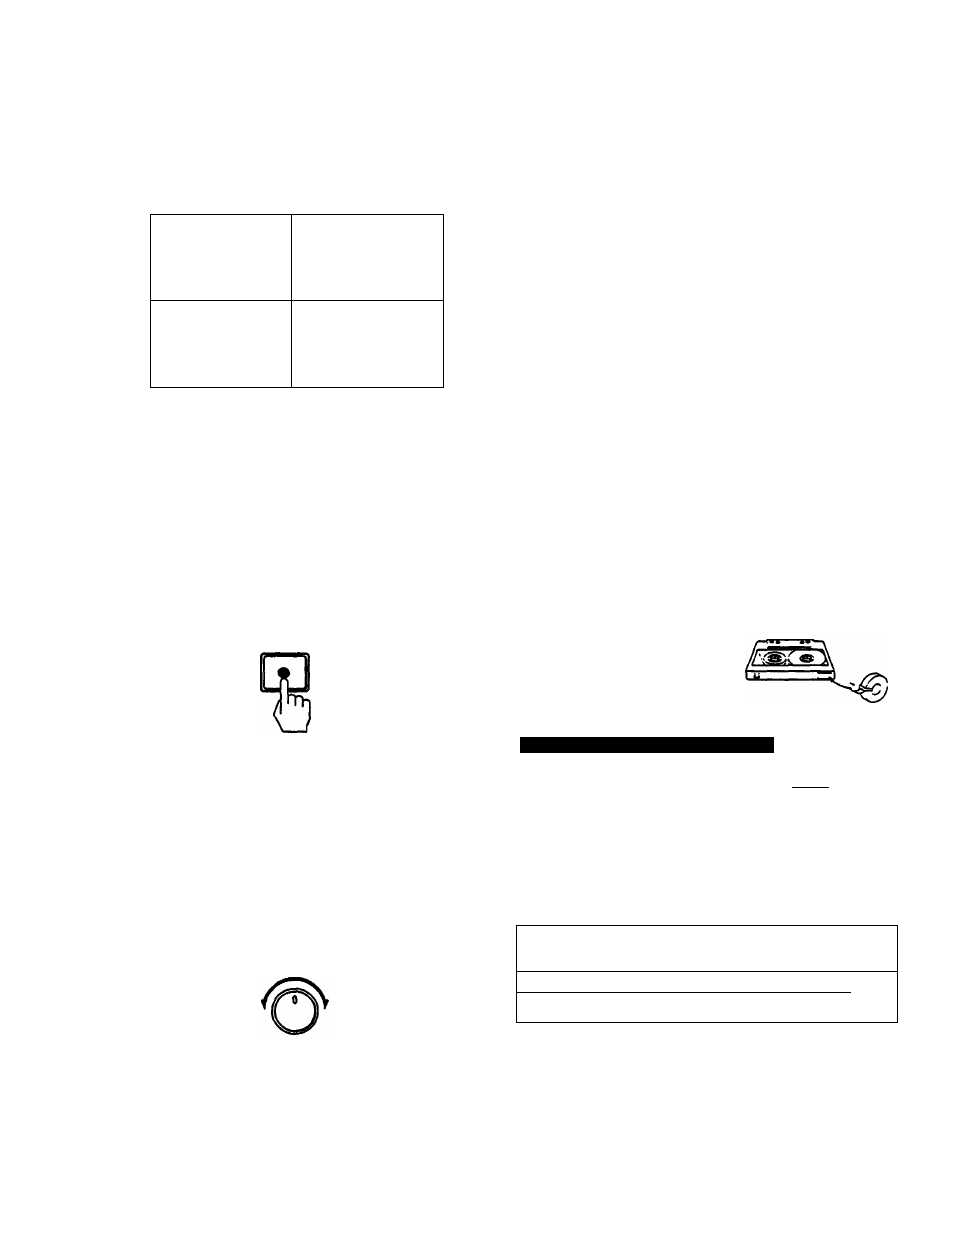
To record a cassette for recording, cover the
respective slot with tape. See To prevent accidental
erasure“.
REC
Play the program source to be recorded.
6
Turn REC LEVEL to adjust the recording level.
See “Adjusting Recording Level“ on next page.
REC LEVEL
Restart the program source, if required.
8
Start recording.
• To record on the front side of the cassette
When ^ is on: Press ^ once or
II.
When • To record on the reverse side of the cassette When O is on: Press <3 once or II. When ^ is on: Press twice. Note Presang <1 or D>- twice will cause the unit first to To stop recording, press ■. Notes • The dubbing from deck A to B can be carried out only with the high speed dubbing function. (See page 20.) * it is not recommended recording with Metial tapes. To prevent accidental erasure To protect side A recording Break ofi the tab of side A. Side A Tab of side B « Tab of side A To record onto side A Cover the opening with Adjusting the Recording Level The optimum recording level, which difiers according to the Adjust the REC LEVEL control as high as pos^le without for the tape type being used. PEAK LEVEL METER readings by tope type (Metal Re^mmended maximum PEAK LEVEL METER readings. . dB > -30 - 20 -10 *4 QD 0 ♦ 4 ♦ 6 r» ......................................... for Type I (normal) or ..... Type n (002) tape Tips on recording level adjustment Setting the recording level too low will produce a hissing 19
change tape direction and then start recording in
that direction.
plastic tape.
tape type, is indicated on the PEAK LEVEL METER for each
tape type.
exceeding the recommended ran^
topes can not be used with this unitO
soimd, while setting it too high will produce distortion.
Generally, the optimum recording level for high and low
frequencies is lower than that for middle frequencies.
Therefore, when recording program sources with many high
and low fivquendes, you should set the level to a relatively
low position. For even better results, check the recording
results with your own ear.